How Often Should A Dryer Filter Be Changed

Hey there, laundry champion! Let’s talk about that fuzzy, lint-covered hero in your dryer: the filter. You know, the one you sometimes remember to clean out when you’re wrestl...
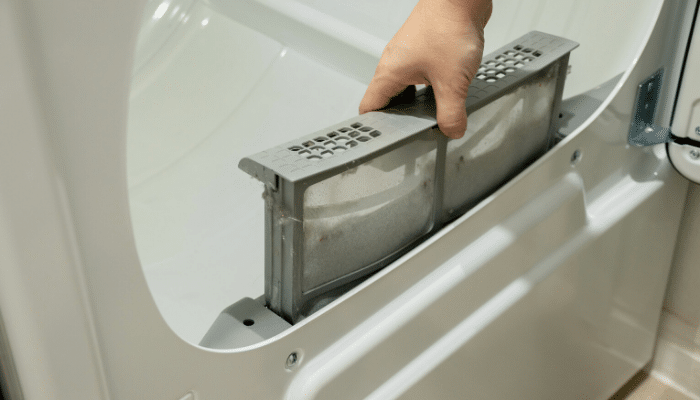
Hey there, laundry champion! Let’s talk about that fuzzy, lint-covered hero in your dryer: the filter. You know, the one you sometimes remember to clean out when you’re wrestling a warm, fluffy towel. But here’s the million-dollar question: How often should you actually change the whole thing—not just scrape the lint off the screen?
Spoiler alert: You probably don’t need to change it as often as you think. But you do need to clean it every single time you run a load. Think of it like brushing your teeth—you do it daily, but you don’t replace your toothbrush every morning (thank goodness).
Let’s clear the air (pun totally intended) and get into the nitty-gritty of dryer filter maintenance. No boring manuals, I promise—just real talk, a few jokes, and a happy ending for your laundry room.
Must Read
The “Every Single Load” Rule (Yes, Really)
First, let’s separate cleaning from replacing. Cleaning the lint screen should happen before every single drying cycle. I mean every time. Yes, even if you’re just drying one sock and a hand towel. It takes five seconds and saves you from a fire hazard—not a fun conversation with your firefighter neighbors.
Here’s why: a clogged lint filter makes your dryer work twice as hard. It takes longer, uses more energy, and can even overheat. Plus, all that trapped lint is basically a campfire waiting to happen. So, clean it like you mean it—every time you hit “Start.”
Still with me? Good. Now, about changing the actual filter (the plastic frame and mesh thing)…
When Should You Replace the Filter?
Most dryer filters are designed to last for years, not months. You don’t swap them out like a toothbrush or a sponge. Instead, replace it only when it’s damaged, warped, or stained beyond cleaning. Think of it like your favorite coffee mug—you only chuck it if it cracks or starts growing its own ecosystem.
A good rule of thumb: check your filter every 6 to 12 months. If you notice rips, holes, or a melted-looking edge, it’s time for a new one. Also, if the mesh feels greasy or stiff after cleaning (sorry, even dish soap can’t fix everything), replace it. A damaged filter lets lint sneak into your dryer vent, which is bad news for your machine and your home’s safety.
But here’s the kicker: most people don’t realize that the filter isn’t meant to be disposable. Some brands say “change every 6 months,” but that’s often a sales tactic. Unless you’re drying 10 loads a day (are you running a hotel?), your filter can last 2–5 years. I know, mind-blowing, right?
Signs Your Filter Needs a Funeral (Er, Replacement)
Okay, so how do you know when it’s time to say goodbye? Look for these red flags. First, your clothes take forever to dry—like, you could watch an entire movie trilogy and they’re still damp. That’s a sign the filter is clogged or worn out.
Second, the filter looks like it survived a war. If the mesh is shredded, the plastic is cracked, or the frame is bent, replace it immediately. A bent frame means air leaks, which means lint bypasses the filter and builds up in your vent. Not fun.
Third, the filter smells weird. If it smells like burnt dust or mildew even after a wash, it’s time. Your nose knows—trust it. And finally, if you see lint escaping into the dryer drum or on your clothes, that filter is a traitor. Kick it to the curb.
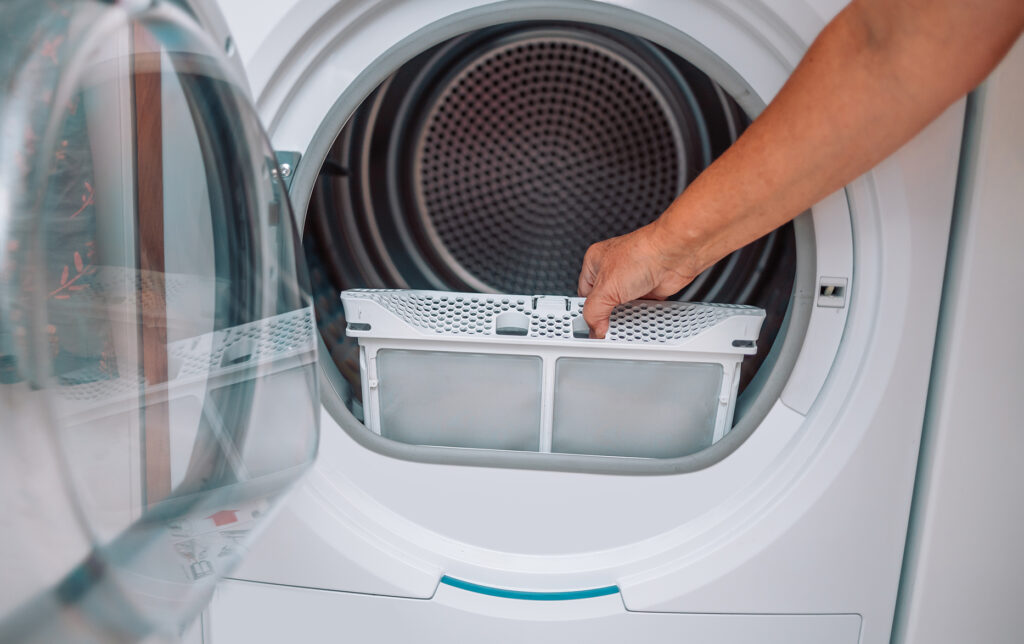 How to Change a Tumble Dryer Filter - Shymon
How to Actually Replace the Filter (It’s Not Rocket Science)
Ready to be a filter-changing pro? First, turn off your dryer and unplug it (safety first, buddy). Then, slide the old filter out from its slot. Seriously, that’s step one—you probably do this twice a week anyway.
Next, buy a replacement filter that matches your dryer’s make and model. Don’t guess! Swipe a photo of the old filter or note the model number inside the door. Generic filters exist, but they’re like off-brand cereal—sometimes okay, sometimes a disaster.
Finally, slide the new filter into the slot until it clicks. That’s it! You’ve officially performed dryer surgery. Give yourself a high-five. (If you want to be extra fancy, vacuum the slot first to remove any lingering lint ghosts.)
Quick Cleaning Tips (Because You’re a Rebel)
You already know to clean the lint screen after every load, but let’s level up. Wash the filter with mild soap and water once a month. This removes oily residue from fabric softeners (yes, dryer sheets leave a coating). Dry it completely before popping it back in—wet filter = poor airflow.
Also, use a vacuum attachment to clean the slot where the filter sits. Lint loves hiding there. And never, ever, ever run your dryer without a filter. It’s like driving a car without an oil filter—except with more fire and tears.
A Little Joke to Lighten the Lint Load
Why did the dryer filter break up with the lint? Because it felt overwhelmed and clogged with relationship issues. Ba-dum-tss. Okay, I’ll see myself out. But seriously, your filter just wants a little love and attention.
The Uplifting Conclusion (You Made It!)
So, here’s the happy truth: you don’t need to obsess over changing your dryer filter. Clean it every single load—that’s the real magic. Replace it only when it’s broken, smelly, or hopelessly gross. Chances are, you’ll go years without needing a new one.
And when you do finally swap it out, give yourself a pat on the back. You’ve just saved energy, prevented a potential fire, and made your clothes dry faster. That’s not just laundry—that’s winning at adulting. So go ahead, fluff those towels, and smile. Your dryer loves you, and you love your dryer. It’s a beautiful, lint-free friendship.
Now go pour yourself a drink and enjoy that fresh-smelling laundry. You earned it, hot shot. 🧺💪
