How To Clean A Glacier Bay Water Dispenser

There’s a quiet satisfaction in dispatching a glass of cold, clean water from your Glacier Bay dispenser—especially on that third cup of coffee when the afternoon slump hits....
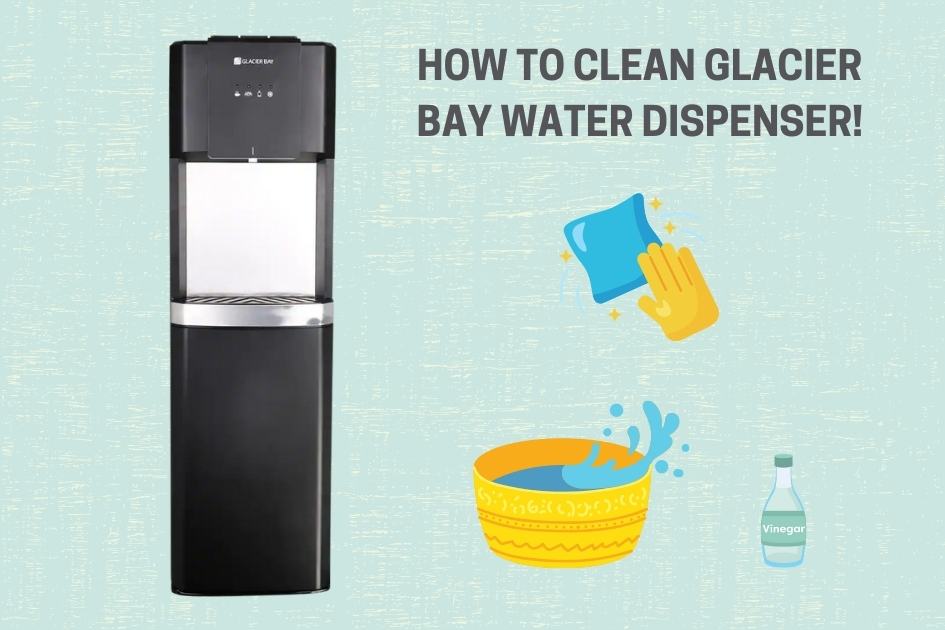
There’s a quiet satisfaction in dispatching a glass of cold, clean water from your Glacier Bay dispenser—especially on that third cup of coffee when the afternoon slump hits. But what happens when that steady stream becomes a defiant drip, or develops a faint, swampy whisper? You, my friend, have entered the maintenance zone.
The Unsung Hero of Hydration
Let’s be honest: your Glacier Bay water dispenser is the James Earl Jones of kitchen appliances—reliable, commanding, and completely ignored until it misbehaves. This little machine works harder than most of your smart gadgets, filtering out the metallic tang of tap water without asking for a software update. It deserves a spa day, and you’re the aesthetician.
Cleaning it isn’t just about hygiene; it’s about performance. A clean dispenser flows faster, tastes better, and extends the life of parts you don’t want to replace (looking at you, internal tubing). Plus, nothing kills a dinner party vibe like a dispenser that smells vaguely of last week’s celery.
Must Read
The Tools: A Minimalist’s Dream
You don’t need a hazmat suit or a chemistry degree for this. Grab a microfiber cloth, a long-handled bottle brush (the kind that reaches deep into a hydro flask), and a gallon of white vinegar—the unsung hero of home maintenance since the Roman Empire. Optional but delightful: a small packet of citric acid, which makes the whole process smell like homemade lemonade.
Pro tip: avoid bleach or harsh detergents. They leave residues that taste like regret, and Glacier Bay’s plastic parts absorb flavors like a sponge at a perfume counter. Stick to nature’s non-stick: vinegar and baking soda. Your taste buds will thank you.
Step One: The Great Disassembly
Unplug the machine first. This isn’t just safety; it’s a ritual pause, like turning off your phone before a yoga class. Remove the drip tray—usually a plastic grille that slides out under the faucet—and soak it in warm, soapy water while you work.
Now, locate the cold water tank lid (usually a screw cap on top or near the back) and the hot water tank valve. Glacier Bay models vary, but the principle is universal: you’re creating a clear path for vinegar to flow through. Proceed like you’re gently opening a treasure chest—not prying open a stubborn pickle jar.
 How to Clean a Glacier Bay Water Dispenser: Step-by-Step Guide
Step Two: The Vinegar Soak That Changed My Life
Fill the cold water tank with a solution of one part white vinegar to two parts water. If you’re feeling fancy, add a teaspoon of citric acid—it’s like adding a splash of good bourbon to a simple cocktail. Let it sit for twenty minutes. This isn’t a race; it’s a chemistry experiment where you’re the mad scientist of clean water.
While it soaks, run a cup of the same solution through the hot water side. Yes, you’ll smell like a salad bar for a bit. This breaks down mineral scale from hard water, which is the primary culprit behind slow flow and weird odors. Fun fact: the same process is used to clean coffee machines in Italian cafes. You’re now operating at espresso-bar standards.
Step Three: The Flush of Truth
After the soak, drain the vinegar solution completely. Now comes the most satisfying part: flushing. Run full tanks of fresh, cold water through the system three times. Each flush should be a generous gallon—think of it as a palate cleanser between wine tastings. Taste the water after the second flush; if it still has a vinegar tang, flush again until it tastes like a mountain spring.
Use the hot water flush to clear the heating element. A trick learned from ten-thousand-hour technicians: let the hot water run for a full minute to steam-clean the internal chamber. It’s like a sauna for your dispenser’s soul.
 How to Clean Glacier Bay Water Dispenser Easily: A Complete Guide
Step Four: The Wipe-Down Aesthetic
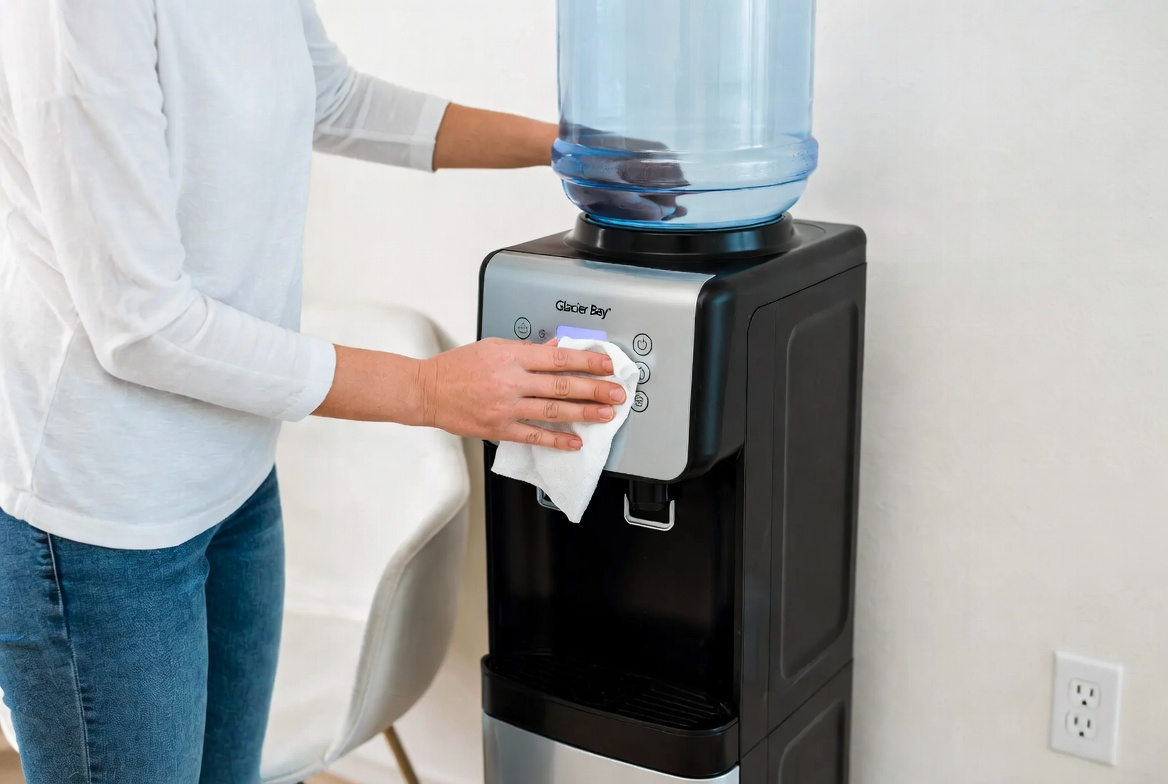
While the system flushes, take that microfiber cloth and wipe down the exterior. Pay attention to the spigot and the area where the drip tray sits—these are biofilm magnets. A dab of mild dish soap on a damp cloth removes the invisible layer of grime that builds up from splashing and curious toddler fingers.
Reassemble the drip tray, and check the rubber seals for cracks. A worn seal is like a leaky boat; replace it now to avoid future puddles of regret. Most Glacier Bay models have replacement parts available online for under ten dollars—cheaper than a single therapy session about mold.
Maintenance as Meditation
This whole process should take you under 45 minutes, which is less time than you spent doom-scrolling last night. Do it every three months, or whenever the water starts to taste like “meh.” A good rule of thumb: clean after every two filter changes. The filter is the brain; the cleaning is the nervous system.
One fun cultural reference: in Japan, there is a concept called kintsugi—repairing broken pottery with gold lacquer to honor its history. Your water dispenser isn’t broken, but you are gilding its function with this care. You’re not just cleaning; you’re performing a ritual of respect for a machine that serves you silently.
The Final Glass
Stand back and pour yourself a glass of the coldest, crispiest water you’ve ever tasted. It’s not just hydration; it’s a declaration that you pay attention to the quiet things. In a world that rewards chaos, a clean Glacier Bay dispenser is a small rebellion—a reminder that order, care, and a little vinegar can fix almost anything. Cheers to the tiny handle you pull ten times a day. It sees you, and now it works because you saw it first.
