How To Hook Up A Water Line For Ice Maker

Alright, let’s talk about giving your fridge the gift of eternal hydration. Hooking up a water line for your ice maker sounds like a job for a master plumber, right? Nope. It’...
Alright, let’s talk about giving your fridge the gift of eternal hydration. Hooking up a water line for your ice maker sounds like a job for a master plumber, right? Nope. It’s actually a project you can totally nail in a morning—assuming you don’t accidentally water the floor. Grab a buddy, a few tools, and I’ll walk you through it.
First Things First: What You’ll Need
You don’t need a magic wand, but you do need a few key items. Think of this as your ice-maker survival kit. Get a saddle valve (or a shut-off tee if you’re fancy), a copper or plastic tubing kit (flexible plastic is easier, I promise), and a drill with a small bit. Oh, and a bucket—because you will drip. It’s not a question of if, but how much.
Don’t forget thread seal tape and a wrench. If you’re feeling like a superhero, add a compression fitting or two. Fun fact: most hardware stores sell a “water line installation kit” that holds your hand through this. Buy that. Future-you will high-five present-you.
Must Read
Step 1: Find Your Water Source—It’s a Date
Your fridge wants a drink, so you need to find a cold water pipe under your sink or in the basement. Look for a copper or PEX pipe that runs horizontally. That’s your sweet spot. If you can’t find one, just stare at your pipes until they look friendly. They will surrender eventually.
Pro tip: Always use a cold water line. Hot water makes sad, cloudy ice. Nobody wants sad ice. Your iced tea deserves better, people.
Step 2: Cut the Water—Before Things Get Wild
Before you do anything dramatic, shut off the water to that pipe. There’s usually a valve under the sink. Turn it clockwise until it stops. If you don’t have one, you’ll need to shut off the main water valve for your house. It’s like hitting the pause button on your entire water supply. No pressure, right?
Once the water is off, open a faucet somewhere to drain any leftover water in the pipes. Watch it dribble out and feel accomplished. You just earned your first point in “Plumber Simulator.”
Step 3: Make the Connection—The Big Moment
Now, strap on your confidence because it’s time to install the saddle valve. Place the saddle valve over the pipe, tighten it gently with a screwdriver, and do not overtighten or you’ll crush the pipe. A gentle twist is all it takes. If you’re using a shut-off tee (for PEX systems), follow its manual. Manuals are boring, but they keep you from flooding your kitchen.
 Ice Maker Water Line Connection A.S.G. Plumbing Enterprises Water
Next, drill a tiny hole through the pipe through the saddle valve’s guide. Use a slow, steady speed—no power-drilling like a madman. You’re aiming for a pin-sized hole, not a cannonball entry. Done? Good. Now close the saddle valve’s handle so water doesn’t spray you later. Trust me on this one.
Step 4: Run the Tubing—Like a Snake on a Mission
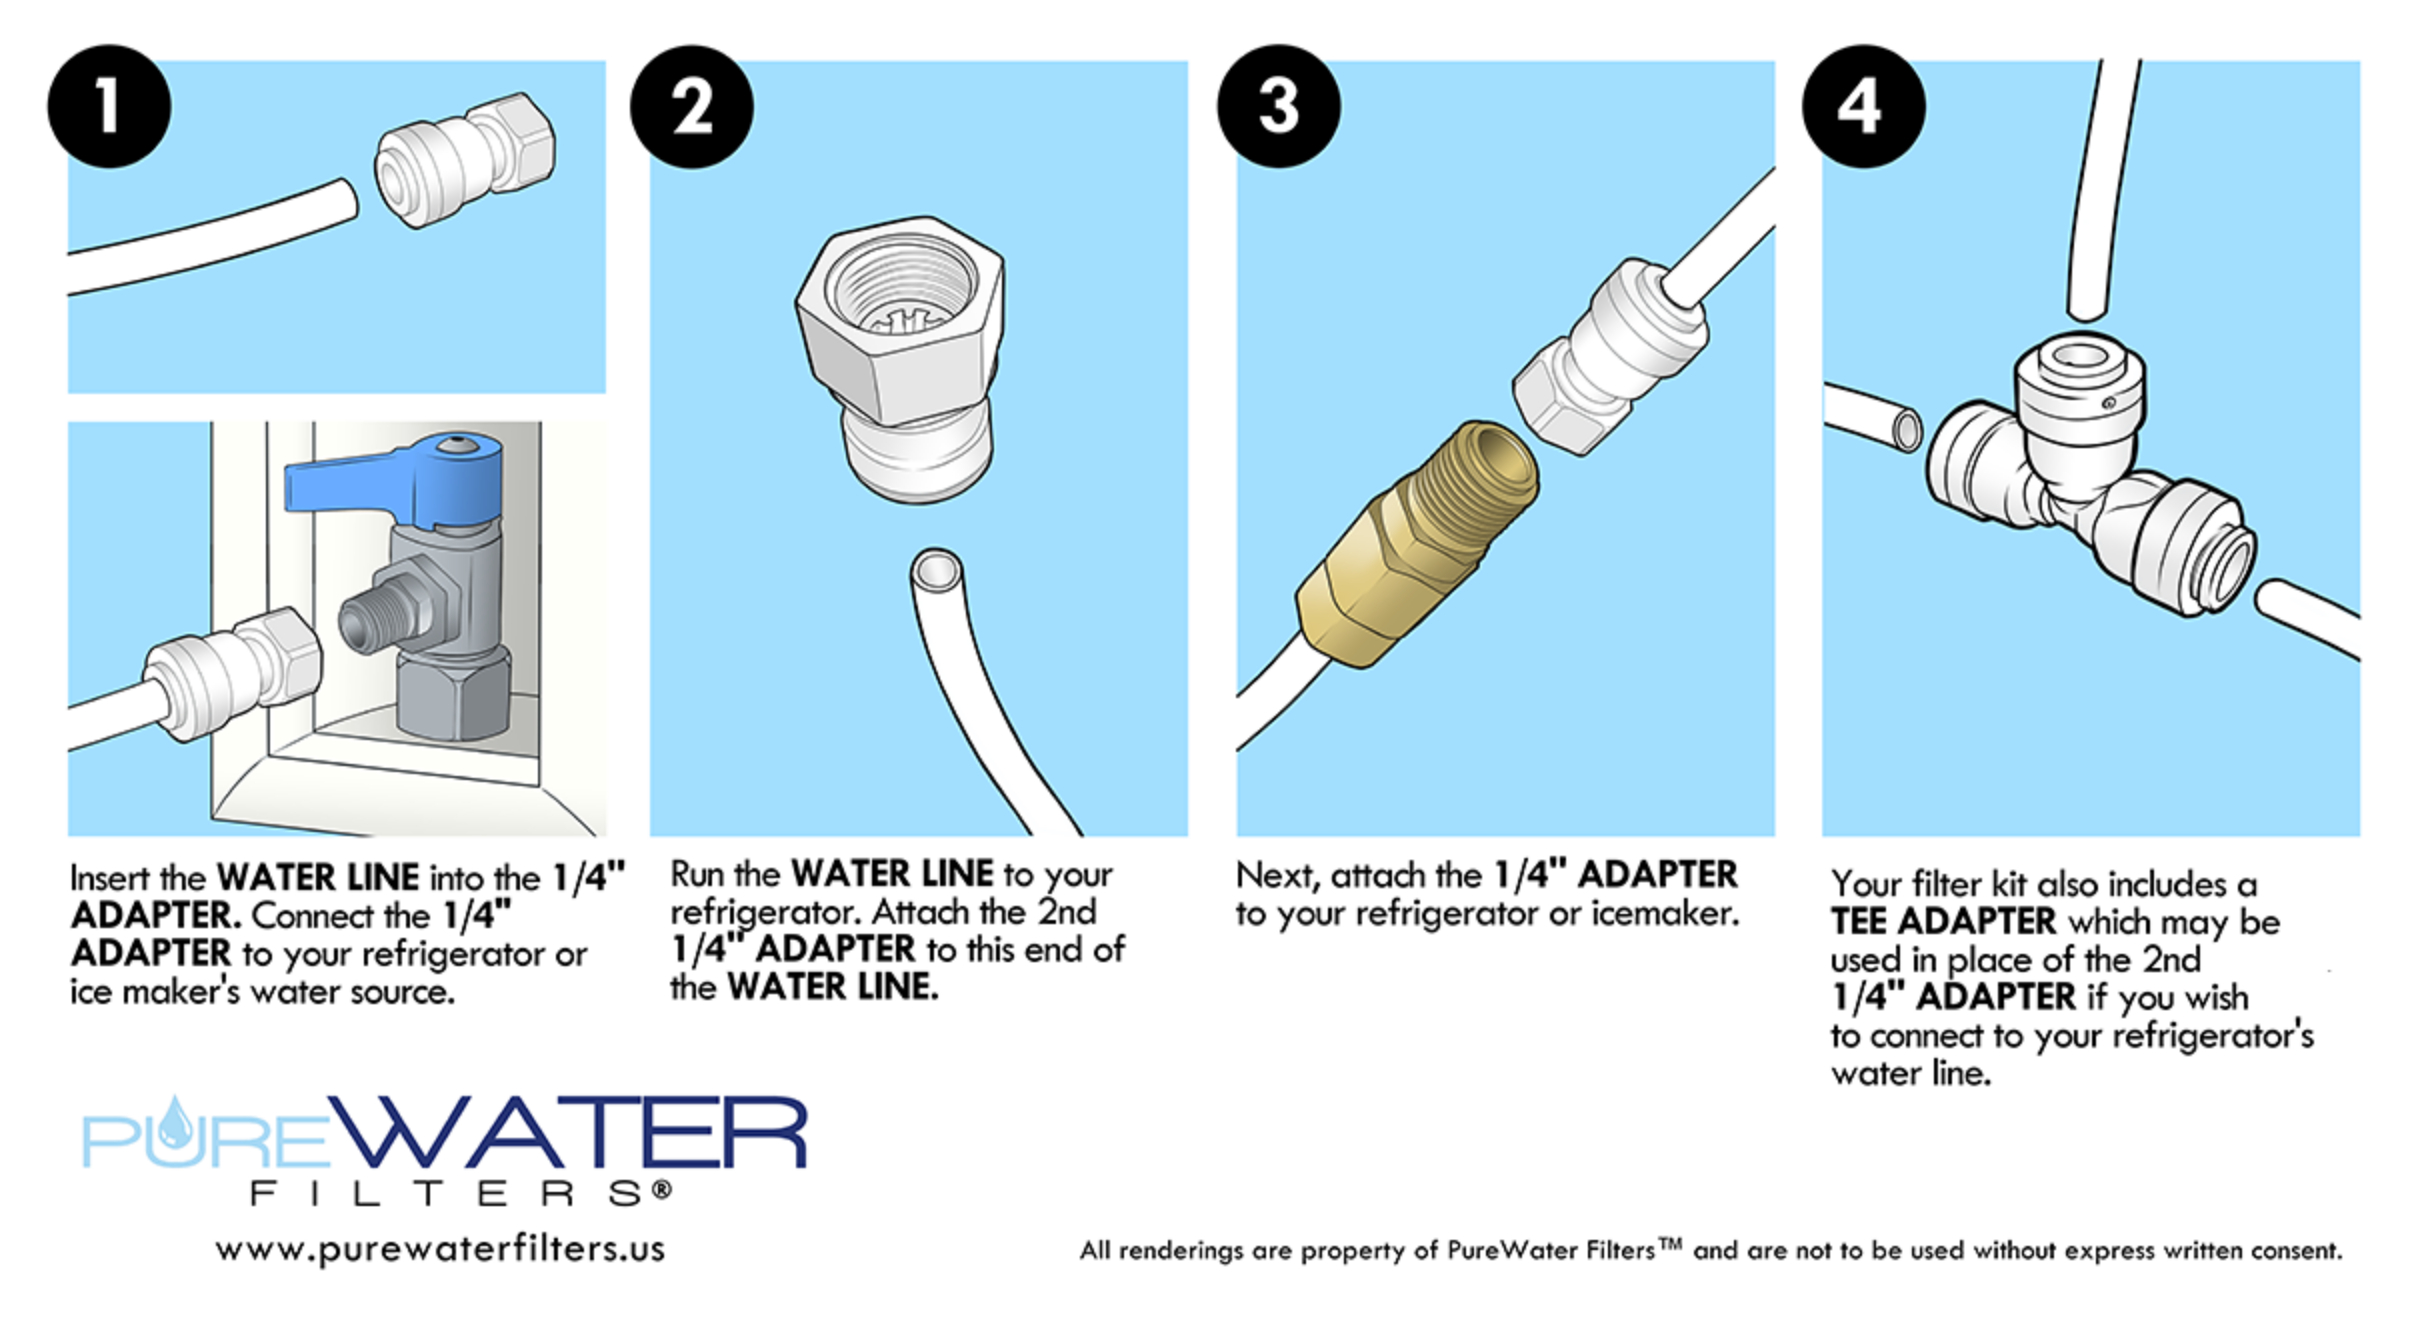
Attach your plastic or copper tubing to the saddle valve. Use a compression nut to secure it. Hand-tighten first, then give it a quarter turn with a wrench. That’s it. Now, run the tubing behind your fridge like a contortionist. Keep it straight, avoid kinks, and try not to trip over it every five minutes.
If you have to pass through a cabinet or floor, drill a small hole. Use a grommet or something to protect the tubing. Your tubing is delicate, like a noodle with dreams. Treat it kindly.
Step 5: Connect to the Fridge—The Grand Finale
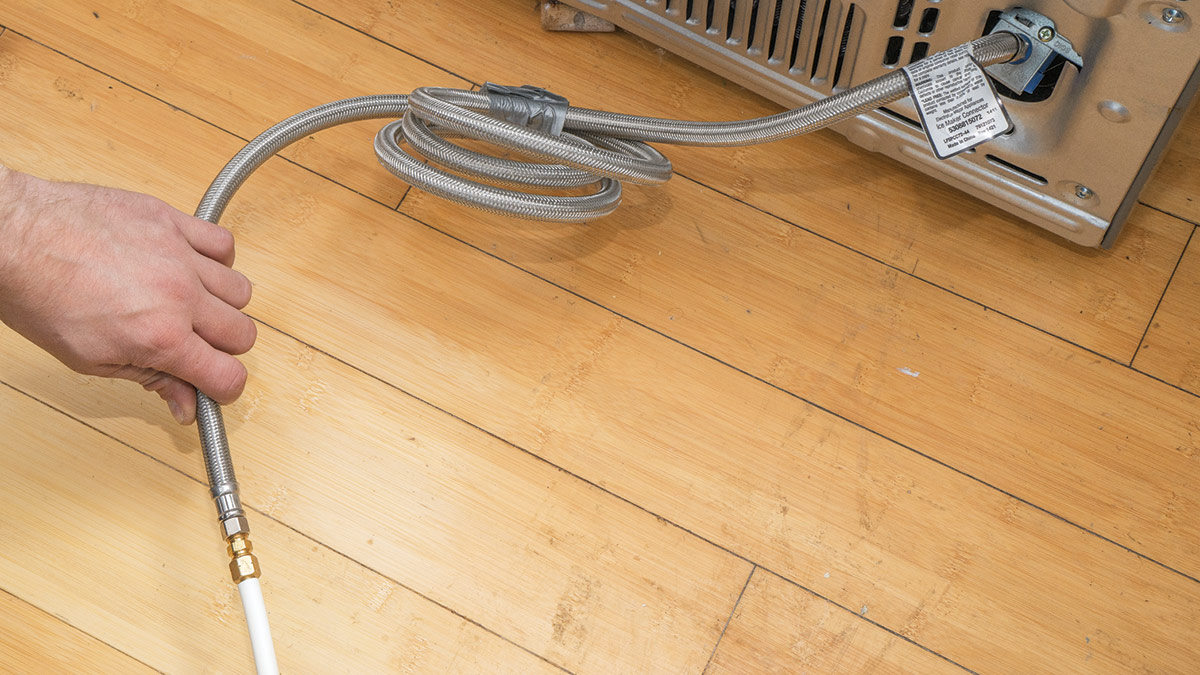
Pull your fridge out (gently, unless you want to anger the floorboards). Find the water inlet valve on the back of the fridge—it’s usually a brass fitting with a little pipe sticking out. Connect your tubing to it using another compression nut. Tighten it, but don’t Hulk-smash it. Snug is perfect.
Now, turn the water back on at the main valve and the saddle valve. Listen closely—is that a hiss? Check for leaks! If you see a single drop, tighten the compression nuts a hair more. If you see a river, you probably forgot to close the saddle valve earlier. Rookie move, but we all learn. Grab a towel, fix it, and laugh at yourself.
 Refrigerator Filter Vs. Reverse Osmosis at Lori Allan blog
Step 6: The First Batch of Ice—Celebration Time
Slide the fridge back into place. Plug it in if you unplugged it. Wait for your ice maker to fill its tray. This can take up to 24 hours. Yes, that long. Go watch a movie, take a nap, do a jig. The ice will come. When it does, you’ll hear that glorious clunk-clunk of cubes dropping. That sound is pure victory.
Throw a party. Name your first ice cube. I call mine “Gilbert.”
Final Tips: Don’t Stress, Just Chill
If you hit a snag, remember: you can do this. YouTube exists, and your neighbor Jeff probably has a wrench you can borrow. The worst that happens is you get a little wet and learn something new. And hey, a wet floor builds character.
Also, turn off the water to the fridge when you go on vacation. Ice makers don’t need a house-sitter, but leaks don’t take vacations. A quick twist of the valve saves you from returning to an indoor swimming pool.
The Uplifting Conclusion You Deserve
You just did something awesome. You took a pile of tools, a bit of bravery, and a fridge full of dreams, and you gave it life. Now every time you clink a glass of iced tea, you’ll remember: I made that cube possible. You’re not just a homeowner—you’re an ice whisperer. A hydration hero. A person who looked at a sad, empty ice tray and said, “Not today, thirst.” Go ahead, grab a cold one. You earned it. And if you ever feel small, just remember: you once wrestled plumbing into submission and came out smiling. That’s magic.
