How To Replace Water Meter

So, your water meter has finally kicked the bucket. It's not your fault. These little brass bureaucrats work themselves to death, spinning tirelessly for decades, measuring ev...
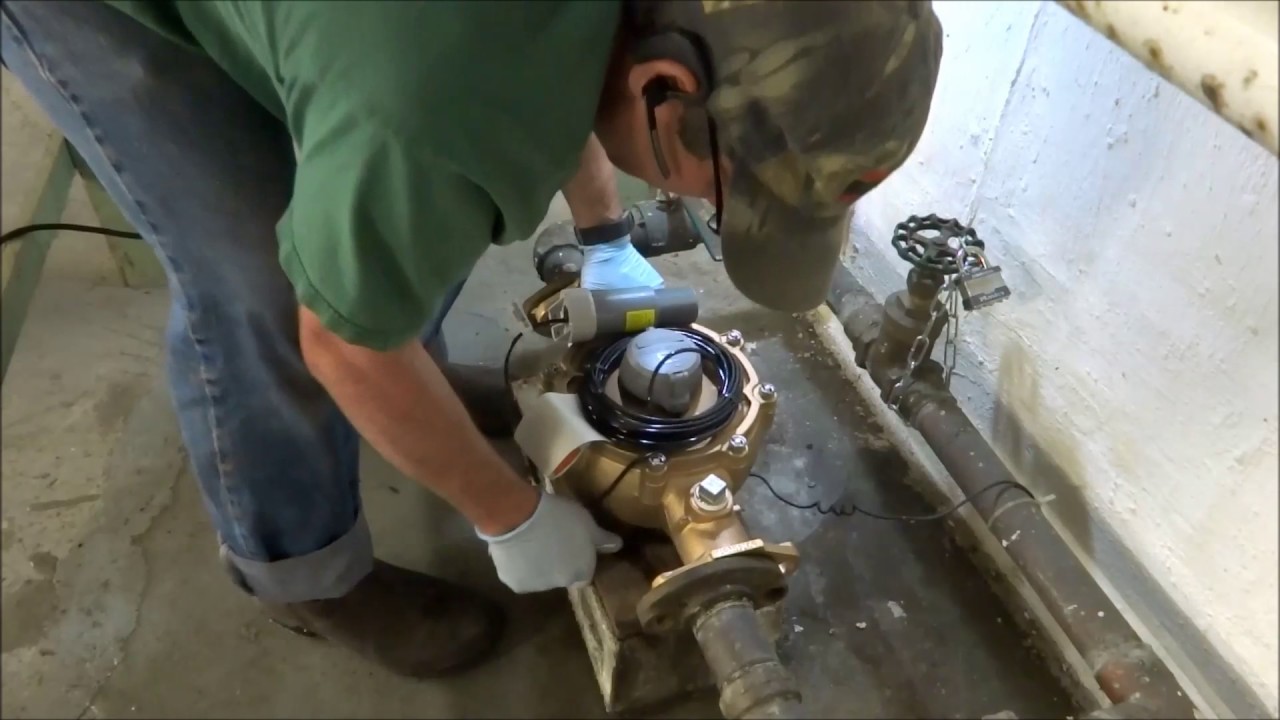
So, your water meter has finally kicked the bucket. It's not your fault. These little brass bureaucrats work themselves to death, spinning tirelessly for decades, measuring every single flush and shower you've ever taken. Replacing it sounds terrifying, like performing open-heart surgery on your own plumbing. Relax. I promise it’s more like changing a very wet, very stubborn battery.
The Great Water Meter Conspiracy (And Why Yours Died)
You might think your meter is a simple spinny thing. Wrong. It’s a precision instrument that hates you. Most meters have a tiny internal impeller—basically a plastic fan—that gets ground down by sediment over twenty years. Once that little fan stops spinning, your water bill magically becomes a "guestimate," and the water company gets very cranky. Surprising fact: some old meters actually under count usage as they wear out, so you’ve been getting a secret discount. That free ride is about to end.
Step 1: The "Where Is It, Anyway?" Hunt
First, locate the beast. It’s usually in a concrete box buried in your front yard, near the street, under a warped metal lid that weighs as much as a small car. Lift that lid with a screwdriver and a prayer, because spiders live there. Do not just yank it off; you’ll throw your back out and wake up the neighborhood. Peer inside. If you see a pool of muddy water with a dial underwater, congratulations—you have a swimming pool for insects.
Must Read
Before you touch anything, call your water utility. Seriously, put down the wrench. In most places, the meter is their property, not yours. Touching it without asking is like repainting a rental car. They might send a crew for free and laugh at you for trying. If they give you the green light, proceed, you brave, foolhardy hero.
Tools: The Comedic Arsenal
You’ll need: one adjustable wrench (big enough to crush a grapefruit), a flathead screwdriver, plumber’s tape (the Teflon kind, not duct tape—this isn’t a spaceship), and a bucket. Also, get a new meter coupling gasket. That’s a little rubber ring. Skip this, and your yard becomes a geyser. Jokes aside, without a fresh gasket, you will create a mud pit that would make a pig jealous. Oh, and bring a towel. You’re about to get very, very wet.
 Water meter replacing | How To Replace Water meter - YouTube
Step 2: The Shutoff Dance (Or, "Why You Haven't Showered Yet")
There should be a shutoff valve on the house side of the meter—a little red or blue handle. Turn it clockwise until it stops. Hard. That’s your "stop the bleeding" move. Now go inside and flush a toilet. If nothing happens, you’ve won. If water roars down, your shutoff is broken, and you are now in a horror movie. Do not panic. You can use the main curb stop (the big valve at the street), but that often requires a special tool called a "meter key." Most homeowners don’t own one. This is the part of the story where your friendly neighbor, Bob from three houses down, becomes a saint because of his garage full of random junk.
Assuming you’ve killed the water, use your wrench to loosen the two brass nuts holding the meter in place. Leftie-loosey, rightie-tighty. The pipes will still have water in them. That’s why you have the bucket. Put the bucket under the meter immediately. The water that spills out is cold, rusty, and tastes like regret. You will curse. It’s a rite of passage.
Removing the Old: It Fights Back
The old meter is going to be stuck. It’s been sitting there for decades, growing a crust of mineral deposits. You will grunt. You will consider using a cheater pipe (a longer pipe for leverage), but be careful—brass is softer than it looks. If you snap the inlet pipe, you’ll be calling Bob anyway, but for $500 emergency plumbing. Once it’s free, slide it out and marvel at its grossness. There will be green corrosion and black gunk. Hold it up like a trophy. You have slain the meter.
 When to Replace Aging Water Meters - Seadmok Water - Howard County, MD
Step 3: The New Guy Goes In (Gently)
Clean the pipe threads with a rag. Wrap the new meter’s threads with plumber’s tape clockwise (three wraps, no more, no less). Now slide the new meter in. It should have arrows on it showing the flow direction. Don’t install it backward, or you’ll send your water to the street. Hand-tighten the nuts first, then give them a snug turn with the wrench. Do not Hulk out. Over-tightening cracks the brass, and then you start over, but this time crying.
Turn the water back on slowly. Listen. Is it hissing? Good. That’s air. Is it spraying? Bad. That’s your failure. Tighten the nuts just a hair more. Dry everything off with that towel you brought. No, that dirty shirt won’t work. Use a proper towel.
The Final Test: Have You Flooded the Planet?
Turn on a faucet inside. Let it run for thirty seconds. Watch the new meter’s dial. It should spin like it’s having a seizure. That means the water is flowing correctly. Now turn off the faucet. The dial should stop instantly. If it keeps creeping, you have a tiny leak. That gasket you bought? Check it. Also, check the floor around the meter. If it’s dry, you are a plumbing god. If it’s wet, you have about ten minutes before Bob sees your panic from his window. Go forth, dry yourself off, and enjoy the quiet, confident hum of your new water-counter. You earned it.
