How To Use Ice Maker

Let’s be honest: crushing a bag of ice with a rolling pin in your kitchen can be a workout, but it’s rarely a good time. You chip the counter, bruise your knuckles, and end up...

Let’s be honest: crushing a bag of ice with a rolling pin in your kitchen can be a workout, but it’s rarely a good time. You chip the counter, bruise your knuckles, and end up with sad, watery slush. There’s a better way, my friend, and it’s probably sitting right inside your freezer door. Your ice maker is ready to be your everyday hero, not just a fancy button you ignore.
Think of it like this: your ice maker is the quiet, reliable friend who always shows up with the perfect party snack. It doesn’t complain about the cold, and it never forgets to bring the cubes. Using it properly isn’t rocket science, but a few simple tricks can turn you from an ice rookie into a chilled-out pro. Trust me, your future self—especially on a hot Tuesday afternoon—will thank you.
Getting Started: The First Date with Your Machine
First things first, locate your specific model’s brain—the manual. I know, reading instructions feels like homework, but this is the kind of homework that pays off in cold drinks. If you’ve tossed the paper, just search the brand online; it usually takes two minutes.
Must Read
Before you do anything else, check that your water line is actually connected. I once spent a solid ten minutes pressing buttons and getting nothing but silence. Turns out, the valve behind the fridge was shut off. It’s the machine equivalent of us forgetting to turn on the faucet before filling a glass.
Now, find the power switch. On many standalone or under-counter models, it’s a simple toggle on the side. On a built-in fridge, you might need to press and hold the “Ice Off” button until the little light stops blinking. This is the moment where you officially say yes to frozen water.
Prime Time: Let the Water Flow
Once it’s on, be patient. Give that machine a full 24 hours to make its first batch of ice. I know—that feels like a century. The internal system needs to cool down, the water needs to fill the tray, and the freezer needs to settle. Don’t eat the first batch, either; it often tastes a little like plastic or dust from the factory.
Use the first batch to cool your sink or water your plants. It sounds wasteful, but it’s like seasoning a cast iron skillet—a necessary ritual. The second and third batches will be as clear and crisp as a mountain spring.
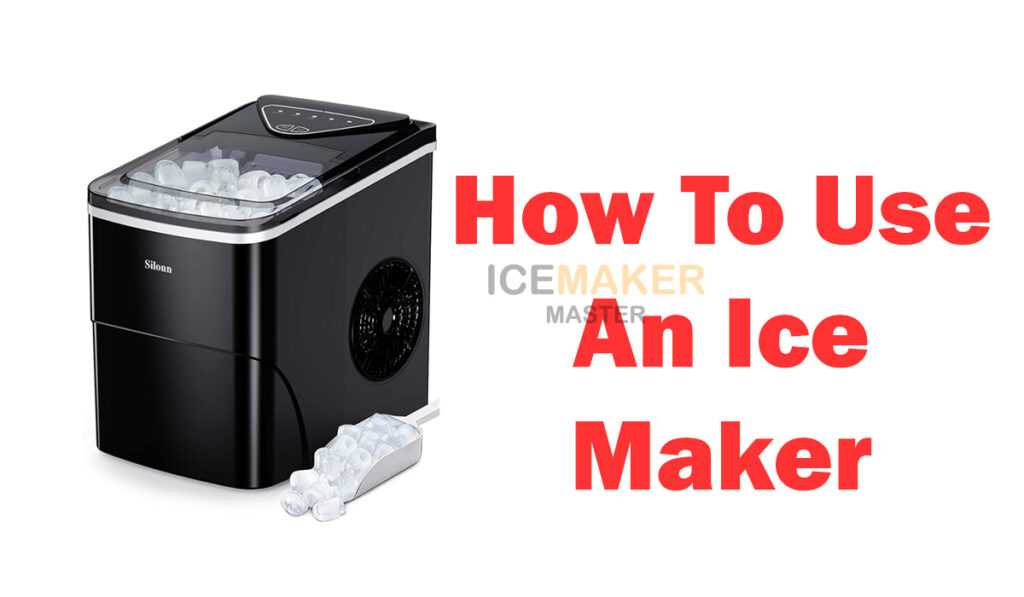 How to Use an Ice Maker | Steps to follow
Daily Magic: Keep Your Ice Maker Happy
Your ice maker is a creature of habit. It likes a cold environment, a steady water supply, and a bit of regular cleaning. If you shove a hot casserole dish right next to the ice bin, you’ll confuse it. The machine might think, “Is it winter or summer?” and produce cloudy, soggy cubes.
Here’s the simple rule: keep the freezer door closed. Every time you open it, warm air rushes in, and the ice maker has to work harder. If you’re hosting friends, pull out the ice bin and close the door. Let the party use that bin while the machine makes more inside, safe from the warm air.
Also, don’t overfill the bucket. Seriously. If you let the ice pile up past the “max fill” line, the maker can jam. It’s like trying to pack one more shoe into an already stuffed closet—it just doesn’t end well. Spare yourself the frustration of scooping a frozen block.
The Cleaning Song (It’s Short, I Promise)
Every three to six months, your ice maker needs a little spa day. Unplug it or turn off the water, and empty the bin. Run a cycle with a mixture of warm water and white vinegar—about one part vinegar to three parts water. This kills mineral buildup and any funky smells.
 Ice Maker Instructions: How to Use, Clean & Maintain Your Machine – The
You don’t need special fancy chemicals. A soft cloth and a little patience will do the trick. Wipe down the rubber gaskets and the interior walls. Trust me, you don’t want ice that tastes like last month’s forgotten Chinese takeout. Clean ice tastes like nothing, and that’s exactly what you want.
After cleaning, run one full batch and throw it away. Then, you’re back in business. Your morning iced coffee will taste like a professional barista made it, not like a forgotten freezer experiment.
Why You Should Care (Beyond the Obvious)
Having a working ice maker is about more than just cold drinks. It’s about convenience. It’s about never hearing that sad “clink” of an empty tray when you’ve burned your tongue on hot soup. It’s about being able to throw a spontaneous backyard barbecue without a frantic run to the gas station for a bag of ice.
It’s also about saving money. Those bags of ice add up over a summer. With your own maker, you’re paying pennies for the same amount. Plus, you’re saving the plastic bags from the landfill. You get to be a little bit of an environmental hero, one cube at a time.
So, go on. Give your ice maker some love. Press that button, wait those 24 hours, and then enjoy the pure, simple joy of a glass of perfect ice. You’ve earned it, and honestly, so has your machine.
