How To Hook Up Ice Maker On Refrigerator

So, you’ve decided to become the hero of your own kitchen. You’re about to hook up an ice maker to your fridge, which is basically the appliance equivalent of adopting a very...
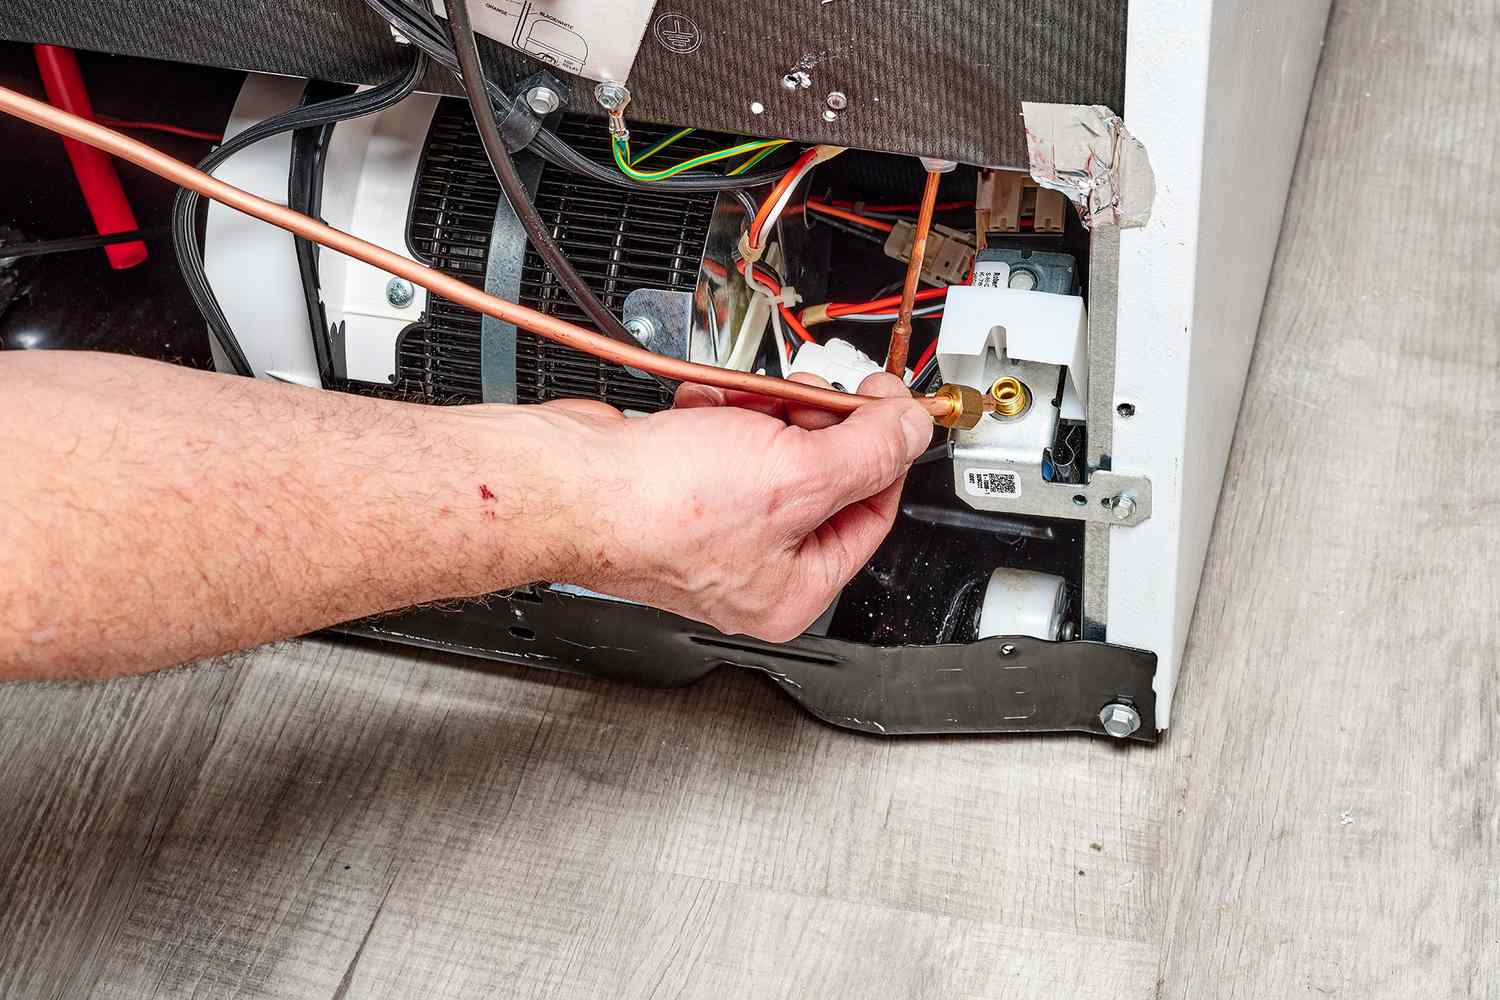
So, you’ve decided to become the hero of your own kitchen. You’re about to hook up an ice maker to your fridge, which is basically the appliance equivalent of adopting a very thirsty, slightly needy pet. You think, “How hard can it be?” I’ll tell you: it’s like performing open-heart surgery on a robot, but with more water and less prestige.
The Great Water Line Hunt
First, you need to find your refrigerator’s water inlet valve. It’s usually hiding behind the bottom kickplate, like a shy monster under the bed. You’ll have to crawl on the floor, and I promise you will find crumbs from that sandwich you ate in 2019.
Once you’ve located the valve, you will realize your fridge has been mocking you this whole time. It has a little plastic cap that says, “Remove for ice maker.” That cap is not a suggestion—it’s a dare. Remove it and a tiny spring will fly into the void of your kitchen, never to be seen again. Pro tip: do this inside a clear plastic bag.
Must Read
The Copper vs. Plastic Showdown
Now you need tubing. You have two choices: copper, which is tough like a boxer, or plastic, which is flexible like a yoga instructor after three cups of coffee. The internet will tell you copper is more durable, but it’s also the kind of metal that will kink if you look at it wrong. I once tried to bend copper tubing and it kinked so badly it looked like a paperclip that had been in a bar fight.
Plastic tubing, on the other hand, is forgiving. It will snake behind your fridge like a lazy python, and you can cut it with a pair of scissors. Just don’t use your wife’s good sewing scissors. I learned that lesson the hard way, and now I buy my own scissors in secret. They’re my lucky tubing scissors now.
The Saddle Valve: Your New Frenemy
This is the part that separates the weekend warriors from the people who call a plumber. You need a saddle valve—a little brass spike that pierces your cold water pipe. The box says “no tools required,” which is a lie told by Satan himself. You will need a wrench, a screwdriver, and the patience of a Buddhist monk.
 How to Hook Up a Ice Maker on a Refrigerator: Easy Step-by-Step Guide
You clamp the saddle valve onto the pipe and tighten it until it squeaks. Then you turn the tiny handle, and a spike drives into the pipe. This is the moment you find out if your pipe is really copper or if it’s secretly made of wishes and drywall. If you hear a hiss, you have about eight seconds to panic before water sprays you in the face. Fun fact: this is how I learned my kitchen floor is not perfectly level. It slopes toward the refrigerator, creating a tiny indoor fountain.
Connecting the Dots (and the Drips)
Now you run the tubing from the saddle valve to the back of your fridge. This step sounds easy, but the fridge wants to fight you. It will roll back and pinch the tube against the wall, cutting off the water supply. You will have to pull the fridge out, reroute the tube, and push it back in, repeating this dance ten times until you lose all feelings in your fingers.
Use compression fittings at both ends. They’re brass little cylinders that look like tiny donuts. Screw them on finger-tight, then give them a quarter turn with a wrench. Do not overtighten. Overtightening is the number one cause of midnight panic calls to your Uncle Bob. Trust me, Uncle Bob has heard the “I broke my water line” sob story fifty times.
 How To Connect Tubing To Your Refrigerator Ice Maker: A Guide | CyCookery
The First Ice Cube Dance
Turn the water on at the saddle valve. Slowly. Like you’re waking a sleeping dragon. Then plug in your fridge and wait. You’ll hear the ice maker click, whirr, and then… nothing. It takes about 24 hours for the first batch to freeze. In that time, you will check the freezer eighteen times. You will open the door and let all the cold air out, which delays the ice. This is the fridge’s revenge for you manhandling its water line.
Around hour 23, you’ll hear a satisfying thunk as the first ice cube drops into the bin. It’s better than a child’s laugh. I celebrate by making a glass of ice water, which is both a victory lap and a convenient way to test if the water tastes like copper pipe. Surprising fact: that first cube is always shaped like a tiny, cloudy alien skull. It’s perfectly normal. I eat it as a ritual.
The Aftermath
Now you have a working ice maker. You are a god among mortals. You will brag about it at parties. People will nod politely while you explain the pressure rating of your plastic tubing. They don’t understand, but you do. You and your fridge share a secret bond now, forged in mild water damage and a few swear words.
Just remember one thing: check for leaks every month. Your saddle valve can loosen over time. I check mine with a dry paper towel, which I wave around like a wizard testing for ghosts. A single drop of water means you need to tighten the compression nut by one hair’s width. Do that, and you’ll have ice for years. Ignore it, and you’ll be mopping your kitchen floor at 2 a.m., weeping into a puddle of your own hubris. You have been warned, ice warrior.
