How To Install A Water Filtration System

Okay, friend, let’s talk about water. Specifically, the stuff that comes out of your tap. Have you ever taken a sip and thought, “Hmm, that has a hint of… swimming pool?” No j...
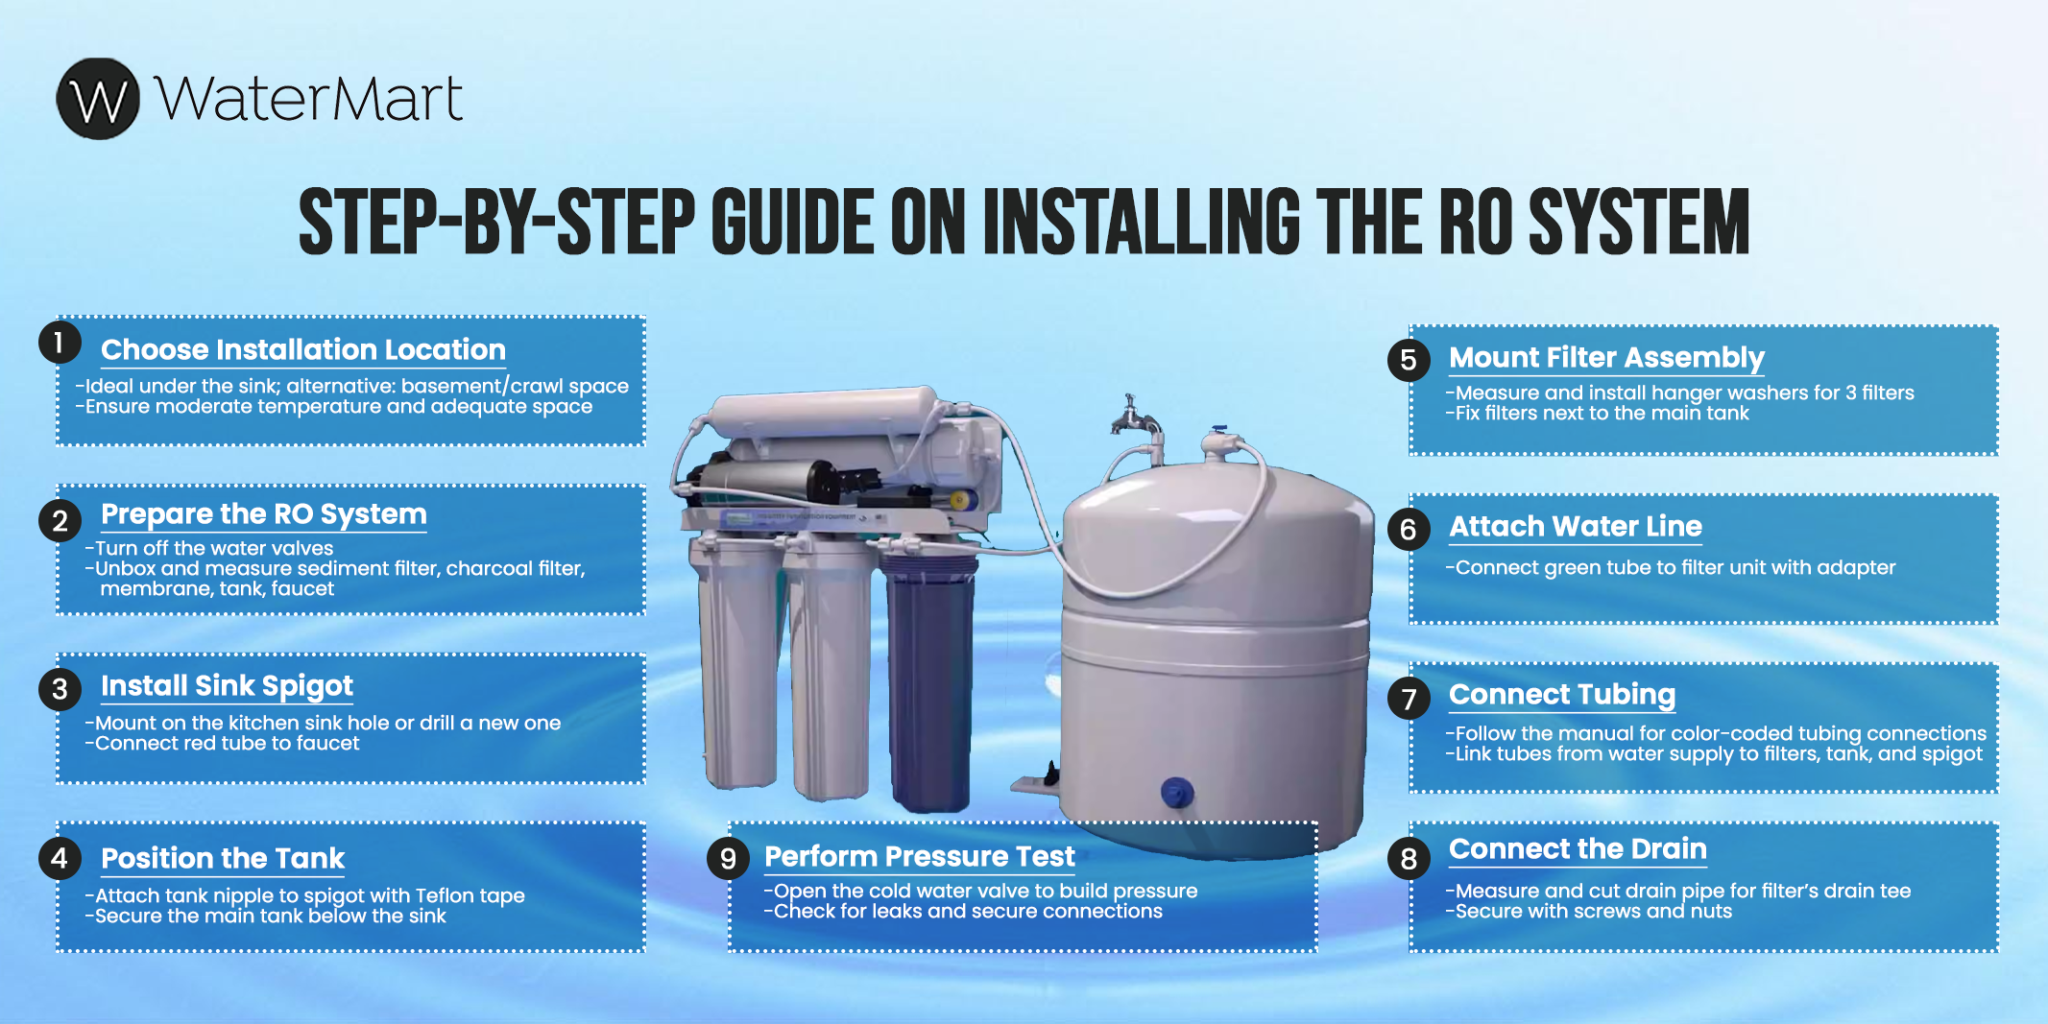
Okay, friend, let’s talk about water. Specifically, the stuff that comes out of your tap. Have you ever taken a sip and thought, “Hmm, that has a hint of… swimming pool?” No judgment here. I’ve been there.
A water filtration system can fix that. It’s like giving your kitchen a tiny, heroic spa. And guess what? You don’t need a plumber’s degree or a secret handshake to put one in.
I’m going to walk you through it. Grab your coffee—or maybe a glass of that questionable tap water for motivation. Let’s dive in.
Must Read
The “Why Bother?” Part
First, why are we doing this? Because your current water might be hiding things. Chlorine, sediment, or just a weird taste that makes your morning tea sad.
Installing a filter is cheaper than buying bottled water. Plus, you save the planet from a million plastic bottles. You get to be a hero for the Earth and your taste buds. It’s a win-win.
What You’ll Need (No, Not A Degree In Chemistry)
Here’s the shopping list. Go get a countertop or under-sink kit—pick whichever makes you feel like a fancy adult. You’ll also need adjustable pliers, a towel, and about thirty minutes of “me time.”
Don’t forget Teflon tape. It’s the unsung hero of plumbing. It stops drips and makes you look like you know what you’re doing. Trust me.
Oh, and read the manual. I know, I know—manuals are boring. But skimming it now saves you from a sad, leaky mess later.
Step 1: Clear The Battlefield
Turn off the cold water valve under your sink. It’s the little handle that looks like a tiny steering wheel. Crank it clockwise until it stops.
Open your faucet to let out leftover water. This releases pressure. Nobody wants a surprise water cannon to the face. Trust me on that one.
Now, clear out everything under the sink. That old bottle of cleaner? Move it. That forgotten sponge? Toss it. You need room to wiggle.
Step 2: Detach The Faucet Line
Look at the pipe that connects your faucet to the water valve. That’s your supply line. It unscrews with a simple twist—use your pliers if it’s stubborn.
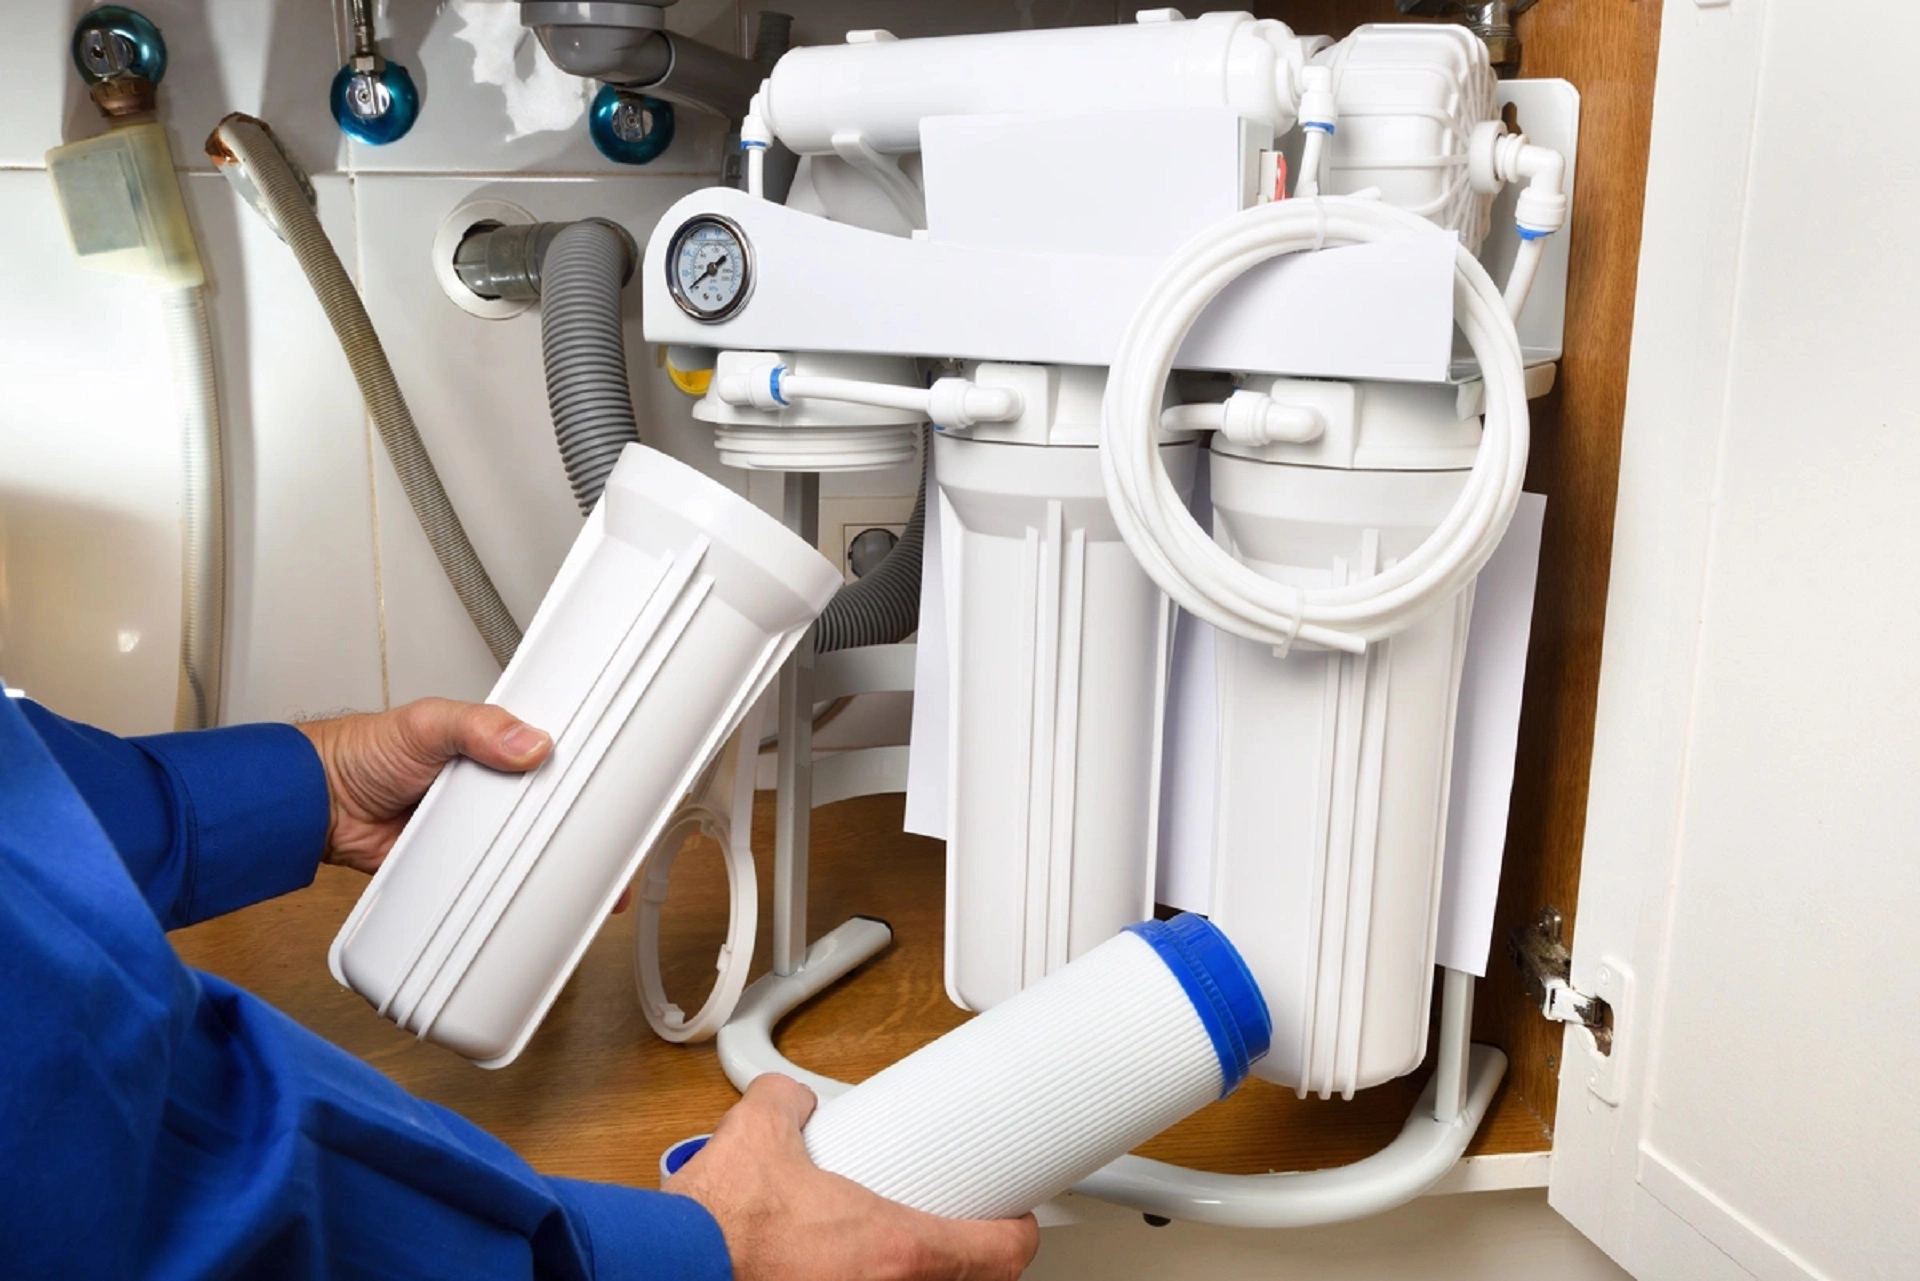 6 Steps On How To Install A Water Filter (DIY Guide) - Gold Coast
Water might drip out here. That’s fine. Keep a towel handy. You’re not building a bomb; you’re just messing with pipes for a bit.
Once it’s off, wrap some Teflon tape around the valve’s threads. Three or four wraps, nice and snug. This is the insurance policy against leaks.
Step 3: Install The Diverter Valve
Your kit came with a little brass or plastic piece called a diverter valve. Screw it onto your water valve where the supply line used to be. Hand-tighten it first, then give it a quarter turn with pliers. Don’t go Hulk mode—just snug.
Now, screw the faucet’s supply line back onto the other end of the diverter. It’s like a plumbing sandwich. You’re the chef.
Double-check that everything is aligned. Crooked pipes cause leaks. Straight pipes cause happiness.
Step 4: Connect The Filter System
Take your filter unit—it looks like a mini rocket ship for your counter. Or a sleek canister if you’re doing under-sink. Attach the color-coded hoses from the kit to the diverter and the faucet.
Most systems use quick-connect fittings. Push the tube in until it clicks. Give it a gentle tug to check. If it stays, you’re golden. If it pops out, push harder (that’s what she said—you knew it was coming).
For under-sink systems, mount the filter head to the cabinet wall with the included screws. Don’t drill into a pipe. That’s a bad day.
Step 5: Prime And Flush
Turn the water valve back on slowly. Listen for hissing or dripping. If you hear a gurgle, that’s just air being dramatic. It’s fine.
![How to Install Ro Water Filter System [Step-by-Step Guide]](https://homeunderstandable.com/wp-content/uploads/2024/12/how-to-install-ro-water-filter-system.png) How to Install Ro Water Filter System [Step-by-Step Guide]
How to Install Ro Water Filter System [Step-by-Step Guide]
Let the water run from your new faucet for about five minutes. This flushes out carbon dust from the filter. The water might look blackish at first. Don’t panic—that’s just the filter saying “hello.”
After five minutes, the water should run clear. Take a sip. Taste that? That’s victory. And way less chlorine.
Step 6: Check For Leaks (Everywhere)
Get a flashlight. Shine it on every single connection—the valve, the diverter, the hoses. Feel around for moisture. A tiny drip now is a flood later.
If you find a drip, tighten the connection just a quarter turn. If it’s still leaky, add more Teflon tape and retighten. You’re a detective now. A very handy detective.
Wipe up any water you spilled during setup. Congratulations, you’ve earned a clean sink.
The “You Did It” Part
You just installed a water filtration system. Seriously. You took raw, swimming-pool-tinged tap water and made it taste like a mountain spring in a hotel lobby.
Brag about it to your friends. Tell them you “did a plumbing thing.” They’ll be impressed. Or confused. Either way, you’re the cool one now.
And if something goes wrong later? That’s future-you’s problem. Current-you is enjoying a glass of crisp, filtered water. Cheers to that, buddy.
One Last Tip
Replace your filter every six months. Put a reminder on your phone. “Change filter or drink regret.” You’ll thank me later.
Now go hydrate. You deserve it.
