How To Clean The Water Dispenser

Let’s be real for a second: your water dispenser is the unsung hero of your kitchen. It hydrates your morning smoothie, fills your dog’s bowl, and dispenses hot water for that...

Let’s be real for a second: your water dispenser is the unsung hero of your kitchen. It hydrates your morning smoothie, fills your dog’s bowl, and dispenses hot water for that instant ramen at 2 AM. But when was the last time you gave it a proper cleaning? If you can’t remember, it’s time to break the cycle of neglect.
The good news? Cleaning your dispenser is surprisingly easy and takes less than an hour. Think of it as a spa day for your appliance—minus the cucumber slices. Here’s your no-stress guide to getting it sparkling clean, with a few cultural nods and fun facts to keep you entertained along the way.
Why bother? The invisible ugliness
Your dispenser collects more than just water. Over time, bacteria, mold, and mineral scale can turn your "pure" hydration station into a science experiment gone wrong. According to the CDC, neglected water dispensers can harbor E. coli and other microbes you definitely don’t want in your latte.
Must Read
It’s not just about health: that funky “dirty fish tank” smell? That’s biofilm. And in many East Asian cultures, the water dispenser is a symbol of hospitality—don’t let yours say “welcome!” in the language of mold. So, let’s make your machine a clean vessel for good vibes and great hydration.
What you’ll need (no fancy gadgets)
Gather these common items: white vinegar or hydrogen peroxide, a soft cloth, a bottle brush, and a bucket. That’s it. You don’t need a chemistry degree or a subscription to a cleaning influencer’s product line. For a modern twist, you can use a citric acid solution (often sold as "descaler") if you live in a hard-water area—it’s the same stuff baristas use.
Fun fact: In Japan, many households use komezu (rice vinegar) for cleaning because it’s believed to be gentler and less harsh. You can try that too—just avoid the expensive aged balsamic. Save that for your salad.
Step 1: Unplug and disassemble like a pro
First, unplug the machine. Safety first, even if you’re feeling lazy. Remove the water bottle, then pull off the drip tray and the cold/hot water faucet covers. Most models have these parts designed to snap off easily—like a Lego set for adults.
Set those parts aside in a sink filled with warm, soapy water. Let them soak while you attack the main unit. This is the moment to whisper a little thank-you to your dispenser for never complaining about your daily gallon of iced coffee.
 How to Clean a Water Dispenser: 10 Steps (with Pictures) - wikiHow
Step 2: Flush the system with vinegar magic
Mix one part white vinegar to three parts water (or follow your manufacturer’s ratio). Pour this solution into the water reservoir—the empty tank where the jug sits. This is the deep-cleaning potion. Let it sit for 10 to 15 minutes, which is exactly long enough to scroll through three TikTok videos about vintage lamp restoration.
While it soaks, use a bottle brush to scrub the inside walls of the reservoir. Be gentle, like you’re petting a nervous cat. Then, run the vinegar solution through the cold and hot water taps until you smell that unmistakable pickled hint—that’s the sound of success.
Step 3: Rinse, rinse, and rinse again
Empty the reservoir and refill it with fresh water. Run the water through both taps until the vinegar smell is completely gone. You might need to do this two or three times—patience is your friend. If you taste even a hint of vinegar in your next glass, you’ve failed the vibe check.
Pro tip: Fill an empty bottle with cool water and place it on the dispenser for 30 minutes to gravity-flush the internal tubes. In Scandinavian countries, this is called “vattenspolning,” which sounds way fancier than it is—it’s just water running through.
Step 4: Reassemble and celebrate
Wipe down the drip tray and faucet covers with a cloth dipped in soapy water. Rinse them well, because no one likes soap bubbles in their morning lemon water. Snap them back onto the dispenser like a satisfying puzzle piece clicking into place.
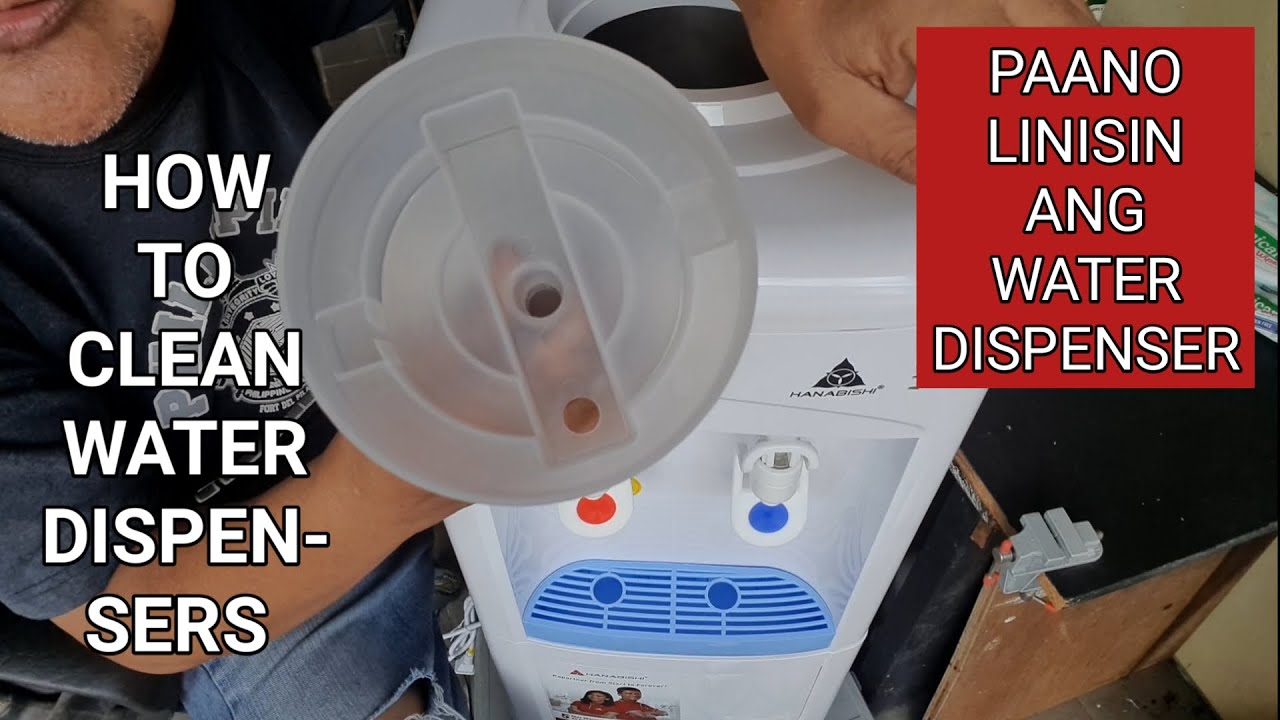 How To Properly Clean A Water Dispenser at Charles Serrano blog
Place a fresh, sealed water bottle on top. Wait 10 minutes for the machine to cool or heat up—use this time to marvel at how clean everything looks. You did that.
Bonus: The cultural kick
Did you know that water dispensers are practically ubiquitous in South Korean homes and offices? They’re often placed in the “anbang” (living room) as a symbol of health. In Mexico, many families use “garrafones” (large water jugs) with electric coolers that double as a gathering spot. You’re part of a global tradition now—keep it clean.
And here’s a fun fact: A study from the University of Arizona found that a neglected dispenser’s drip tray can harbor more bacteria than your toilet seat. Yeah, we said it. But now? Yours is a shining icon of hygiene.
When to clean again
For best results, repeat this process every three to four months. If you live in a dusty apartment or have a big family, bump it to every two months. Set a calendar reminder with a fun name like “Water Spa Day” or “Bacteria Funeral.”
If you notice a white, chalky buildup on your faucets between cleanings, wipe them weekly with a damp cloth. Hard water is the enemy of shine, but you’re the champion of maintenance. You’ve got this.
Reflection: Cleaning your water dispenser isn’t just about hygiene; it’s about ritual. In a world that moves at digital speed, taking thirty minutes to care for a silent, helpful machine is a small act of mindfulness. It’s a pause button on the chaos. That first glass of cool, clean water afterwards? It tastes like accomplishment with a side of calm. And honestly, isn’t that the kind of drink we all need right now?
