How To Test Tap Water At Home

Your tap water is more than just a utility—it’s the lifeblood of your morning coffee, your pasta, and your late-night hydration habit. But have you ever stopped to wonder what...

Your tap water is more than just a utility—it’s the lifeblood of your morning coffee, your pasta, and your late-night hydration habit. But have you ever stopped to wonder what’s actually flowing through that shiny faucet? Testing it at home isn’t just for paranoid preppers or science nerds; it’s a simple, eye-opening ritual that connects you to the most essential element in your kitchen.
Let’s start with the obvious: you don’t need a lab coat or a PhD to do this. The easiest way to dip your toes into water testing is with a home test kit, available at any hardware store or online for less than a fancy latte. These kits usually come with strips that you dip into a glass of tap water, wait a minute, and then compare the color changes to a chart. It’s remarkably satisfying—like a mood ring for your faucet.
But before you panic over a slightly off color, know this: most tap water in developed nations is perfectly safe to drink. The real fun begins when you test for hardness, chlorine, and pH levels. Hard water, for instance, is why your soap leaves that weird film on your hands—it’s loaded with calcium and magnesium, and it’s actually great for strong bones, though not so much for your plumbing.
Must Read
The Sip-and-Sniff Method
If you’re the type who likes to trust your senses first, try the sip-and-sniff test before you break out the chemistry set. Fill a clean glass with tap water, let it sit for about thirty seconds, then take a whiff. Any musty, metallic, or bleach-like smell is a red flag that something’s out of balance.
Next, take a small sip and hold it on your tongue for a moment. Does it taste like a swimming pool? That’s usually excess chlorine, used to kill bacteria but sometimes lingering too long. A metallic taste often points to old pipes—copper or iron leaching into your water, which isn’t dangerous in small amounts but can be annoying.
Fun fact: the ancient Romans tested their water by tossing a silver coin into it—if the coin didn’t tarnish, the water was considered pure. Today, you can do pretty much the same thing with a simple pH strip, but no togas required.
What Your Strip Is Telling You
Once you’ve used a test strip, don’t just toss the results. Look at the pH level first—ideally, it should be between 6.5 and 8.5 for drinking water. If it’s too acidic (below 6.5), it might be corroding your pipes; if it’s too alkaline, it can taste bitter or salty.
 How To Test Tap Water Quality at Indiana Schneider blog
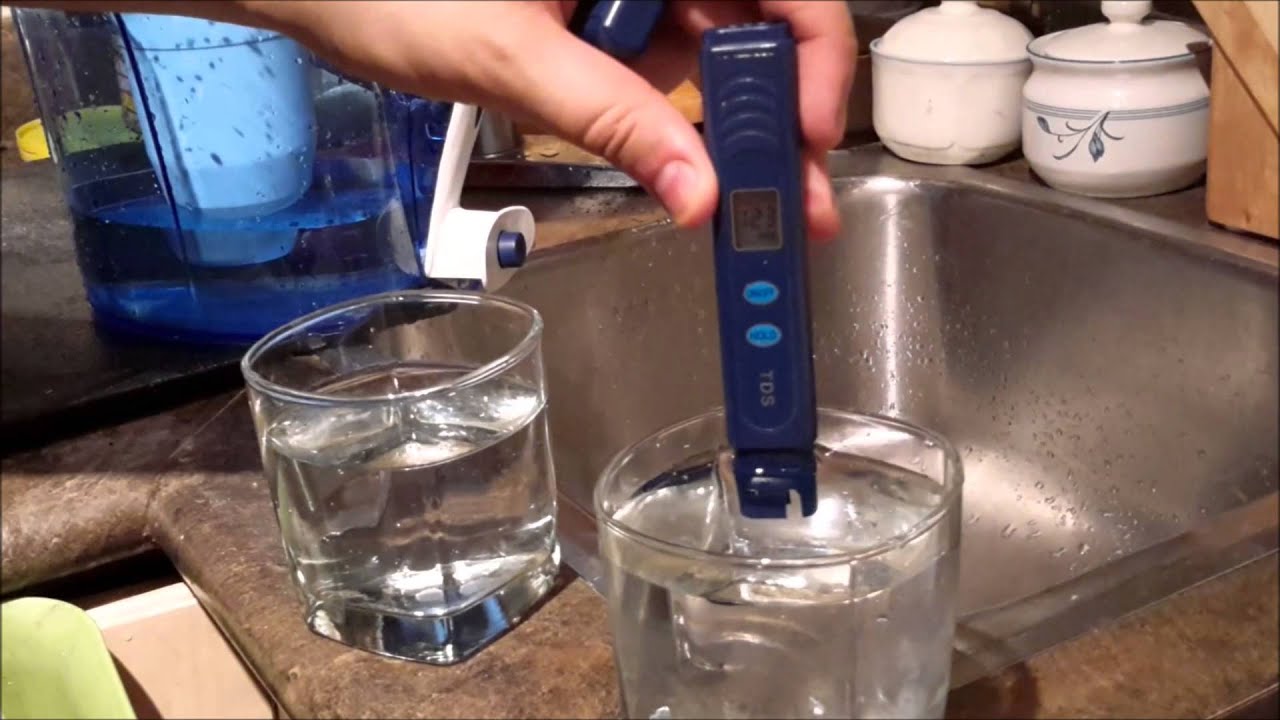
Next, check for total dissolved solids (TDS). This is the fancy way of measuring minerals, salts, and metals in your water. A reading under 300 parts per million is considered excellent; over 500, and you might notice a weird film on your ice cubes. A simple TDS meter, which costs about fifteen bucks, will give you a digital number that feels very satisfying to watch.
Cultural note: in Japan, many households regularly test tap water for hardness because soft water is prized for making delicate green tea. Meanwhile, in the UK, hard water is so common that tea drinkers have learned to love the scum ring in their cups as a sign of authenticity.
The Gadget-Lover’s Approach
If you’re the type who loves a gadget, consider a digital water tester that measures contaminants like lead, nitrates, or bacteria. These are pricier—think fifty to a hundred dollars—but they provide a level of detail that your senses can’t touch. I personally love the satisfying beep when it says “safe” after testing my morning glass.
But here’s the real pro tip: test your water at different times of day. Morning water that’s been sitting in pipes overnight can show higher levels of metals, while water after running the tap for a few seconds is fresher from the supply line. So run the cold tap for thirty seconds before filling your test glass—it’s a small habit that gives you a truer picture.
And never test water that’s been through a filter—you want to know what’s coming straight from the source, not what your Brita has already tamed. Unless you’re troubleshooting your filter’s performance, then by all means, compare filtered vs. unfiltered. It’s a little science experiment that makes you feel like a detective in your own kitchen.
 How to Test Tap Water Quality at Home | Step-by-Step Guide
When to Call in the Pros
If your home test kit reveals anything alarming—like high levels of lead, copper, or coliform bacteria—don’t panic, but do reach out to your local water utility. They are required by law to provide annual reports on water quality. You can also call a certified lab for a more thorough analysis, especially if you’re on well water.
Well water is a different beast entirely: it’s not regulated by the EPA, so you’re on your own for testing. For well owners, I recommend a comprehensive test at least once a year, checking for nitrates, bacteria, and heavy metals. It’s like an annual physical for your home, but with less small talk.
Fun fact: the first municipal water testing system was established in London in 1854, after a cholera outbreak was traced to a single pump on Broad Street. Today, you can test your water for less than the cost of that same cup of tea—civilization has come a long way.
Bringing It All Home
Testing your tap water is ultimately a gentle act of self-care—a small check-in with the invisible systems that support your daily life. It’s not about fear; it’s about understanding. When you know your water’s profile, you can choose the right filter, adjust your soap, or simply feel more grateful for what flows out of the tap.
So next time you fill your kettle or your water bottle, take a moment. Dip a strip, inhale deeply, and let the clarity of the test reassure you. Your water has been doing its job for millions of years, and now, with a little curiosity, you can do yours—turning a simple test into a quiet morning ritual. Because the best part of home testing isn’t the data; it’s the peace of mind that comes from knowing exactly what you’re drinking.
