How To Set A Water Softener

So the other day, I’m at my sister’s place, and she hands me a glass of water. I take a sip, and I swear it tastes like someone melted a handful of pennies and stirred in a bi...
:max_bytes(150000):strip_icc()/installing-a-water-softener-2718669-FINAL-1-ee8de137dcf84b5db1e28f84a7dec11b.png)
So the other day, I’m at my sister’s place, and she hands me a glass of water. I take a sip, and I swear it tastes like someone melted a handful of pennies and stirred in a bit of chalk. She sighs, points at the crusty white build-up around her faucet, and says, “My skin feels like sandpaper, and my hair is a disaster. Help.” I looked at that faucet—a monument to hard water—and I knew exactly what she needed.
That’s the moment I realized: setting a water softener isn’t some arcane plumbing ritual. It’s the difference between drinking from a mountain spring and licking a rock. If you’re dealing with scale on your dishes, dry skin, or clothes that feel stiff, you’re probably in the same boat. Let’s fix it.
The Big “Why” Before The “How”
First, you need to understand what you’re fighting. Hard water is just water that’s packed with calcium and magnesium—fancy words for “stuff that makes everything crusty.” A water softener swaps those nasty minerals for sodium via a process called ion exchange. Yes, you’re adding a tiny bit of salt to your water. No, you won’t taste it (unless you’re my dramatic sister).
Must Read
You might be thinking, “Great, another appliance I have to babysit.” Relax. Once it’s set, it mostly runs itself. But skipping the setup correctly is like buying a Ferrari and never starting the engine—frustrating and pointless.
Step 1: Pick Your Spot And Your Gear
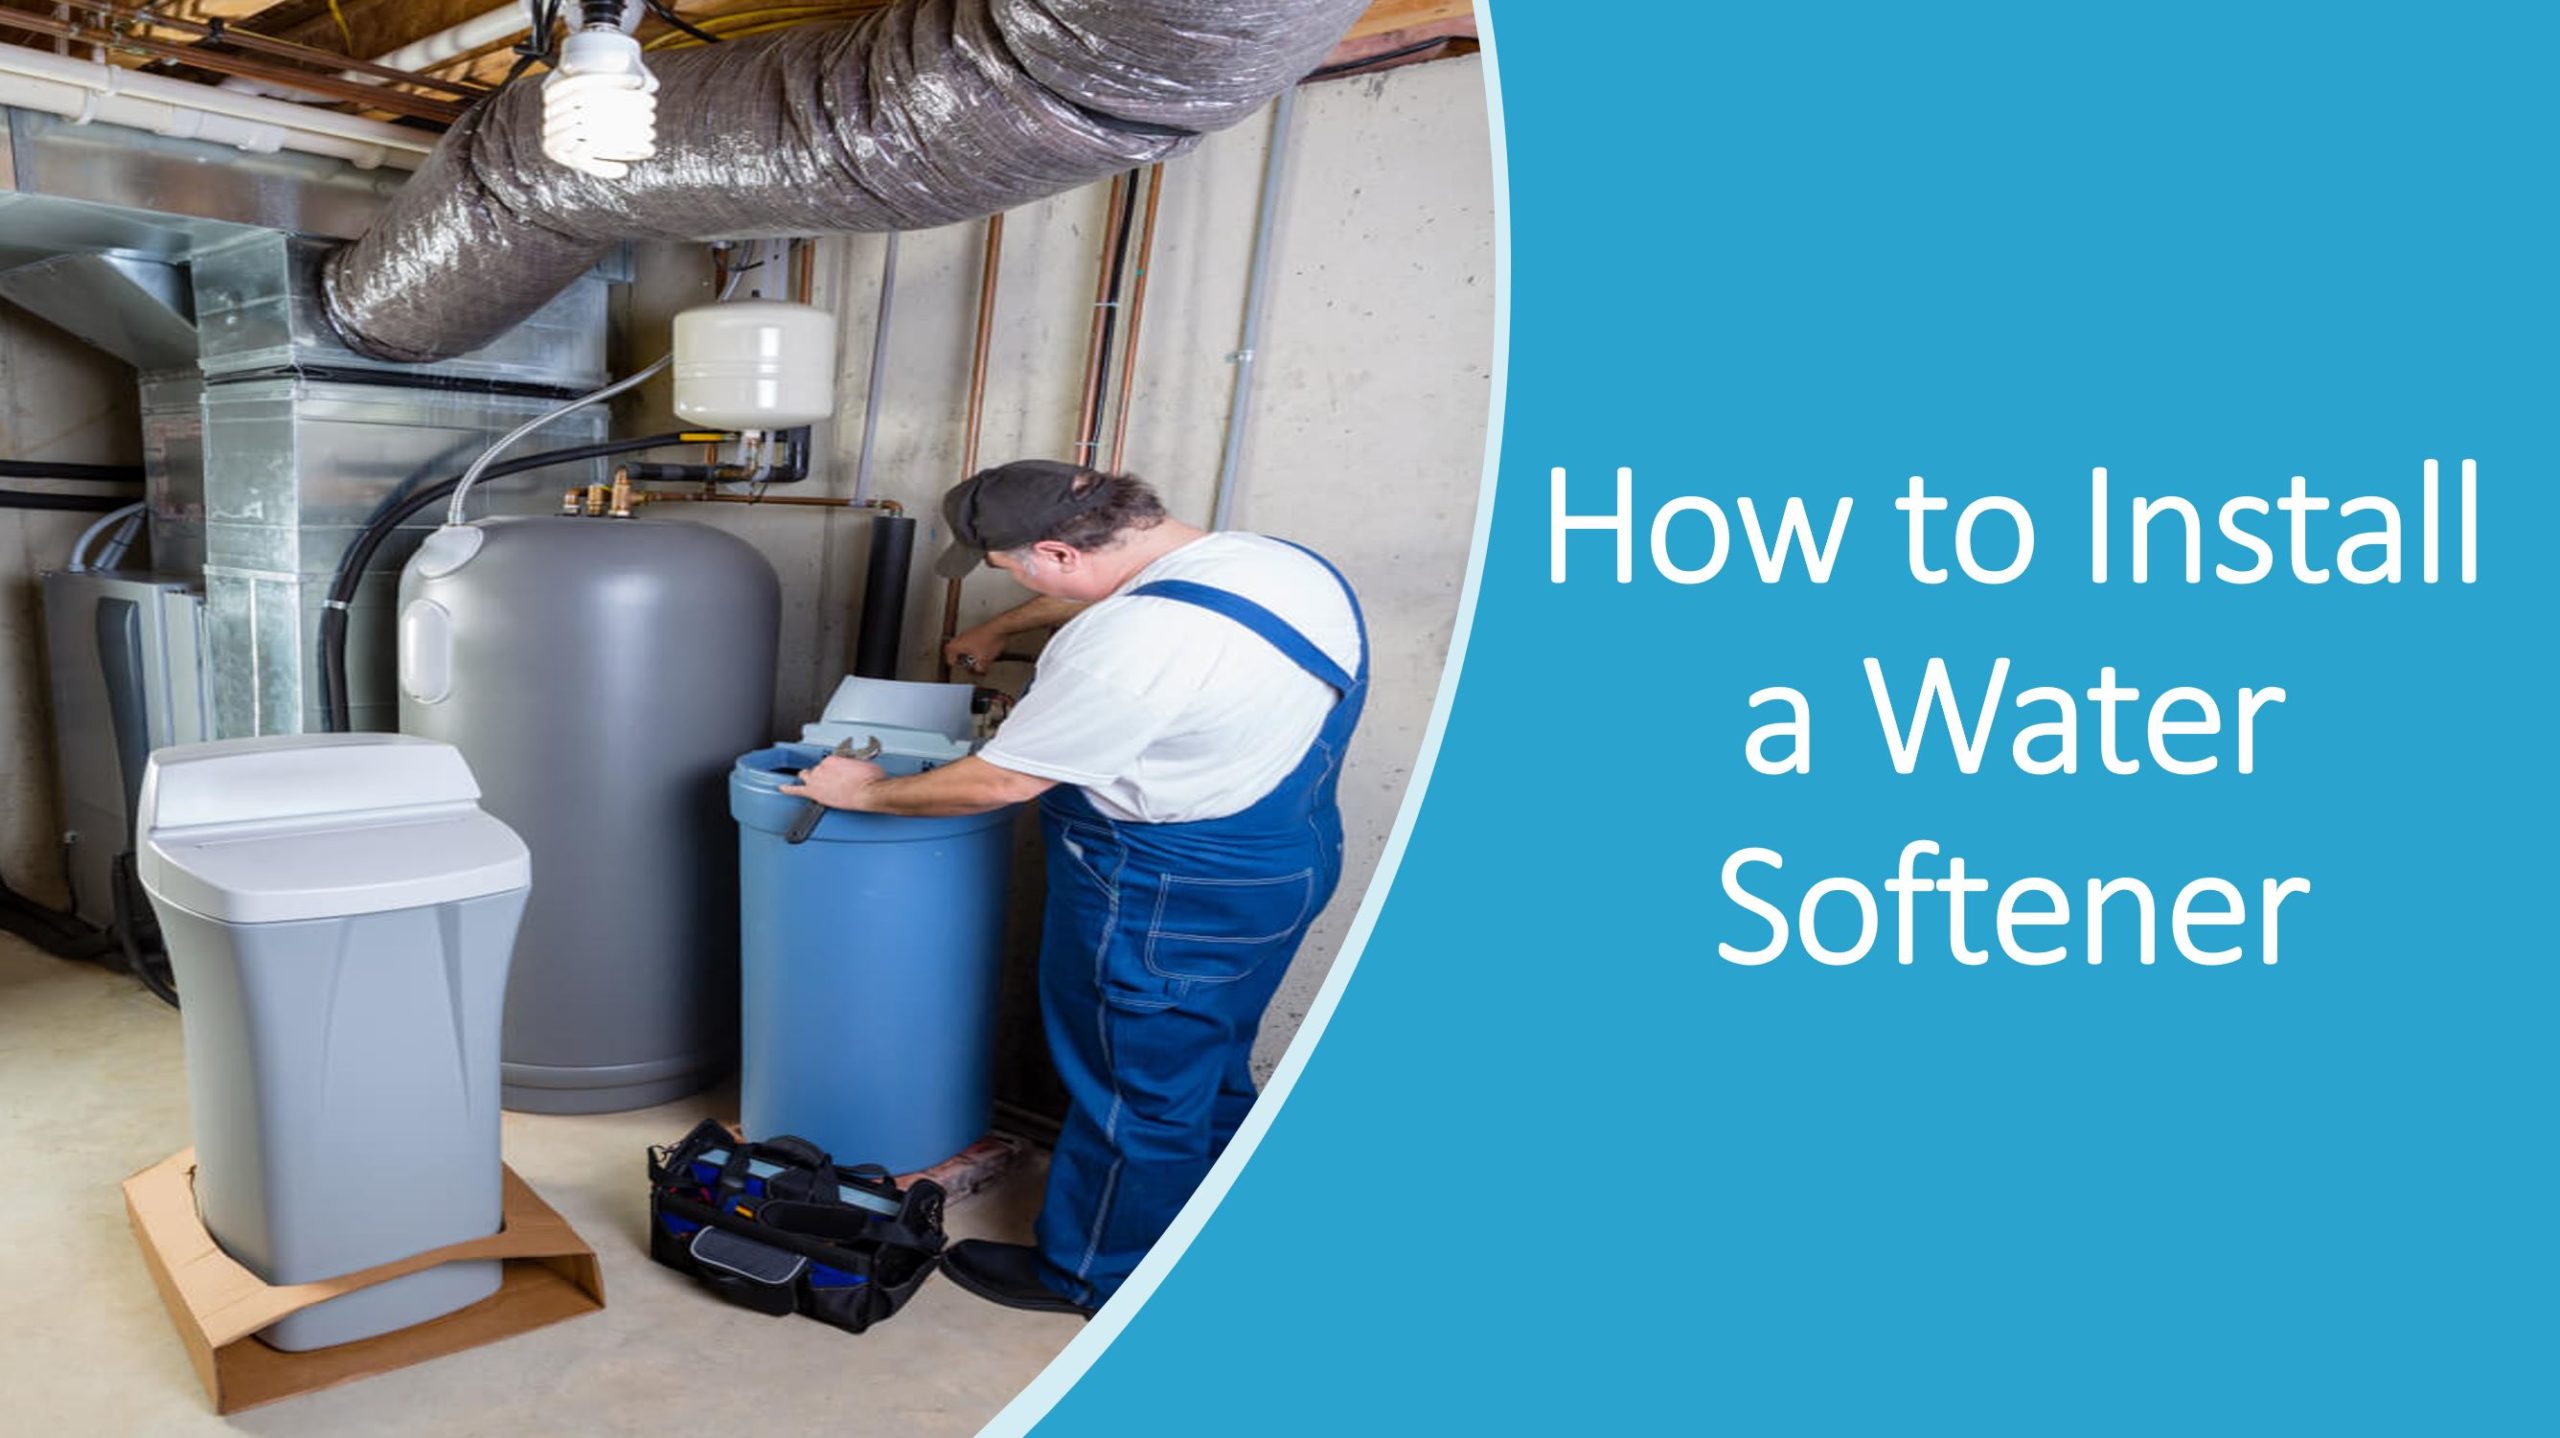
Find where your main water line enters the house. Usually, that’s near the water meter or the pressure tank. You want to install the softener before the water heater (so you don’t turn your heater into a limestone cave). Most kits come with a bypass valve—use it. It lets you shut off water to the unit without killing your whole house supply.
Now, unbox that thing. It should include a resin tank (the big one), a brine tank (the smaller one for salt), and a control valve. Look for the manual. Read it. I know, manuals are boring. But ignoring the diagram is how you end up with water on your basement floor and a profound sense of regret.
Step 2: The Plumbing Dance
This part freaks people out, but it’s just three connections: inlet, outlet, and drain. The inlet is your incoming hard water. The outlet goes to your house pipes. The drain line is for backwash—the dirty water that gets flushed out during regeneration. Use flexible hoses if you’re not handy with copper or PVC. No shame in that.
 Water Softener How To Set : How to Program Your Water Softener Settings
Pro tip: Put the bypass valve in the “service” position while you work to prevent leaks. And for the love of everything, turn off the main water supply before you cut into any pipes. I didn’t do this once. Cue a frantic, wet trip to the hardware store. Don’t be me.
Step 3: The Salt And The Brine
Your brine tank needs salt—not table salt, but water softener salt (pellets or blocks). Fill it about halfway. Don’t overfill; the salt needs room to dissolve and form brine. Add a few gallons of water to the tank initially to kickstart the process. The system will draw this water during regeneration to clean the resin beads.
You might notice a little dust from the salt. That’s normal. What’s not normal is ignoring the salt level until you run out. Set a reminder on your phone. Running dry means your water gets hard again, and your sister will call you crying about her faucets.
Step 4: Programming The Brain
This is where the magic happens. Your control valve has a tiny computer. You need to set three things: hardness level (in grains per gallon), capacity (how much water your system can treat before regenerating), and regeneration time. The hardness level is usually on your city water report or from a test kit. If you guess, guess high—it’s better to oversoften than undersoften.
 How to install a water softener whirlpool – Artofit
Set regeneration to happen at 2 AM. Nobody showers at 2 AM, and you won’t hear the whoosh of water being flushed. My first setup, I set it for 6 PM. Strong mistake. I took a shower mid-regeneration and got a blast of salty, iron-tasting water. I smelled like a pretzel.
Step 5: The First Test
Once everything’s plumbed and programmed, turn the water back on very slowly. Check for leaks at every connection. Then, run the softener through a manual regeneration cycle (the manual will show you how). This primes the system and beds the resin. After it finishes, run your kitchen faucet cold for a few minutes to clear any air or loose particles.
Now, fill a glass. Taste it. It should feel slick—almost silky—on your fingers. If it tastes like salt, you’ve got a brine line problem or the bypass is set wrong. If it still tastes like pennies, you might have missed the hardness setting. It’s not rocket science—just don’t panic.
Living The Soft Life
Once it’s set, you’ll wonder why you waited. Your dishes will sparkle. Your skin will feel like you’ve been moisturizing for a decade. My sister texted me a week later: “I licked my faucet. No pennies. Also, my hair is less like straw.” That’s the goal—a life without scale, chalk, or crunchy laundry.
Just remember the golden rules: keep salt in the tank, check the brine level every four weeks, and never ignore a leak. Oh, and don’t let your spouse use it to fill their fish tank (soft water kills fish—yes, I learned that the hard way). You’ve got this. Cheers to water that actually tastes like water.
:max_bytes(150000):strip_icc()/installing-a-water-softener-2718669-FINAL-1-ee8de137dcf84b5db1e28f84a7dec11b.png&description=How+To+Set+A+Water+Softener)