How To Change A Stopcock

Alright, gather ’round, because I’m about to teach you a life skill that’s 90% swearing and 10% plumbing. Changing a stopcock isn’t rocket science, but it is the kind of job t...

Alright, gather ’round, because I’m about to teach you a life skill that’s 90% swearing and 10% plumbing. Changing a stopcock isn’t rocket science, but it is the kind of job that makes you question your life choices—like buying a house built in 1972. But fear not. With a little bravado and this guide, you’ll go from panicking at a drip to feeling like a water-controlling wizard.
The Stopcock: Your Home’s Mute Button
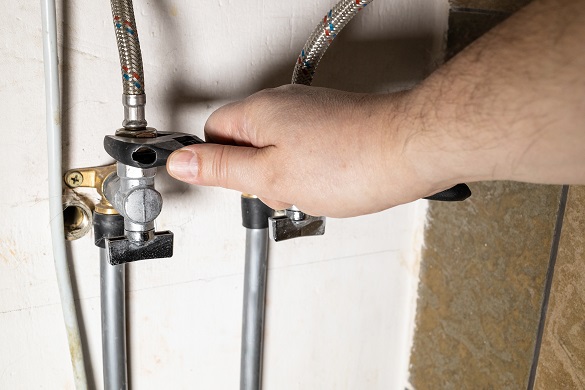
First, understand your enemy. A stopcock is simply a valve that shuts off your home’s main water supply. Think of it as the “mute button” for your plumbing. If you don’t know where yours is, go find it now—before a pipe bursts and your living room becomes an indoor swimming pool. Everyone has one, usually under the kitchen sink, in a dark, cobwebby corner, or behind a box of forgotten pasta from 2019.
Surprising fact: Some British homes have stopcocks made of actual lead or brass from the Victorian era. If yours looks like a prop from a pirate movie, it’s time for a change.
Must Read
Step 1: Gather Your Courage (and Tools)
You’ll need an adjustable spanner, a bucket, some plumber’s tape, and a towel you’re willing to sacrifice. Oh, and a new stopcock—buy one with a smooth, quarter-turn handle. The old twisty-turny ones are from the Dark Ages and will fail right when you’re hosting a dinner party. Also, grab a headlamp. You’ll be contorted under a sink like a yoga pretzel, and darkness is the enemy of dexterity.
Pro tip: If you can’t find your tools, a butter knife and a pair of pliers from your ex’s toolbox will not work. Spend the ten quid. Your future dry self will thank you.
Step 2: Shut Off the Water (If You Can)
Here’s the cosmic joke: to change the stopcock, you often need to turn the water off at the stopcock. But what if the old one is stuck, leaking, or made of rusted dreams? First, try turning it gently clockwise. If it doesn’t budge, don’t hulk it—you’ll snap the handle and create a geyser that impresses no one. Instead, shut off the water at the outside mains valve (a metal cover in your yard or pavement). That’s your backup plan. Bonus: you’ll get to practice your citizen’s arrest on a nosy neighbor who asks why you’re digging in the grass.
Step 3: Drain the System
Once the water is off, open every tap in your house—bathroom, kitchen, garden hose. Let it all gurgle out like a tired robot. This prevents a tsunami when you unscrew the old stopcock. While water drips, place your bucket under the connection. The bucket is not a suggestion; it’s a prophecy. You will get wet. Accept this. Own it.
 Domestic & General
Step 4: The Main Event—Wrestle the Old Stopcock
With your spanner, unscrew the compression nuts on both sides of the old stopcock. They’ve been tight since the Nixon administration, so use steady force—not jerky panic. If it won’t move, spray it with WD-40 and whisper sweet apologies to the plumbing gods. Once free, lift the old stopcock out, and stare at the gnarly, calcified thing you’ve extracted. That’s your hard work. It looks alien.
Surprising fact: The average stopcock contains enough limescale to build a small replica of the Colosseum. Yours might be a Roman ruin in disguise.
Step 5: Install the New Hero
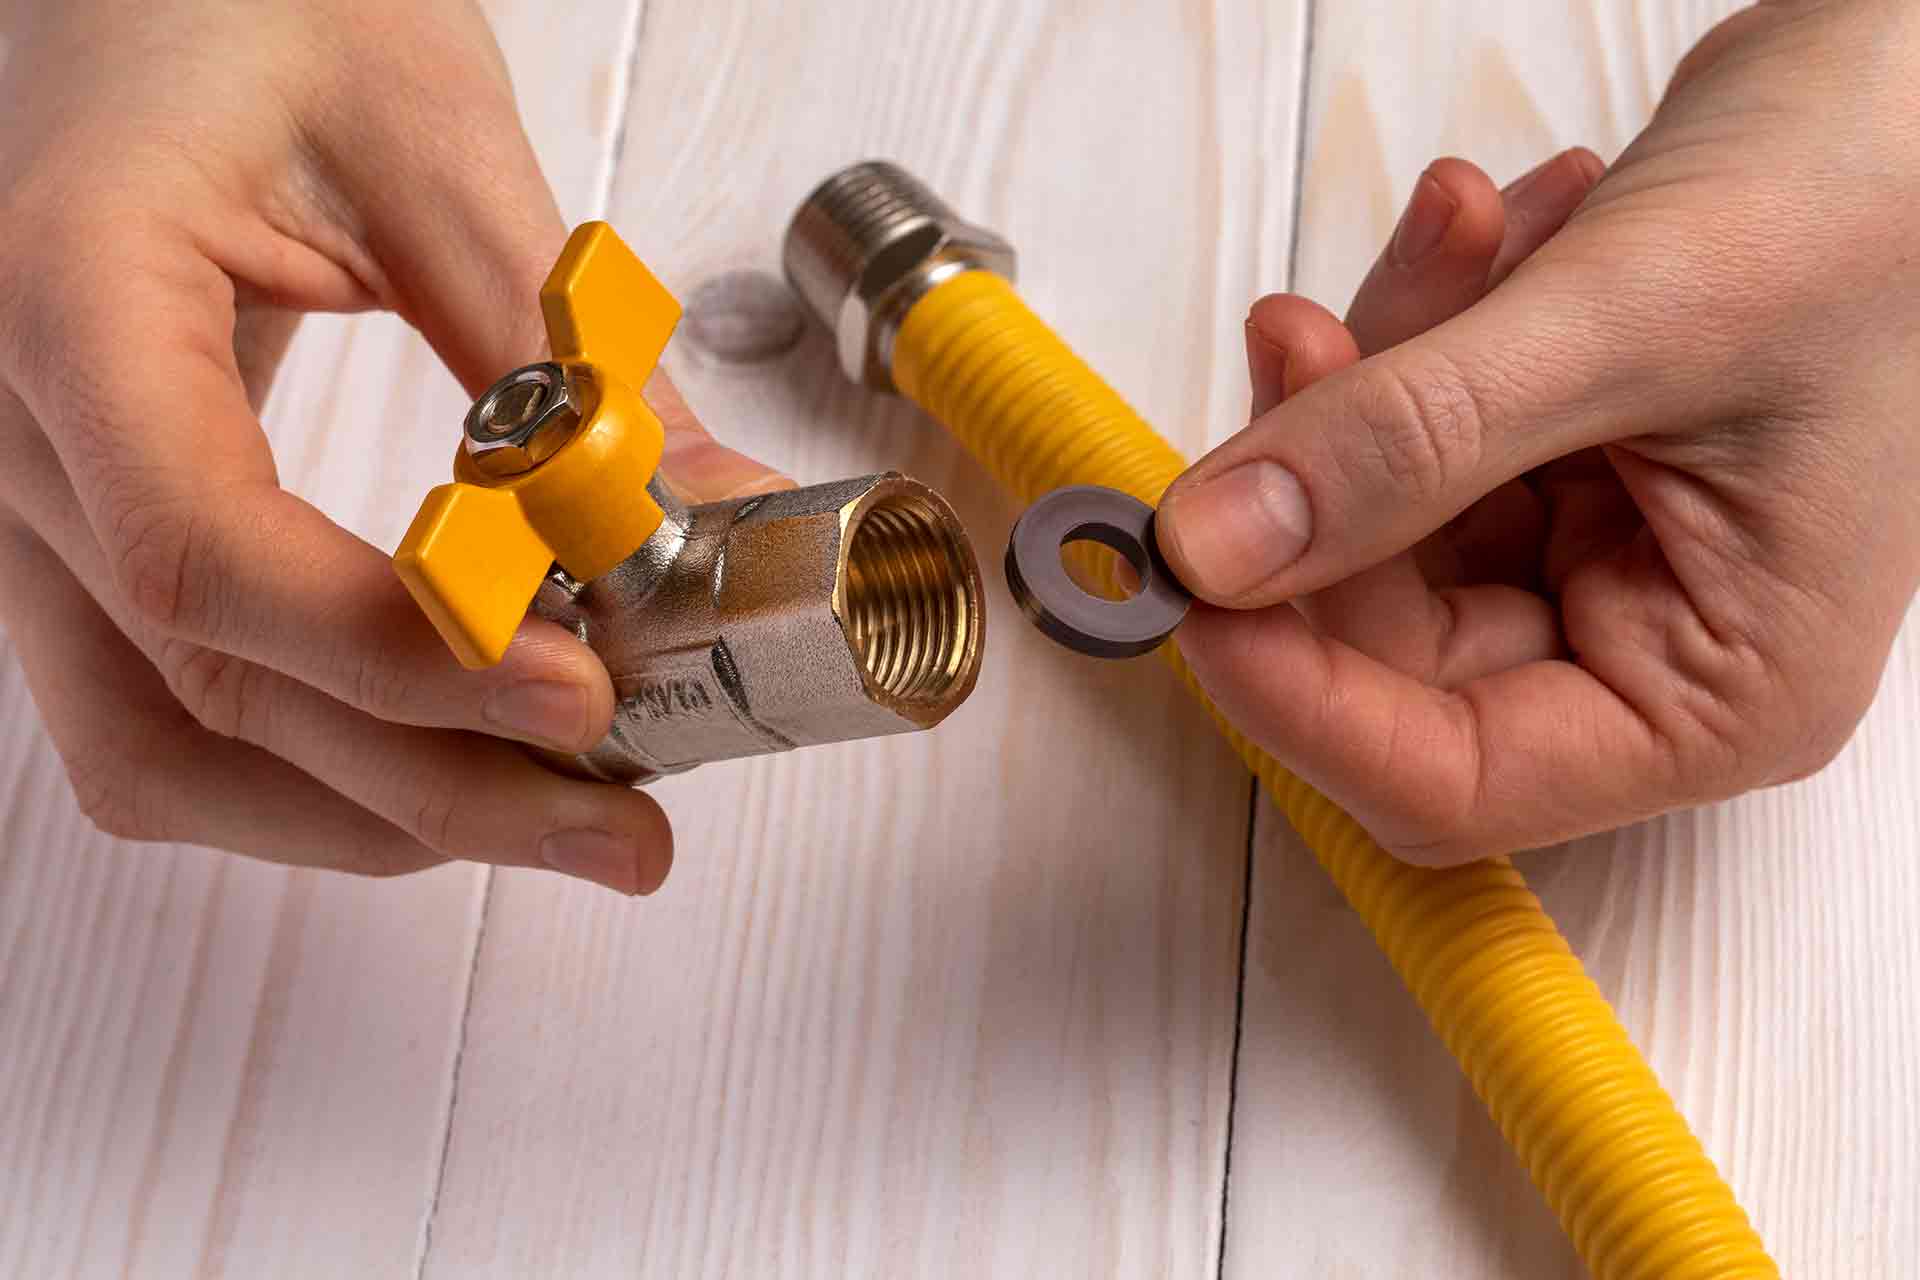
Wrap plumber’s tape (PTFE tape) around the threads of the copper pipe ends—five laps, clockwise. Then slide the new stopcock into place, with the handle lined up so it points forward (or whatever your soul desires). Tighten the compression nuts with your spanner—finger-tight first, then a quarter turn. Do not overtighten or you’ll crack the fitting and have a sad, wet basement. This is not a test of strength; it’s a test of finesse. You’re a ballet dancer, not a blacksmith.
Check the handle moves freely. If it doesn’t, you’ve installed it upside down, like a shirt on a drunk person. Fix it now.
 How to Fix a Leaking Stopcock | Step-by-Step | Checkatrade
Step 6: The Grand Reopening
Slowly turn the main water supply back on. Listen. Don’t trust the silence. Listen for hissing, dripping, or the sound of your wallet weeping. Then check your new stopcock for leaks. If you see a bead of water, give the nut an extra tiny nudge. If it still leaks, redo the tape. Yes, it’s annoying, but so is flood insurance.
Open all your taps again to let the air out of the pipes. They’ll sputter like a disappointed llama for a few seconds. That’s normal.
The Aftermath
Congratulations. You’ve just performed surgery on your house. Now you can shut off the water for fun (but don’t, your family will hate you). Remember: if at any point you’re panicking, call a plumber. Plumbers have seen your shame before. They’ve seen stopcocks in attics, under floorboards, and inside a wall behind a poster of a kitten hanging on a branch. Nothing surprises them.
Final startling fact: A single dripping stopcock can waste 5,000 gallons of water per year. Changing yours is basically saving the planet with a spanner. You eco-warrior, you.
Now go dry your hands, have a biscuit, and text your mum about your new skill. She’ll pretend to be impressed.
