Custom Camper Van Water Treatment Uv Ro Any Source

Picture this: it’s midnight somewhere in the Mojave Desert, and I’m staring at a half-full water jug that tastes like a swimming pool soaked in old rubber. The nearest tap is...
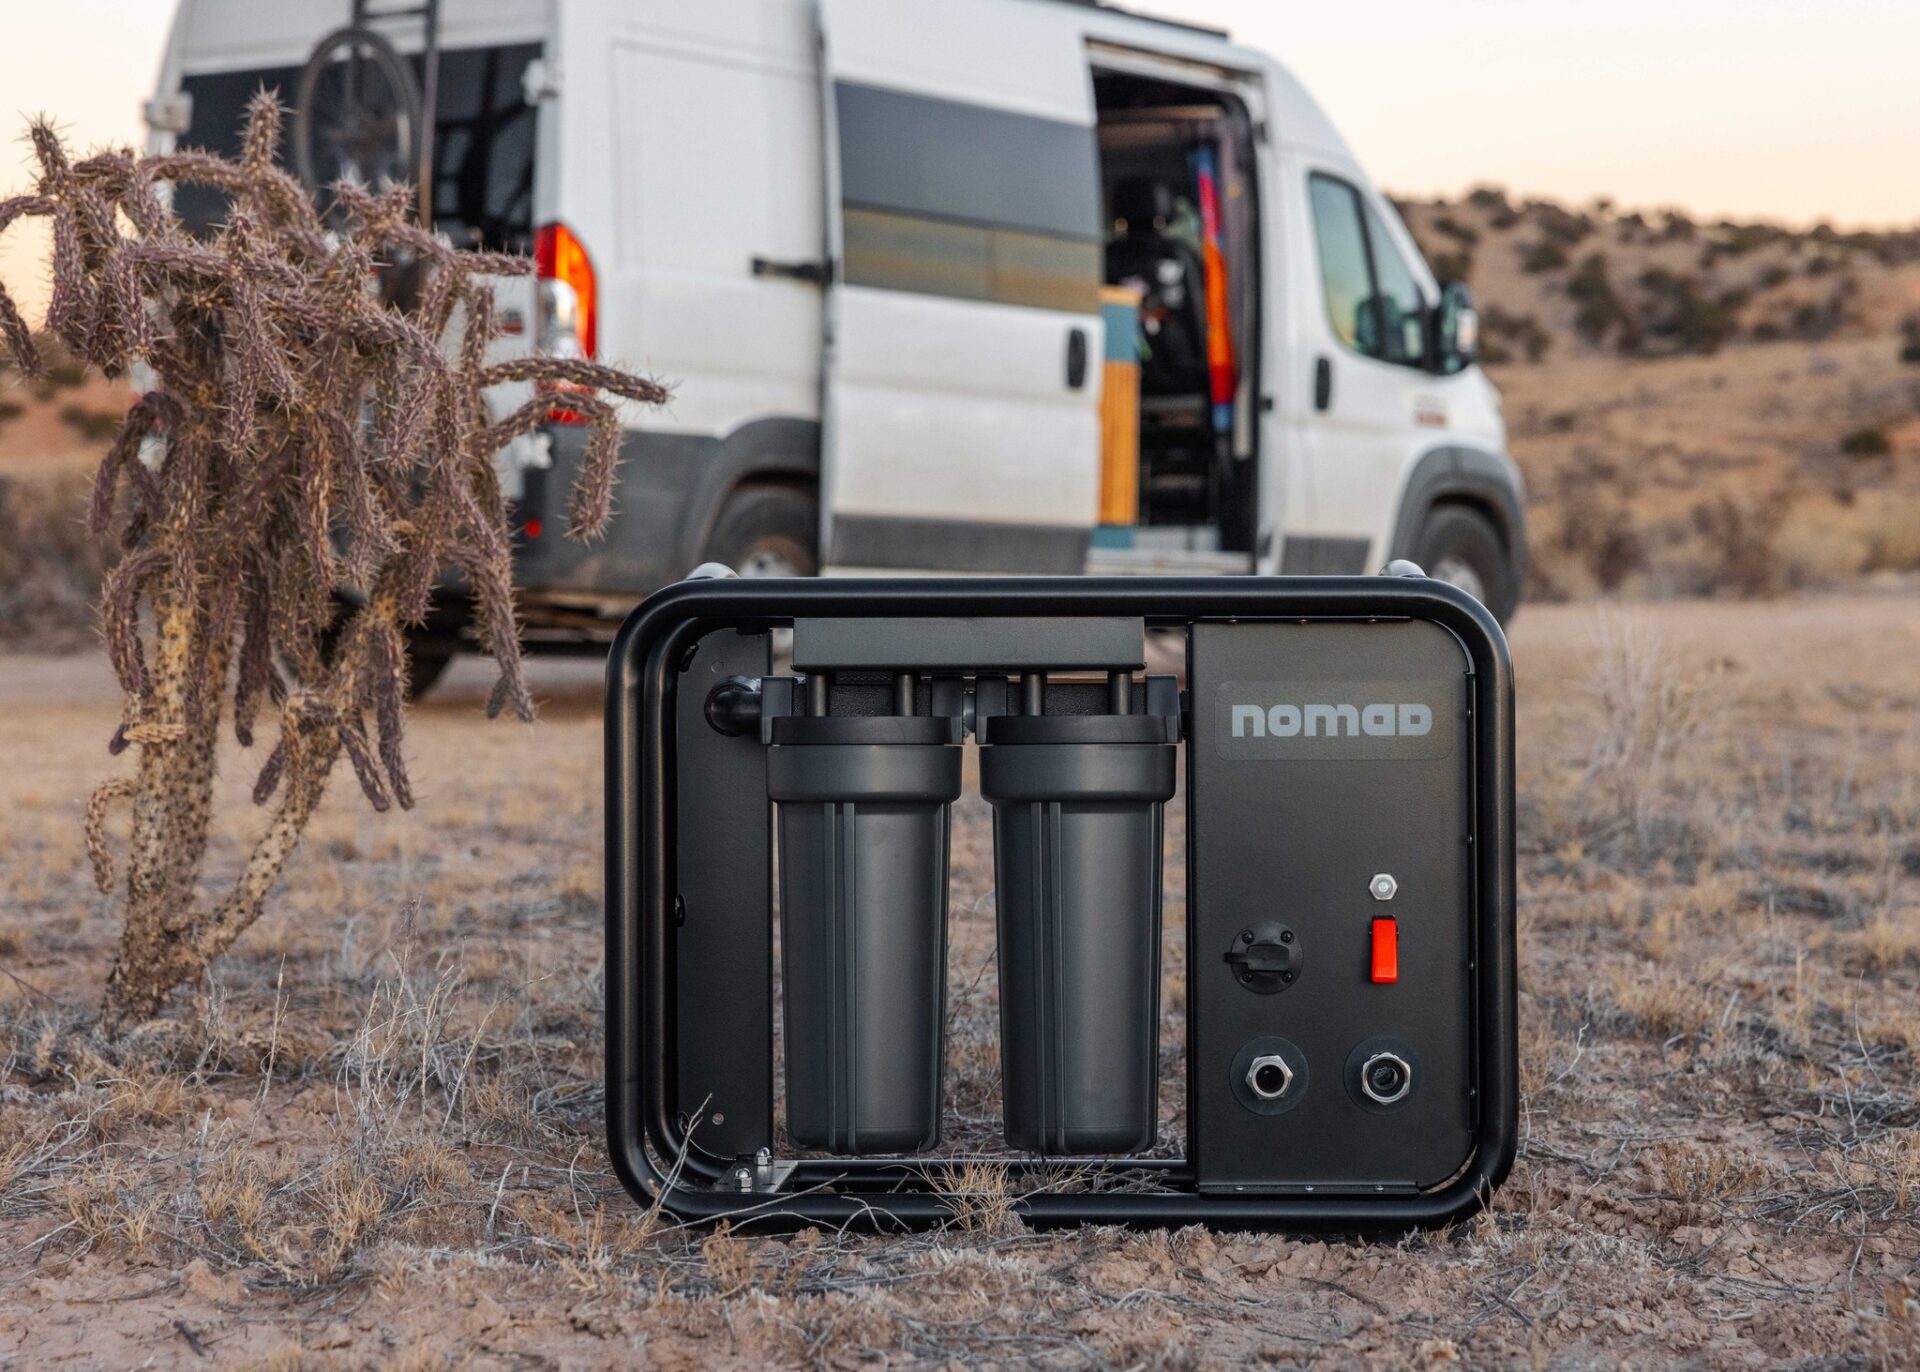
Picture this: it’s midnight somewhere in the Mojave Desert, and I’m staring at a half-full water jug that tastes like a swimming pool soaked in old rubber. The nearest tap is a hundred miles away. My custom van, which I’d lovingly built to be my rolling castle, suddenly felt like a dusty cardboard box. That’s the moment I realized: sourcing water is easy, but making it drinkable is an art form.
You probably know the drill—you fill up at a sketchy gas station, a random hose, or worse, a river. Your stomach clenches with every sip. But here’s the dirty little secret of van life: you don’t need to worry at all if you set up the right water treatment system. We’re talking about a custom camper van water treatment system that uses UV, RO, and the ability to handle any source—from a glacier melt to that murky spigot at the campground.
Why your water source is a gamble (and how to win)
Let’s be real: your water source changes daily. One day it’s a friend’s garden hose, the next it’s a creek you swore was clear. Newsflash: that clear creek is basically a microscopic rave of bacteria, viruses, and protozoa. You don’t want an invite to that party.
Must Read
A three-stage approach is your best friend. You need a sediment pre-filter (say goodbye to sand and rust), then a carbon filter (bye-bye chlorine and weird tastes), and then the heavy hitters—UV and RO. This combo turns any questionable liquid into water you’d proudly pour for your mom. Yes, even that greenish pond water.
The UV magic (instant bacteria murder)
Ultraviolet light is basically the supervillain for microbes. It zaps their DNA and makes them unable to reproduce. UV is fast, chemical-free, and works in seconds. I’m not joking—it’s like a tanning bed for germs, but way less fun and way more effective.
But here’s the catch: UV only works if the water is clear. If your water looks like iced tea (thanks, tannins), the UV light can’t penetrate. That’s where your pre-filters come in. Don’t skip them, or you’ll just be giving bacteria a nice warm glow.
RO (Reverse Osmosis) – the nuclear option for pure water
Now, if you’re a total water snob like me, you want Reverse Osmosis. RO pushes water through a membrane so tight that even dissolved salts, heavy metals, and microplastics get the boot. The result? Water that tastes better than anything from a plastic bottle. Seriously, it’s like drinking liquid air.
The downside? RO systems can be thirsty and slow. You’ll need a booster pump in a van setup because your standard 12V system won’t push enough pressure. But once you’ve tasted water that’s as pure as the driven snow (which probably isn’t clean either, honestly), you won’t go back.
Setting it up in your custom van (the fun part)
You don’t need a PhD in plumbing. Most vandwellers wire a simple system: another source input → sediment filter → carbon filter → UV light → storage tank → optional RO for drinking faucet. Keep it modular so you can replace filters without crying. Trust me, your future self will thank you.
 Rv Uv Water Treatment at Cathrine Merritt blog
One pro tip: install a bypass valve for the RO unit. When you’re at a good water source (like a friend’s house with city water), skip the RO to save your membrane. Use it only for nasty sources. Your wallet will also thank you.
The “any source” trick that blew my mind
I used to think treating water meant carrying five gallons of bottled stuff. Then I learned you can literally fill up from a muddy puddle if you have the right pre-filtration. A catalytic carbon filter before your main setup can handle weird smells and organic gunk. Pair that with UV and RO? You’re basically a water alchemist.
Even rain water is fair game now. Collect it off your roof, run it through an initial mesh filter, then through your carbon+UV setup. Boom—free water that tastes like clouds. Just don’t forget to clean your gutters first, unless you fancy drinking bird poop extract.
What about cost and maintenance?
Look, a decent custom setup costs between $300 and $800. That sounds like a lot until you realize you’ll spend that much on plastic bottles in two road trips. Plus, you’re saving the planet from your own waste. High five for that.
Maintenance is the real party pooper. Change your sediment filter every three months, your carbon filter every six, and your UV bulb annually. RO membranes last a few years if you treat them right. Set a reminder on your phone, or you’ll be that person drinking pink slime on YouTube. Don’t be that person.
The peace of mind is the real win
Now when I pull up to a random spigot in New Mexico, I don’t flinch. My system grumbles for a minute, then quietly pours crystal-clear water. That feeling—knowing your body won’t betray you on a lonely road—is worth every penny. Plus, you can brag to other van dwellers about your “water wizard” setup. They’ll nod politely, but secretly they’re jealous.
So go ahead, build that custom camper van water treatment system. Use UV and RO and embrace any source. Your stomach, your van, and your future desert self will all sing your praises. Just remember: water is life, but treated water is freedom. Now go drink something that won’t make you run for the bushes.
