How To Set Water Hardness On Water Softener

There’s a quiet magic in a perfectly frothed cappuccino, or a shower that leaves your skin feeling like silk instead of sandpaper. That magic is water softness, and it all sta...
There’s a quiet magic in a perfectly frothed cappuccino, or a shower that leaves your skin feeling like silk instead of sandpaper. That magic is water softness, and it all starts with a little dial you might have ignored for months. Let’s talk about setting your water hardness—a five-minute task that can turn your home from gritty to glorious.
First, a quick confession: I used to think water softeners were for people who named their lawn mowers. Then a friend’s washing machine died after a mineral invasion, and I got woke. Hard water is basically liquid rock—full of calcium and magnesium that leave scale on your faucets and sadness in your hair. Your softener’s job is to trade those minerals for sodium, giving you that silky water you can actually feel.
Step One: Know Your Enemy
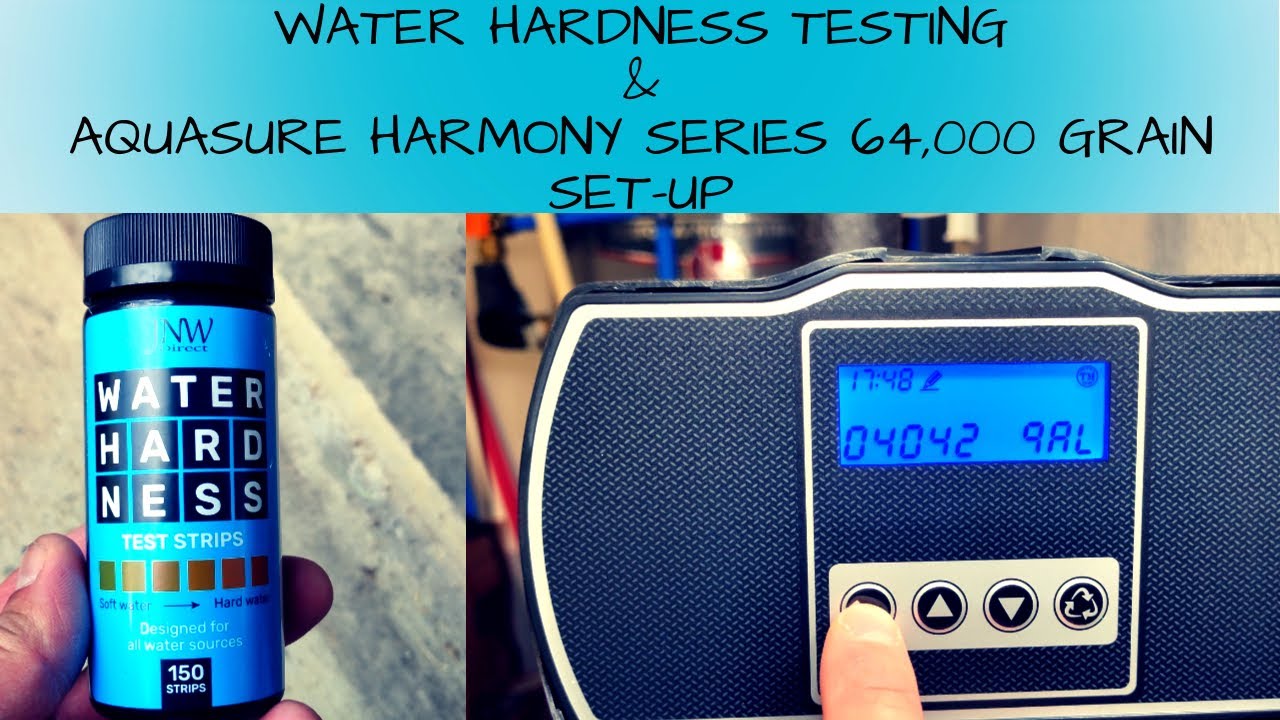
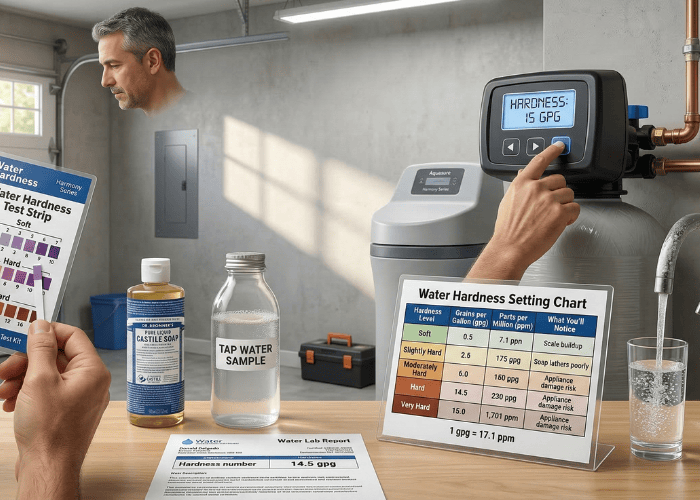
You cannot set the dial without data. Grab a simple water hardness test strip from Amazon or your local hardware store—they cost about a latte. Dip it, wait one minute, and read the number against the color chart. That number, measured in grains per gallon (GPG), is your home’s fingerprint.
Must Read
If you live in the American Southwest, expect a number like 15 or 20 GPG—you’re basically drinking the Colorado River’s sedimentary memoir. If you’re in the Pacific Northwest, you might get a 3, which is practically rain. Fun fact: The average US home has 7 to 10 GPG, making most of us “moderately hard,” which sounds like a level in a video game.
Step Two: Find Your Control Panel
Your water softener control head is usually a rectangular box with buttons or a dial, sitting on top of a tall resin tank. It looks like a prop from a 1980s sci-fi film. Don’t be intimidated—it’s friendlier than it looks.
Locate the setting labeled “Hardness,” “HARD,” or a number with a little grain icon. Some models use plus and minus buttons; older ones have a physical dial you turn like a safe. Press or turn until the number matches your test strip result. If your test strip says 12, you set it to 12—not 15, not 10. Precision matters here like it does in baking a soufflé.
Step Three: Adjust for Your Weird Life
Here’s where it gets fun: you can fudge the number. If you have an iron-rich well, add 3 to 5 GPG to your setting. Iron is a greedy mineral that clogs resin faster than a toddler clogs a toilet. Similarly, if you use a lot of water—say, a family of five with daily baths and a garden—add 2 to 3 GPG to compensate for peak demand.
 How to Measure Hardness in Water (and Using a Water Softener Hardness
My neighbor swears by adding one extra grain for every cat you own. I can’t verify this scientifically, but her tabby, Sir Reginald, does have remarkably shiny fur. Practical tip: Write your setting on a piece of painter’s tape and stick it to the side of the tank. You will forget it by next Tuesday.
Step Four: The Regeneration Dance
Most modern softeners regenerate automatically based on time or water volume. If your model is super basic, you might need to set a timer for 2:00 AM. Nobody wants to be murdered by brine noise during a midday nap, so keep that regen time during your sleeping hours.
Check your manual for “salt dose” settings—often a separate number from hardness. A standard rule is to use one pound of salt per grain of hardness removed. That’s not a math test; it’s just a helpful reference. Pro tip: Use solar salt pellets. They’re cleaner than rock salt and make your brine tank smell like a beach vacation instead of a science lab.
Step Five: Taste the Victory
Wait 24 hours for the system to fully adjust. During that time, run a cold tap for five minutes and fill a glass. The water should feel slightly slick between your fingers—that’s the softness. If it still feels like mineral water, increase your hardness setting by 2 GPG and test again in a day.
 Water Softener Hardness Chart at Arnold Peete blog
If your water turns salty, you’ve gone too far. Back it down by 3 GPG. Perfect softness is a Goldilocks zone—not so soft that your soap won’t rinse, not so hard that your shower head looks like a limestone cave. It might take two or three tweaks. That’s fine. You’re not performing brain surgery; you’re just bossing a box of salt around.
The Aesthetic Payoff
Imagine this: you take a shower, and your skin doesn’t squeak. You wash your car, and it dries without spots. Your coffee maker stops weeping scale dust into your morning brew. That’s the reward for 10 minutes of effort. You’ve essentially turned your plumbing into a luxury spa.
There’s also a weird cultural flex here. In Europe, they call soft water “sweet water,” and older homes in Paris still have placards boasting of it. You now share a secret with Italian laundry grandmas and Japanese onsen masters: you control the mineral destiny of your home. Wear that knowledge like a badge.
A Few Quirky Warnings
Don’t set your hardness to zero thinking you’ll save salt. Zero means your resin thinks it’s done forever—it won’t regenerate, and you’ll get hard water again within a week. Also, don’t mix potassium chloride with sodium chloride unless you enjoy reading angry red error codes at 3 AM. Fun fact: Potassium is better for garden irrigation, but it costs triple. Your tomatoes won’t know the difference, but your wallet will.
Short Reflection
In a world where we can’t control much—traffic, politics, the price of avocados—setting your water hardness is a small, concrete victory. You turn a dial, and suddenly, your dishes sparkle. Your laundry breathes again. You feel like a minor deity of domestic engineering. That, right there, is the quiet luxury of getting the small things right. So go ahead: run that test, twist that knob, and let the good, soft water flow.
