How To Install A Water Softener With A Well

So there I was, standing in my basement, staring at a puddle of water that had somehow crawled three feet from the well tank. My wife yelled down, “Is the coffee maker broken...

So there I was, standing in my basement, staring at a puddle of water that had somehow crawled three feet from the well tank. My wife yelled down, “Is the coffee maker broken again?!” No, dear, the coffee maker was fine—it was the hard water that had decided to stage a rebellion. The white, crusty buildup on every faucet had finally clogged the machine’s soul. That’s when I knew: time to install a water softener on our well system. Spoiler alert: it’s not as scary as it sounds, but it will make you question your plumbing sanity.
First, the “Why Bother?” Moment
If you’ve got a well, you’ve probably got hard water—calcium and magnesium having a party in your pipes. Your soap won’t lather, your dishes look foggy, and your hair feels like straw. Installing a softener fixes that by swapping those minerals for sodium ions. And yes, you’ll finally get that silky shower feel. But here’s the kicker: with a well, you can’t just hook up a softener like a city-water person—you have to account for sediment and iron, too.
Step 1: Gather Your Gear (And Your Patience)
You’ll need a water softener unit (duh), a bypass valve, some copper or PEX pipe, a drain line, and a brine tank. Don’t forget the sediment filter—well water loves to bring along sand and rust. I bought a whole kit online, and my wife gave me that look—you know, the one that says, “Are you sure you didn’t just buy a ticket to a disaster movie?” Spoiler: I was kind of sure.
Must Read
Tools you actually need:
A pipe cutter, adjustable wrenches, Teflon tape, a drill, and a bucket for the inevitable drips. Oh, and a flashlight—because your well pit is probably darker than a cave. Trust me on the flashlight—I dropped a bolt in the dark and spent ten minutes fishing it out with a magnet.
Step 2: Find Your “Sweet Spot” for Installation
You want to install the softener after the pressure tank but before the water heater. Why? Because hot water tanks hate hard water, and the softener needs to catch the minerals cold. Also, put it close to a drain for the backwash cycle. I chose a spot near the sump pump, which was convenient—until I stepped in a puddle and my sock became a sponge. Classy, right?
Step 3: The Actual Pipe Cutting (Breathe, It’s Fine)
Shut off the well pump and drain the pressure tank. Then, cut into the main water line with your pipe cutter—slow and steady, like you’re slicing a bagel, not a finger. Install the bypass valve first, so you can still have water if the softener goes haywire. Pro tip: use two wrenches when tightening fittings—one to hold the pipe, one to turn. I learned this after my first twist resulted in a tiny geyser that soaked my jeans. My dog thought it was a new water feature.
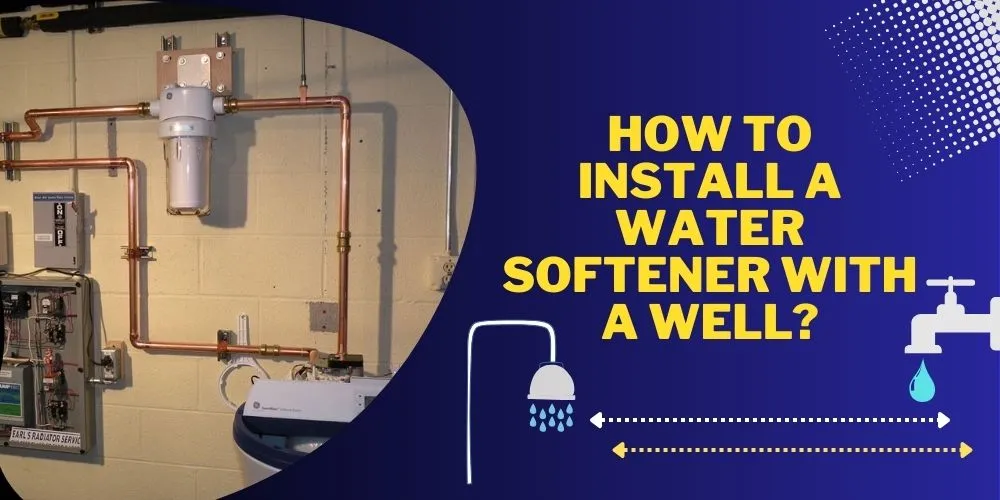 How To Install A Water Softener With A Well In 5 Easy Steps
Connecting the softener unit:
Attach the inlet and outlet pipes to the softener head—most units are color-coded. If yours aren’t, good luck—I had to Google the manual at 11 PM. Use Teflon tape on all threaded connections, but don’t go crazy; three wraps max. Then, run the drain line from the softener to your floor drain or utility sink. Make sure it’s lower than the unit, or gravity will play a cruel joke on you.
Step 4: The Brine Tank (It’s Not As Gross As It Sounds)
The brine tank holds salt, which regenerates the resin beads. Fill it with water softener salt—not rock salt from your driveway, for crying out loud. I used pellets, and the first time I poured them, it sounded like a thousand tiny hailstones. Connect the brine line from the tank to the softener head. Double-check that it’s tight, because leaking brine smells like low tide in a bad way.
Step 5: Prime, Purge, and Pray
Turn the water back on slowly. Open a faucet nearby to let air out of the pipes. You’ll hear gurgling and sputtering—that’s normal; it’s the system burping after a meal of hard water. Run the softener through a manual regeneration cycle (check your manual for the button combo). I hit the wrong button and flooded the floor slightly. My wife brought me a mop and a beer. Priorities.
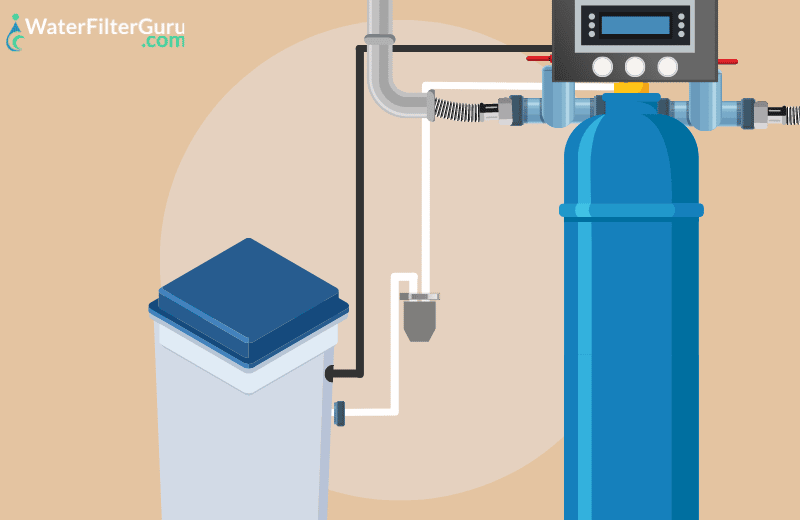 How to Install a Water Softener With a Well (With Pictures)
Testing the waters (literally):
After a full cycle, test the water hardness with a simple strip kit. If it’s below 1 grain per gallon, you’re golden. If not, adjust the settings or check for a leak. I got a reading of zero, and I felt like a plumbing god for about three minutes. Then I realized I had to clean the pile of tools in the corner.
The Ironic Part: You’ll Miss the “Hard” Life
Now, your water is soft and silky, and your soap lathers like a dream. But you’ll also notice: your skin feels slippery (that’s the lack of scum), your plants might need a different watering schedule, and your coffee maker will stop leaking. Is it worth it? Absolutely—especially when you see your wife smile after a shower without screaming about soap residue. Just be ready for the next “project” she’ll hand you. And trust me, she will.
So go on, grab your pipe cutter and a six-pack of patience. Your well water is about to get a serious attitude adjustment. And if you hear gurgling sounds at midnight, don’t panic—it’s just the softener regenerating. Or a ghost. Probably the softener.
