How To Test For Arsenic In Water

So, my friend Laura—a total health nut who juices kale and runs marathons for fun—called me last week in a full-blown panic. She’d just gotten her well water tested, and the l...

So, my friend Laura—a total health nut who juices kale and runs marathons for fun—called me last week in a full-blown panic. She’d just gotten her well water tested, and the lab report had a scary red flag: arsenic. Not like a murder mystery level, but enough to make her stop chugging from the tap mid-sentence. I had to talk her off the ledge, and that’s when I realized most people have no clue how to test for this sneaky poison. Including me, until I did the homework. So, grab a coffee (or maybe bottled water), and let’s wade into this together.
Why You Should Even Care About Arsenic
First off, arsenic isn’t just a plot device in ancient murder cases or a creepy Victorian wallpaper ingredient. It’s a naturally occurring element that can leach into your groundwater from rocks, old mines, or even agricultural runoff. The scary part? You can’t see it, smell it, or taste it—it’s the silent houseguest who ruins the party.
The EPA sets a maximum contaminant level at 10 parts per billion (ppb) for public water systems, but if you’re on a private well, you’re the sheriff. Long-term exposure has been linked to skin issues, cancer, and heart problems. Delightful, right? Don’t panic, though—testing is way easier than you’d imagine.
Must Read
Step One: Know Your Water Source (And Your Risk)
If you’re on municipal water, you’re probably safe—your utility has to send you annual reports. But check those reports anyway, because sometimes they glance over “trace” levels like it’s no big deal. Private wells are where the real wild west begins, especially in areas with historic mining or volcanic soil (think the Southwest, New England, or the Midwest).
Quick reality check: don’t assume your “mountain spring” is pure just because it tastes crisp. That lovely taste could be arsenic’s cousin. Ironic, no? The only way to know is to test.
Step Two: Grab a Test Kit—Seriously, It’s Simple
You don’t need a chemistry degree or a hazmat suit. There are two main routes: DIY test strips (cheap and fast) or lab-grade kits (more accurate and thorough). Test strips from a hardware store cost about $15–$30—you dip them in a water sample, wait, and match the color to a chart. They’re great for a quick “yikes or nah?” vibe check.
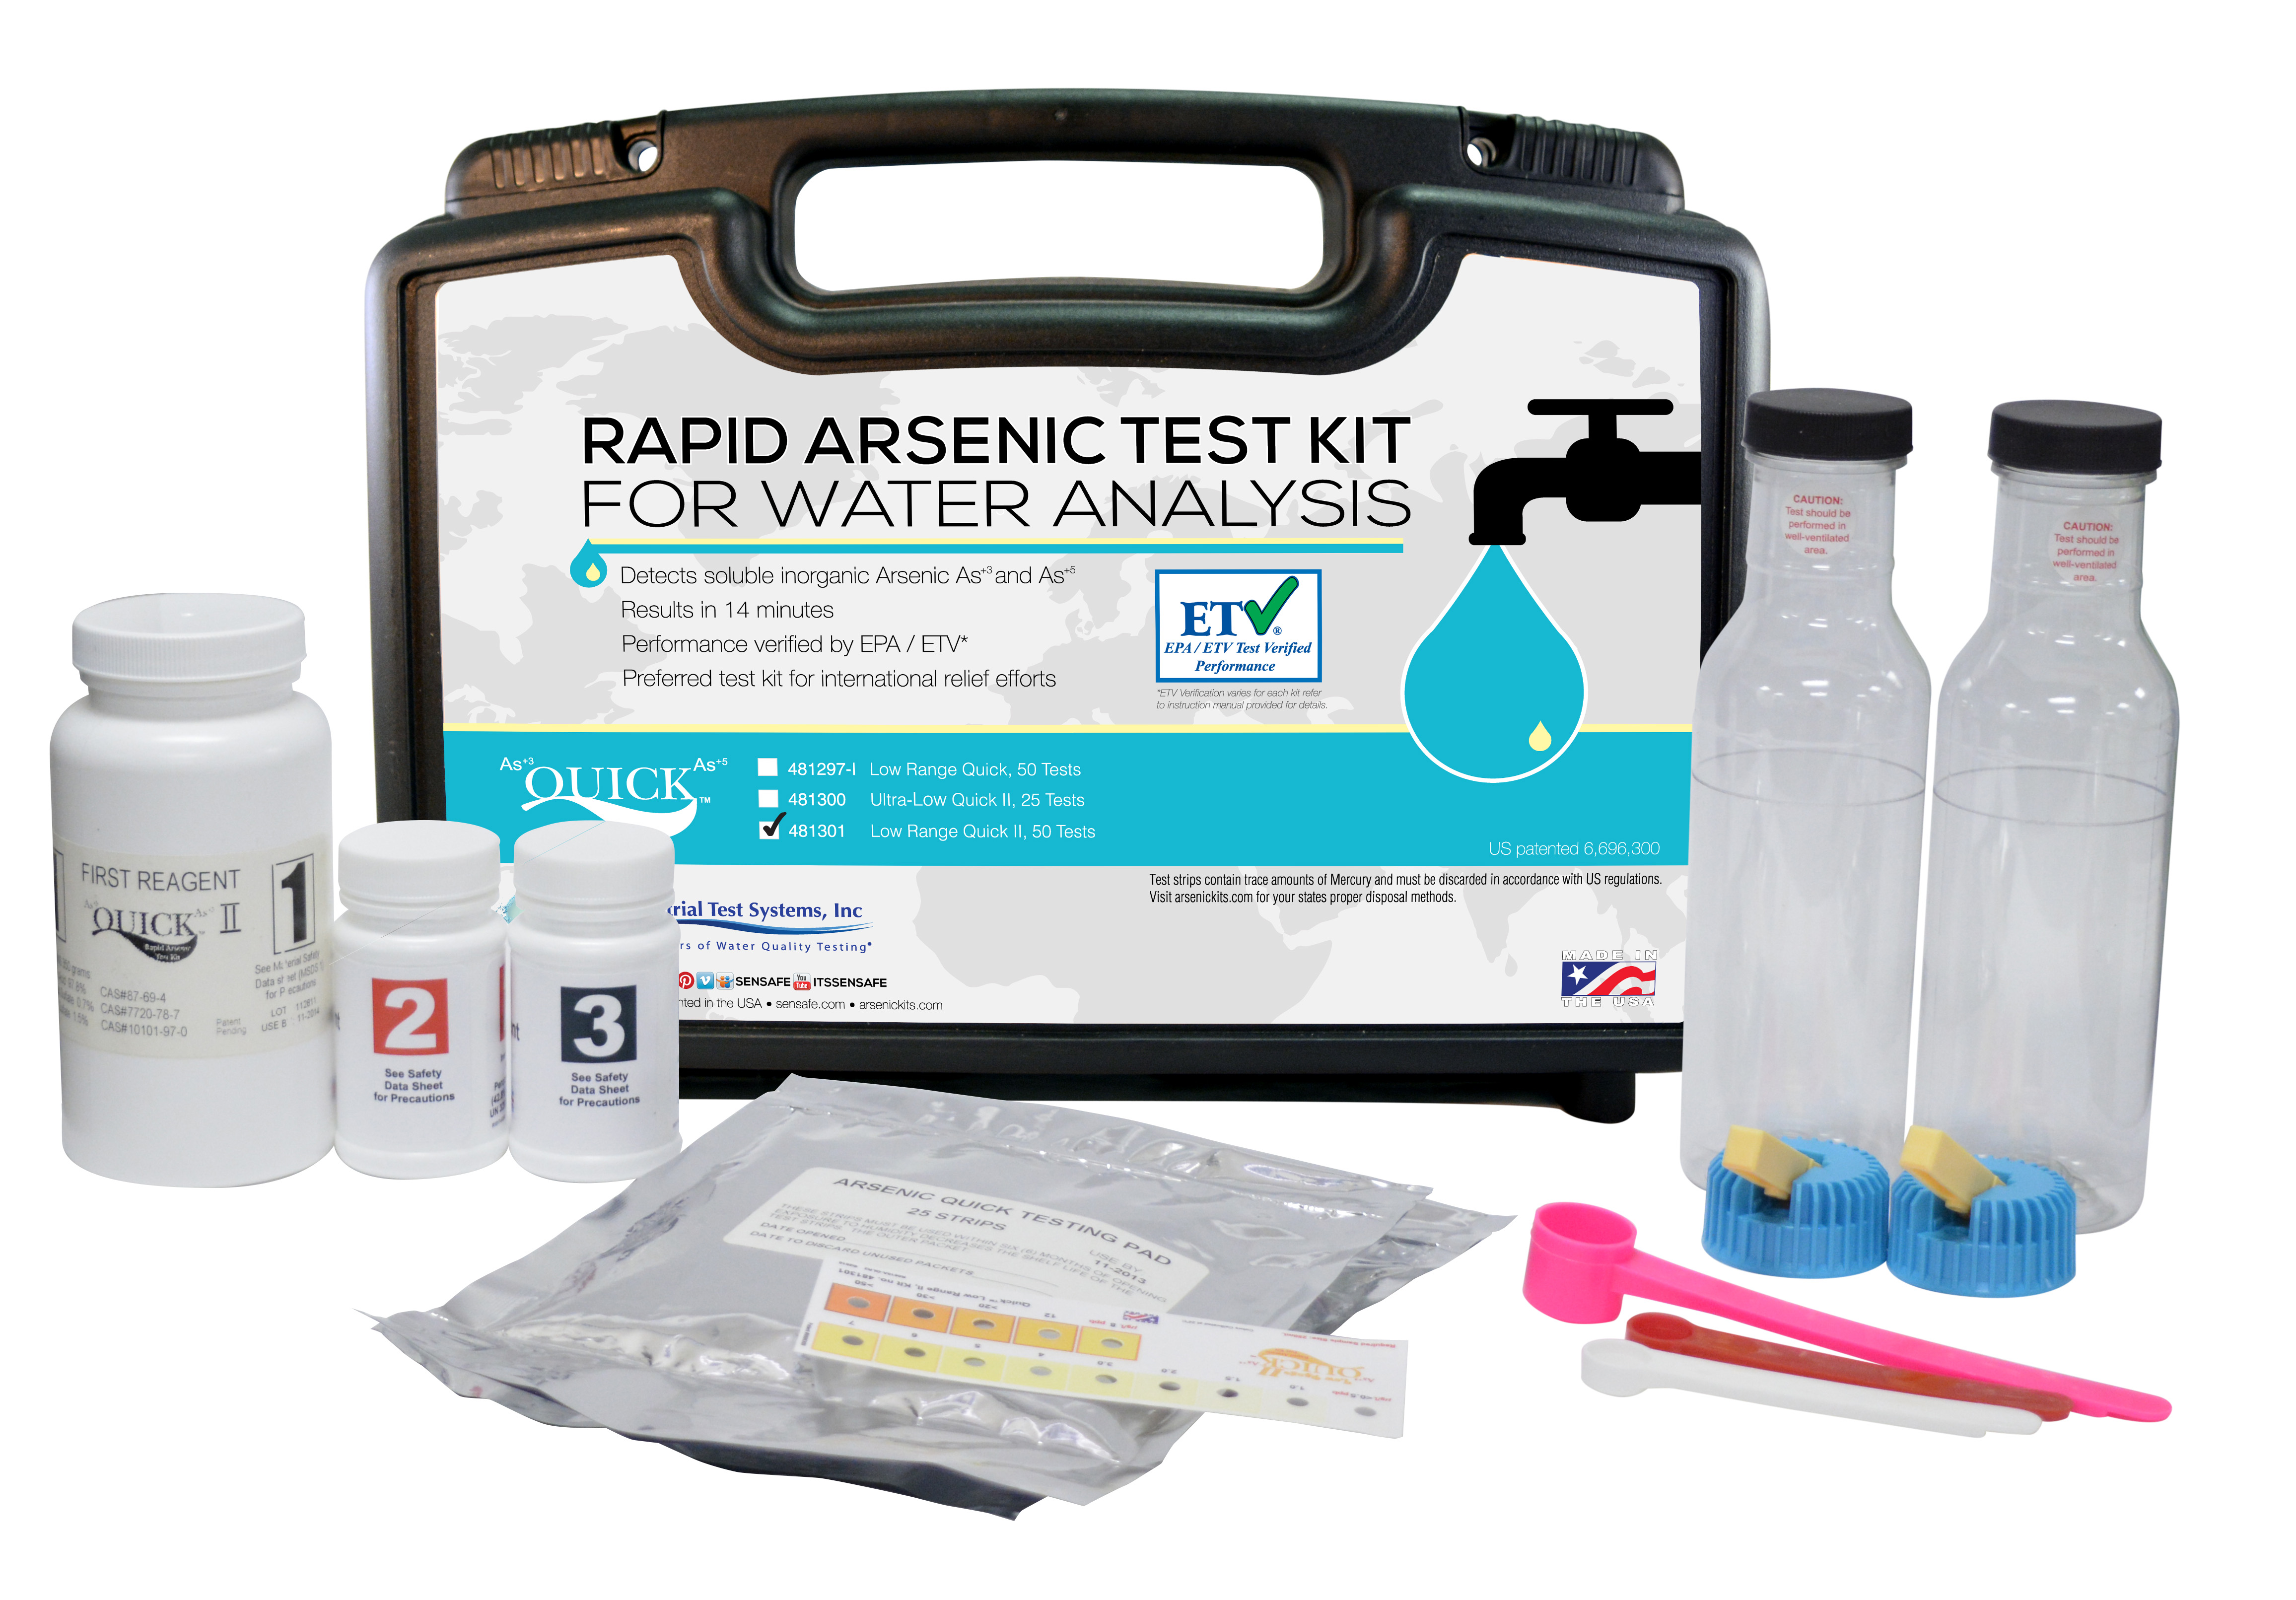 Quick™ Arsenic Testing Kits | Industrial Test Systems
But if you’re like Laura—who has a binder for her vitamin schedule—go for a mail-in lab kit. You collect the sample in a sterile bottle (they send it to you), ship it off, and get a detailed report within two weeks. It costs $30–$100, but the peace of mind is worth every penny. Pro tip: order from a certified lab (like those listed by your state health department) to avoid sketchy results.
Step Three: Collect That Sample Like a Boss
Okay, here’s where people mess up: they just fill a cup from the tap and hope for the best. Don’t do that. Arsenic can cling to pipes or settle in sediment, so you need to flush the system first. Run the cold water for two to five minutes before collecting—this pulls fresh water from the well, not what’s been sitting in your plumbing all night.
Use a clean container (the lab provides one, or use a glass jar you’ve boiled). Fill it to the line, cap it tight, and label it with the date, time, and location. Yes, treat it like a crime scene—you’re the detective. Ship it overnight if the lab says so; some contaminants degrade fast.
Step Four: Understand Your Results (Without Freaking Out)
When the report comes back, look for total arsenic (inorganic and organic forms). Inorganic arsenic is the bad guy—the kind that messes with your cells. If the number is below 10 ppb, you’re within federal limits, but many experts argue even 5 ppb is safer for long-term health. Above that? Time to filter or find a new water source.
 Inspect USA 481298 Arsenic Water Test Kit User Guide
Don’t have a heart attack if it’s slightly elevated. I mean, have a small one, then breathe. You can install a reverse osmosis system or a specialized arsenic filter (about $200–$600) that’s certified to remove it. Boiling doesn’t work—that actually concentrates arsenic, which is truly ironic and so unfair.
Step Five: When in Doubt, Call a Pro
If your DIY test shows a color that looks like “toxic sludge yellow,” don’t DIY your solution. Contact a certified water specialist or your local health department. They can retest, verify, and recommend the right filter for your specific water chemistry. Yes, water has chemistry—who knew?
Laura ended up with a whole-house filtration system that cost her a weekend of work and a few hundred bucks. Now she drinks her well water again, and her kale smoothies are back to being worry-free. You can get there too. Testing is the first step, and it’s so simple you’ll wonder why you waited.
So go ahead—order a kit, run that tap, and become your own water detective. Your future self (and your skeptical friends) will thank you. Cheers to clean, poison-free H2O!
