How To Clean A Water Dispenser

Let’s be real: your water dispenser is basically the office hero or the kitchen MVP, right up until it starts tasting like a forgotten gym sock. You know the moment—you fill y...

Let’s be real: your water dispenser is basically the office hero or the kitchen MVP, right up until it starts tasting like a forgotten gym sock. You know the moment—you fill your cup, take a sip, and instead of crisp, refreshing hydration, you get a weird, plasticky “what is that?” flavor. Yeah, that’s your dispenser begging for a bath, and ignoring it is like pretending the dust bunny under your couch is a pet. It’s time to roll up your sleeves and give that thirsty machine some love.
Here’s the thing: cleaning a water dispenser isn’t rocket science, but it does require a little strategy—like planning an escape from a party you regret. You can’t just dump soap in there and hope for the best; that’s how you end up with bubble-flavored water, and nobody wants that. Instead, think of it as a spa day for your dispenser, where you scrub away the grime and leave it smelling like a fresh, sterile cloud.
Step One: Unplug and Empty Everything
First, unplug the dispenser—I know, it’s shocking how often we forget this, like putting gas in a car while it’s running. Then, remove the water bottle (the big one on top) and drain out any lingering water from the hot and cold taps. Pro tip: have a towel handy, because water will absolutely run down your arm and into your sleeve, causing that unpleasant, wet-flannel feeling you remember from childhood rainstorms.
Must Read
Don’t forget the drip tray—that little plastic catcher at the bottom that’s basically a petri dish of forgotten coffee spills and sticky fingerprints. Pop it off, wash it with warm, soapy water, and set it aside to dry. It’s the easiest win of the whole process, like finding a ten-dollar bill in last winter’s coat.
Step Two: The Vinegar Miracle (Yes, Vinegar)
This is the part where your dispenser meeting its match: white vinegar. Mix one part vinegar with three parts water—enough to fill your dispenser’s internal reservoir (check your manual, but usually a gallon or two). Pour it in, and watch the magic happen as the vinegar breaks down mineral deposits and mystery slime that’s been lurking since the Obama administration.
Let it sit for at least 15 minutes, but honestly, go fold laundry or scroll memes for 30 minutes. The longer it sits, the less you’ll taste the “old water” ghost. I once left it for an hour, and my dispenser came out so clean it looked like it had a new lease on life—kind of like when you finally wash your car and realize it’s actually blue, not beige.
 How To Clean Ge Water Dispenser | TAFT Independent
Step Three: Scrub-a-Dub-Dub (But Gently)
Grab a soft brush (a bottle brush or a clean toothbrush works—just not the one you use on your teeth, please) and scrub the reservoir’s interior. Focus on corners and the nozzle where the water comes out, because that’s where the bacterial parties happen. You’ll likely find a film that feels like a slick, alien egg sac; scrub it away with vengeance.
Now, flush the system: run fresh water through the dispenser (both taps) until the vinegar smell is gone. It usually takes two or three full rinses—don’t skip this, or your morning coffee will taste like a salad dressing. I speak from bitter experience, and let me tell you, a vinaigrette latte is not a trend worth starting.
Step Four: The Legendary Final Flush
Once the vinegar is gone, fill the reservoir with plain, clean water one last time and run it through both taps. This is your victory lap. Taste a cup—if it tastes like nothing (which is the goal), you’re golden. If it still has a tang, repeat the rinse. Patience is a virtue, especially when you’re trying to avoid drinking a liquid that smells like a pickle factory.
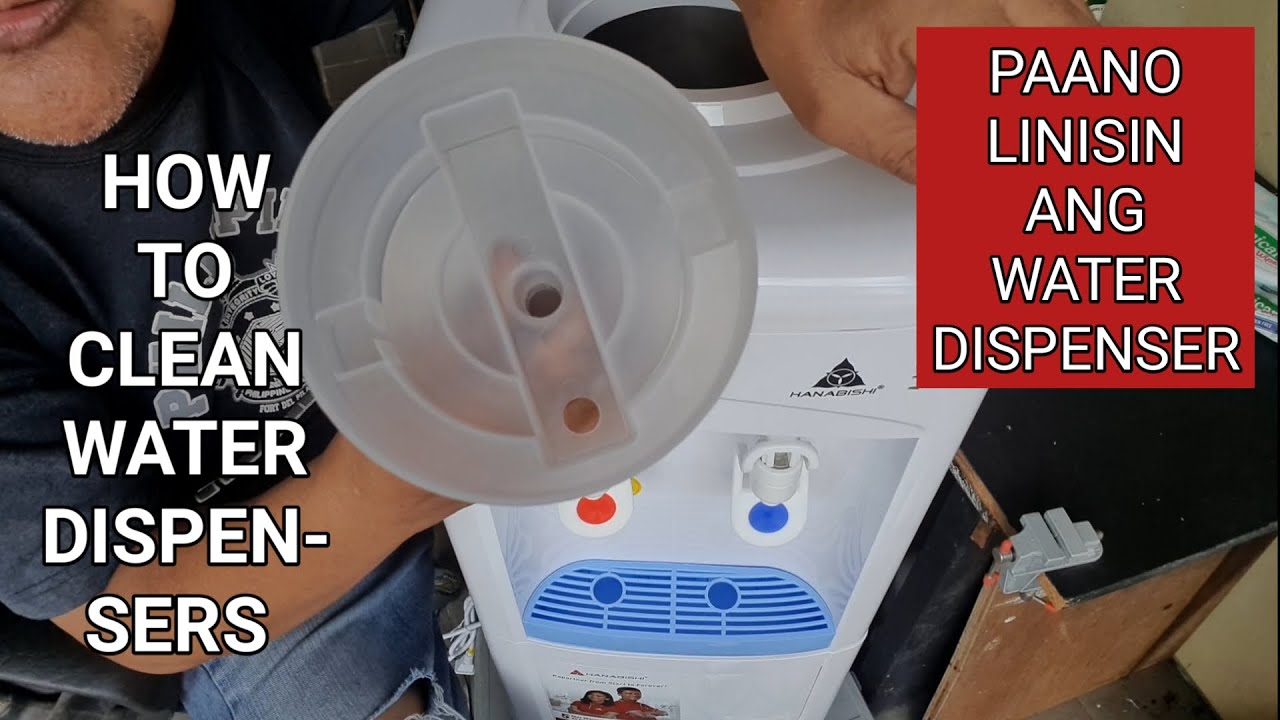 How To Properly Clean A Water Dispenser at Charles Serrano blog
While you’re at it, wipe down the exterior with a damp cloth. The top where the bottle sits often gathers dust that looks like a miniature desert. A little elbow grease here makes the whole machine look less “college dorm” and more “professional office.”
Step Five: Reassemble and Celebrate
Put the drip tray back, pop a fresh bottle of water on top, and listen for that satisfying gurgle as it fills the tank. It’s the sound of success. Now, fill your glass, take a sip, and smile—because you just saved yourself from another week of drinking water that tastes like regret.
Pro tip: clean your dispenser every three months, or after any holiday party where someone might have accidentally poured soda into the bottle. Yes, that happens. No, I’m not proud of how I know. But now your water will taste crisp, clean, and suspiciously neutral—which is exactly how water should taste. Cheers to you, you janitor of hydration.
