How To Check Well Water

The first time I drank water straight from a well, I was at my uncle’s farm in rural Ohio. I was maybe twelve, and he handed me a chipped mason jar filled with liquid that loo...

The first time I drank water straight from a well, I was at my uncle’s farm in rural Ohio. I was maybe twelve, and he handed me a chipped mason jar filled with liquid that looked like it had been strained through a dirty sock. "Go on," he said, grinning. "It’s nature’s Gatorade." I took a sip, and it tasted like iron and regret. Two hours later, I was intimately acquainted with his outhouse. That’s when I learned that checking well water isn’t just a chore—it’s a survival skill.
So, you’ve got a well. Maybe you’re living the dream on a few acres, or you’re just tired of paying the municipal water bill. Either way, that water coming out of your tap is a mystery waiting to be solved. And trust me, you want to solve it before it solves your digestive system. Let’s skip the horror stories and get practical.
Step 1: The Basic “Sniff-and-See” Test
Before you break out the lab equipment—or, let’s be real, a cheap kit from Amazon—use your senses. First, pour a glass of water and hold it up to the light. Is it cloudy? If it clears up after sitting for a minute, that’s usually just air bubbles (no big deal). If it stays murky, you’ve got sediment or turbidity, which means your filter might be slacking off.
Must Read
Now, take a big sniff. If it smells like rotten eggs, that’s hydrogen sulfide gas—common, but gross. If it smells like bleach, someone’s been over-zealous with chlorine. And if it smells like a swamp? You might have bacterial growth. Don’t panic yet, but do take notes. Your nose knows—literally.
Step 2: The Home Test Kit (Your New Best Friend)
You can buy a basic water test kit at any hardware store for about twenty bucks. It’s not fancy, but it’s a start. Dip the strips, wait for the color change, and match it to the chart. You’re looking for pH (ideal is 6.5 to 8.5), nitrates, nitrites, total hardness, and chlorine. If your pH is way off, your pipes might be leaking copper or lead into your water—and that’s bad news for your brain.
Pro tip: run the water cold for two minutes before testing. You want fresh water from the aquifer, not stuff that’s been sitting in your pipes. And for the love of all that is holy, don’t test water from the hot tap. Hot water dissolves metals faster, and you’ll get a false reading that’ll send you into a panic.
These kits are okay for a quick check, but they miss a lot. Think of them as the appetizer, not the main course.
 When and How To Test Your Well Pressure Tank | Angi
Step 3: Why You Need a Professional Lab Test
Here’s the truth: home kits can’t detect bacteria like E. coli or coliform. They also don’t check for arsenic, radon, or pesticides—things that might be seeping into your well from a neighbor’s farm or a nearby fracking site. At least once a year, send a sample to a certified lab. It costs between $50 and $150, but it’s cheaper than a hospital visit.
How do you collect the sample? Buy a sterile bottle from the lab—don’t use an old Gatorade bottle, unless you want to drink regret again. Fill it to the line, screw the cap on tight, and mail it the same day. Don’t refrigerate it; bacteria need to stay alive for the test to work.
I know, paperwork is boring. But do you know what’s more boring? Explaining to your in-laws why everyone got diarrhea after Thanksgiving. Do the test.
Step 4: Watch for Red Flags in Your Area
Your well isn’t an island. Check with your local health department for common issues in your region. If you live near farm country, nitrates from fertilizer are a classic problem. If you’re in an old mining town, heavy metals like lead and arsenic might be lurking. I live in the Pacific Northwest, and everyone here obsesses over radon—apparently it bubbles up from the ground like a silent, radioactive popcorn machine.
Also, think seasonal. After a heavy rain, your well might get contaminated with surface runoff. If you notice the water smells earthy or looks brown after a storm, test it immediately. And don’t assume boiling fixes everything—boiling kills bacteria but doesn’t remove chemicals or heavy metals.
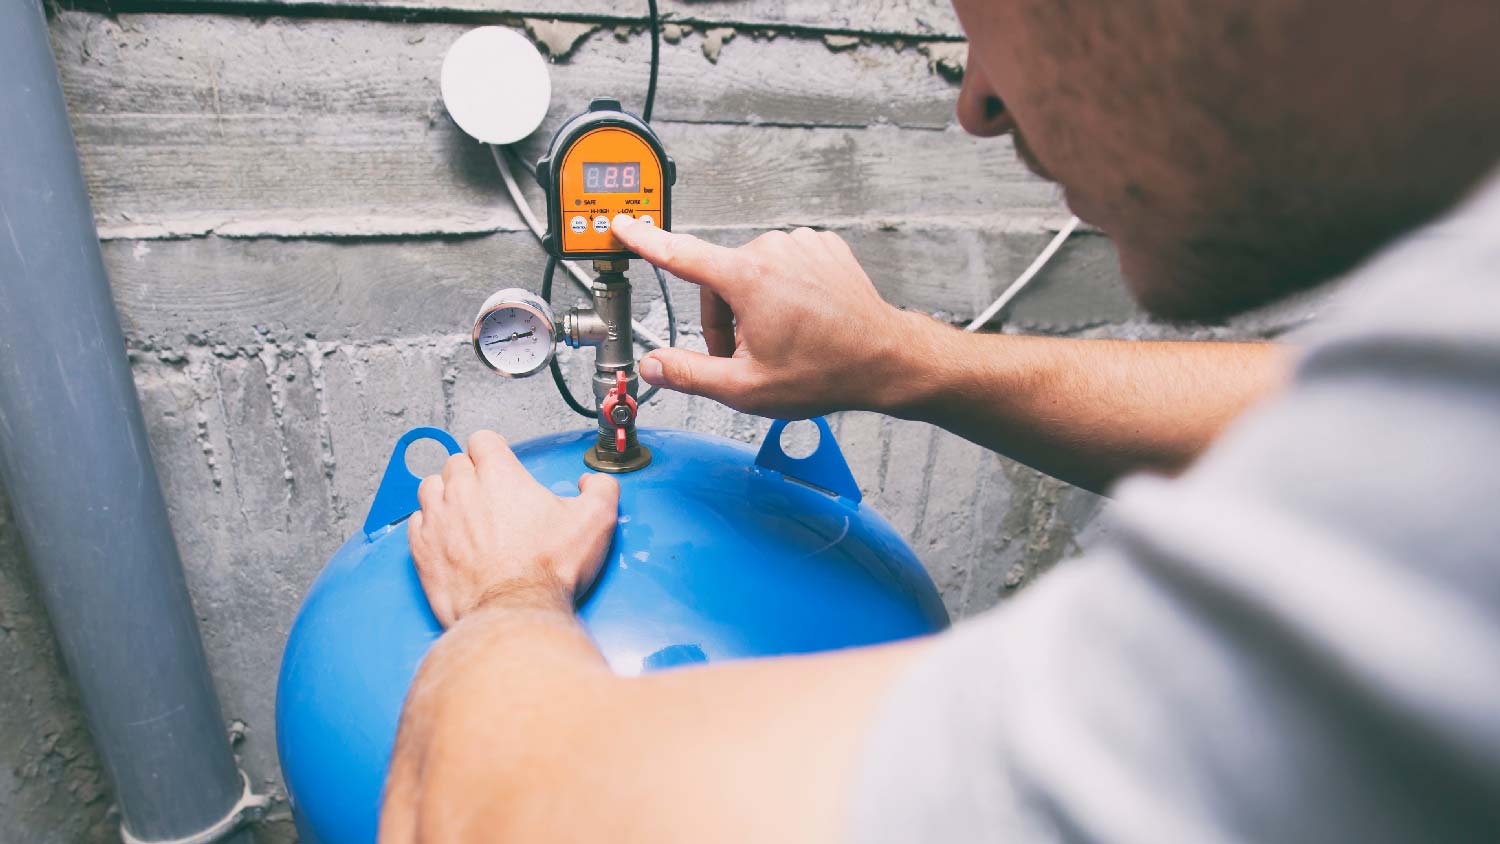 How to Set Up a Well Pump and Pressure Tank | Angi
Step 5: Maintaining Your Well (So You Don’t Have to Check It Every Week)
Prevention is easier than panic. Get your well inspected by a pro every year. They’ll check the casing, the cap, and the pump. Make sure the well cap is sealed tight—no insects, rodents, or surface water getting in. A mouse falling into your well is not a garnish; it’s a biohazard.
Also, keep a minimum 50-foot distance between your well and any septic system, animal pen, or fertilizer pile. If your neighbor decides to start a pig farm next door, you might need to test more often. Be polite about it, but be firm—your water is not a negotiation.
Finally, shock-chlorinate your well after any major repair or flood. It’s a pain, but it’s the only way to kill stubborn bacteria hiding in the pipes. You can Google “how to shock a well” and find a step-by-step guide. Just don’t wear your favorite shirt when you pour the bleach—trust me.
The Bottom Line
Checking well water isn’t glamorous. It’s a boring, slightly paranoid chore that sits somewhere between doing laundry and checking your car’s oil. But every time I fill a glass from my own tap, I remember that mason jar from my uncle’s farm—and I’m grateful that knowledge beats luck.
So go ahead: sniff, dip, test, and send that sample off. Your gut will thank you—literally. And if you ever taste iron and regret again, you’ll know exactly what to do.
