How To Get Reverse Osmosis Water

Let’s be honest: tap water is the friend who shows up unannounced and asks to borrow money. It’s fine, but you’re never quite sure what’s in its pockets—chlorine, a bit of lea...

Let’s be honest: tap water is the friend who shows up unannounced and asks to borrow money. It’s fine, but you’re never quite sure what’s in its pockets—chlorine, a bit of lead, maybe a rogue mineral that tastes like a wet sock. Reverse osmosis (RO) water is that friend who brings a gourmet cheese platter, cleans your kitchen, and pays for parking. Getting it at home sounds fancy, but it’s actually easier than assembling a cheap bookshelf. Let’s walk through it without the jargon—just the stuff that makes you nod and say, “Oh, I get it now.”
The “Why Bother?” Moment
Picture this: you’re standing in your kitchen, staring at a glass of tap water that smells faintly of swimming pool. You take a sip, and it hits you—that’s not water, that’s a negotiation with a water treatment plant. RO water skips all that drama. It pushes water through a membrane so fine that only the good molecules get through, leaving behind calcium, fluoride, and that weird metallic taste you’ve been blaming on the pipes.
But let’s be real: you don’t need a chemistry degree. You just need a system that does the work while you binge-watch a show about people renovating houses in the Alps. The first step? Buying a unit that doesn’t look like a prop from a sci-fi movie.
Must Read
Step One: Pick Your Weapon (The System)
You didn’t think you’d just will purified water into existence, did you? There are two main types: the under-sink kind (lives in the dark, doesn’t complain) or the countertop model (sits out like a proud trophy). I got a countertop one because I wanted to feel like a barista, but then I tripped over the cord twice a day. Learn from me: if your kitchen is the size of a walk-in closet, go under-sink. It’s like choosing between a pet hamster and a pet giraffe—one fits neatly in a corner, the other requires a permit.
Most systems come with a tank that holds about three gallons. That’s enough for your morning coffee, a water bottle for the gym, and a surprised look from your houseplant. Don’t buy the biggest tank unless you plan to bathe in it. You’ll just fill it up once, realize you don’t drink that much water, and spend a week asking neighbors, “Do you want a gallon of the purest H2O you’ve ever tasted?”
The Installation: A Comedy of Errors
Installing an RO system is like assembling a Lego set with instructions in Klingon. Here’s the secret: it’s mostly hose-clipping and turning things until they click. You’ll need a faucet adapter. Yes, you will drop the tiny rubber o-ring into the sink drain three times. My tip? Put a towel over the drain like you’re performing surgery on a goldfish. When you finally get it all connected, turn the water on slowly—like you’re approaching a scared cat. A burst of high-pressure water will shoot across the room and hit your toaster. That’s a rite of passage, not a mistake.
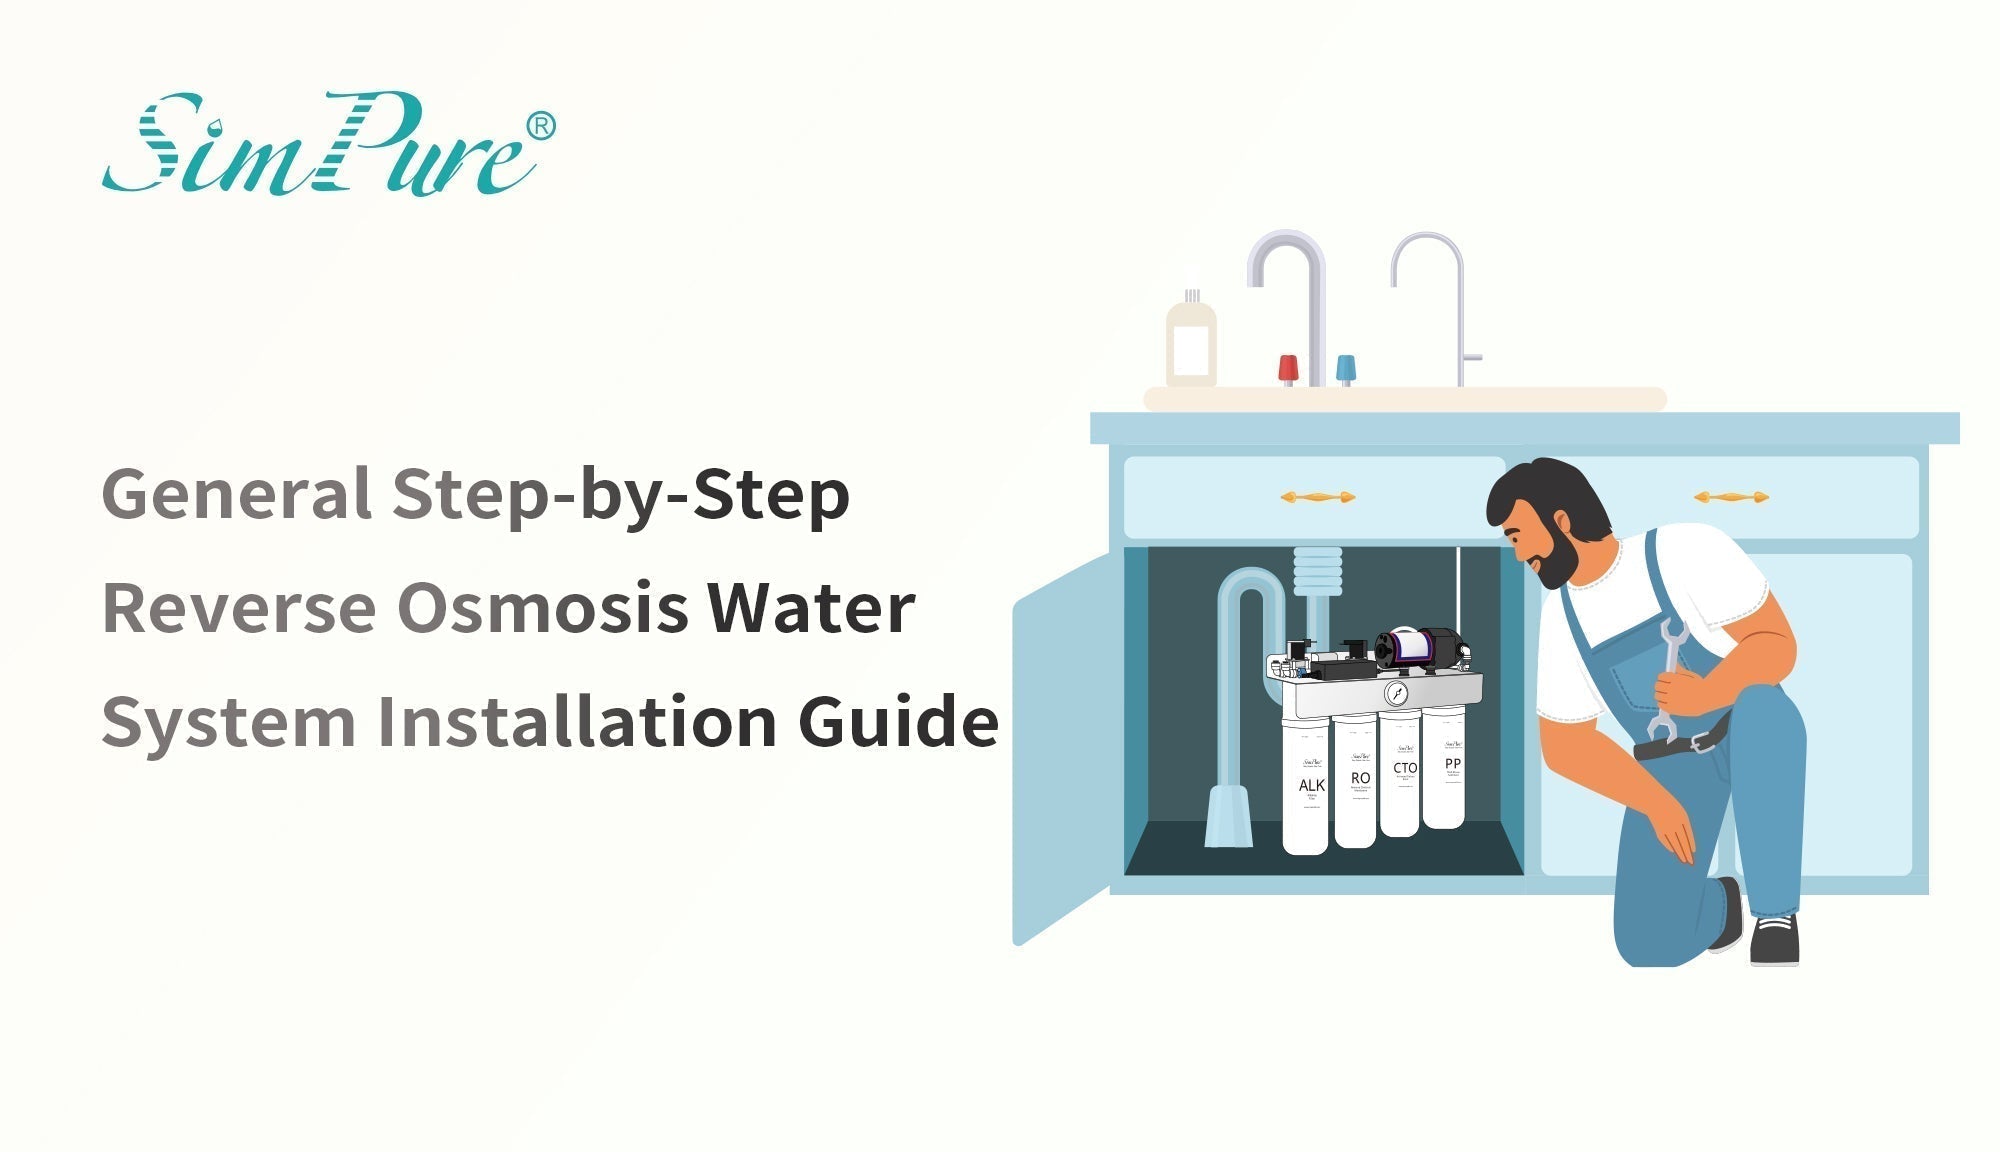 General Step-by-Step Reverse Osmosis Water System Installation Guide
You’ll also need to run the system for about 2–4 hours to “flush” it. This is when the machine hums like a refrigerator having a dream, and you stand there, hands on hips, feeling like a wizard who just summoned a tiny river. Don’t drink the first batch. It tastes like plastic and regret. I did. I don’t recommend it.
Step Two: The Waiting Game (Why It’s Slow)
Here’s the trade-off: pure water comes out slow. Like, “watching a snail cross a sidewalk” slow. A typical under-sink system produces about 2–3 ounces per minute. That’s roughly one glass every five minutes. So when you want a refill, pour the water, then go fold laundry, check your email, and realize you’ve forgotten why you’re in the kitchen. By the time you remember, the glass is full. It’s a meditation practice masquerading as appliance.
If you need a firehose of water, you’ll want a “permeate pump” add-on. That’s fancy talk for “makes it go faster.” But honestly? I lean into the slowness. It reminds me that good things take time—like relationships, sourdough starters, and convincing your cat you’re the boss.
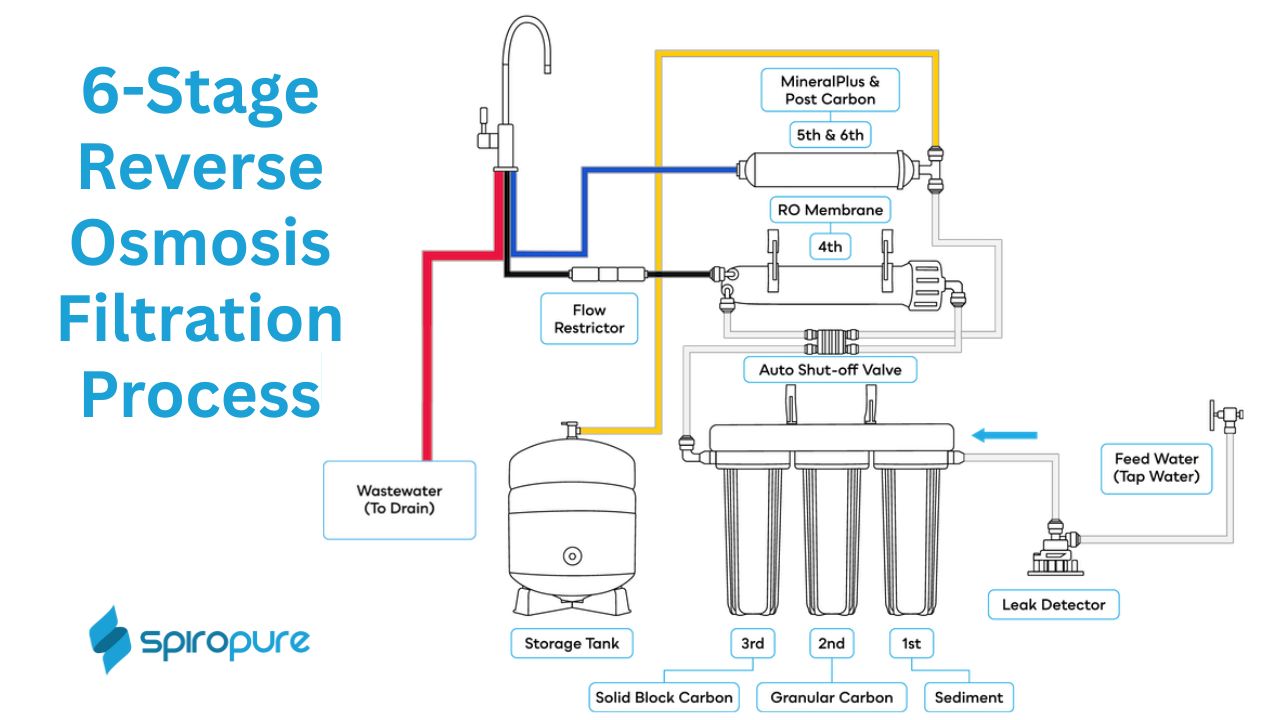 How to Install Reverse Osmosis System | All Filters Guide
The Taste Test (You’ll Giggle)
When you finally take that first sip of RO water, it’s a life-changing moment. It tastes like… nothing. Absolutely nothing. Which is perfect, because it lets the actual flavor of your coffee or tea shine. For weeks afterward, regular tap water will taste like you’re licking a battery. You’ll become that annoying person who brings a water bottle to a restaurant and says, “No, no, I have my own.” But who cares? You’ll be too busy smiling while your friends grimace at the city water.
One more thing: RO water is slightly acidic (pH 6-ish), but don’t panic. You’re not drinking industrial solvent. If you’re worried, add a pinch of baking soda or buy a remineralization filter. It’s like adding a splash of lemonade to a glass of perfect clarity—just for fun.
The Bottom Line (With a Wink)
Getting reverse osmosis water isn’t rocket science; it’s just plumbing with a little patience and a pinch of profanity. You’ll learn to love the slow drip, the novel taste of nothingness, and the tiny o-rings that hide under appliances. Within a week, you’ll be drinking water so clean it makes tap water look like a muddy puddle. Your plants will grow taller. Your tea will taste like actual tea. And you’ll finally understand why people spend two hundred bucks on a glorified filter.
So go ahead. Buy the system. Trip over the cord. Laugh at the slow speed. You’ll be sipping the purest stuff on the planet while the rest of the world settles for “maybe okay” from the tap. And that, my friend, is worth every slow, glorious drop.
