How To Make Rainwater Drinkable

Let’s be honest—when you think of rainwater, you probably picture a kid dancing in a puddle or the smell of a summer storm. It feels pure, like nature’s free gift from the sky...

Let’s be honest—when you think of rainwater, you probably picture a kid dancing in a puddle or the smell of a summer storm. It feels pure, like nature’s free gift from the sky. But here’s the kicker: that same rainwater can carry dirt, bird droppings, and even roof chemicals. You wouldn’t drink from a puddle, right? So, let’s chat about how to turn that free shower into safe, drinkable water.
Why should you even care? Well, imagine a drought hits your town, or your water bill spikes like your caffeine intake. Rainwater is free, abundant, and—with a little know-how—safe. Plus, it tastes better than chlorinated tap water. I’m not saying you need to build a survival bunker; just tweak your routine a bit.
Think of it like making a sandwich. You wouldn’t slap raw chicken between two slices of bread, right? Rainwater collection works the same way. The core idea is: catch it clean, filter it smart, and disinfect it well. Let’s break it down like a recipe, not a science lab.
Must Read
Step 1: Catch Rainwater Like a Pro (Not a Bucket Under a Leak)
First, you need a surface that won’t poison your water. A clean metal roof or a food-grade plastic tarp is gold. Avoid asphalt shingles or painted surfaces—they leach nasty stuff. I once saw a buddy collect rain from his dusty garage roof; the water came out looking like iced tea. Yikes.
Your collection system can be as simple as a gutter feeding into a food-grade barrel. But here’s the trick: install a “first flush” diverter. That’s a fancy name for a pipe that ditches the first few gallons of rain, which wash off bird poop and bug bodies. After that, the rest is relatively clean. My neighbor uses an old PVC pipe rigged with a cap—he just empties the first dirty water into his garden. Genius.
Keep your catchment dark. Light grows algae, and algae tastes like pond scum. Use a solid lid or black barrel. Trust me, no one wants to sip green soup.
Step 2: Filter Out the Obvious Gunk
Now, you’ve got a barrel of slightly cloudy water. It’s not ready to drink yet—this is the “pre-filter” stage. Think of it like straining pasta: you want to catch the big stuff first. Use a coarse filter like a fine mesh screen or an old cotton t-shirt stretched over the barrel. This stops leaves, mosquito larvae, and pine needles.
But wait—there’s more. Pour that water through a ceramic or activated carbon filter. These are the same filters in your Brita pitcher, but bigger. Ceramic blocks remove tiny particles like silt; carbon removes bad tastes and smells. I use a backpacking filter I bought online—it’s about the size of a soda can. It turns murky rain into water that looks like it came from a spring.
 Guide to Make Rainwater Potable - Intec America Corporation
You can also let the water settle for 24 hours. The heavy stuff sinks, and you siphon the clear middle. It’s low-tech but effective. I did this after a storm last month, and the water was crystal clear. Patience, my friend.
Step 3: Kill the Invisible Critters
Filtered water still has microscopic germs. Bacteria and viruses love rainwater. It’s like a hotel for E. coli. So, you need a disinfection step. There are three easy ways to do this at home.
Boiling is the classic—bring the water to a rolling boil for one minute. It kills everything, but it’s energy-hungry and cools slowly. I boil a big pot in the morning, then store it in clean glass bottles. Perfect for coffee.
UV light is the cool kid on the block. Devices like Steripen use a UV bulb to zap germs in seconds. Just stir the pen in a jar of water for 90 seconds. No chemical taste, no heat. I use one on camping trips; it’s so simple, my ten-year-old niece can do it.
Chlorine or iodine drops work too. Follow the label: a few drops per gallon, wait 30 minutes, and done. The taste is a bit pool-ish, but you can add a pinch of vitamin C powder to neutralize it. I carry these drops in my hiking kit. Lightweight and reliable.
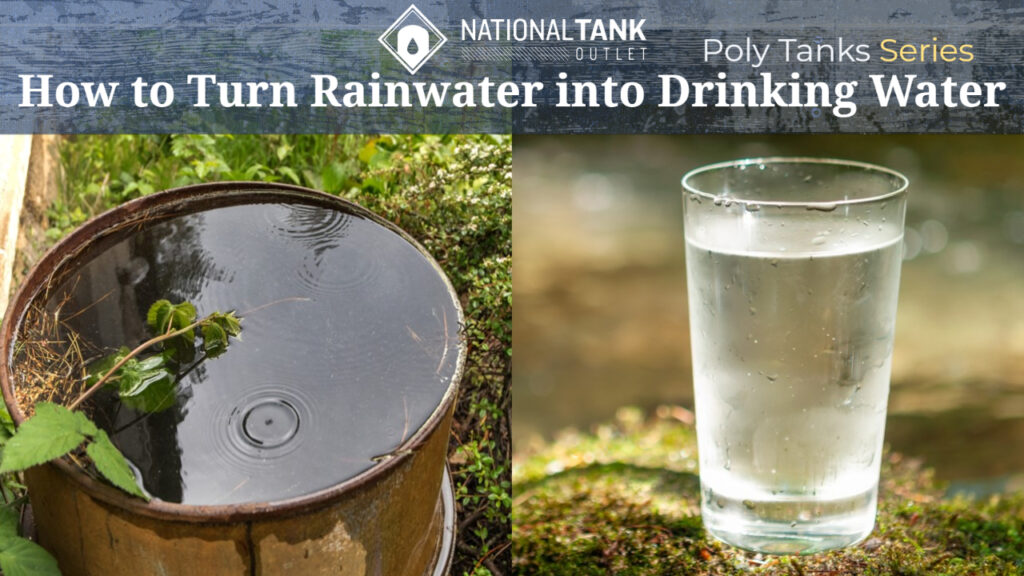 How To Boil Rain Water
Step 4: Store Your Gold Safely
You’ve made drinkable rainwater—congratulations! Now store it like precious wine. Use clean, dark, food-grade containers. Glass jars or BPA-free plastic jugs are fine. Keep them in a cool, dark place, like a pantry or basement. Sunlight and heat breed algae and bacteria.
Label your containers with the date. Rainwater isn’t immortal; use it within six months for best taste. I write on a piece of tape: “April 2025 Storm – Good for sparkling lemonade.” It’s a fun way to remember the weather.
Why You Should Actually Try This
I know, this sounds like extra work. But once you taste your own filtered rain, you’ll never go back. I made a batch last spring—it was silky, clean, and felt like a secret superpower. Plus, you’re saving money and the planet. Every gallon of rain you drink is a gallon your town doesn’t have to purify and pump.
Think of it as a small act of rebellion against the water bottle industry. And honestly, when a friend hands you a glass of homemade rainwater, you get to say: “That came from my roof, and it’s better than Fiji water.” Smile, sip, and enjoy.
Start small. Catch a bucket from a clean downspout, filter it through a coffee filter, and boil it. Test it with an at-home water test kit if you’re nervous. Soon, you’ll be the person who has a barrel in the yard and a story for every glass. Stay hydrated, stay curious, and let the sky refill your glass.
