How To Replace Water Softener

So, your water softener has finally thrown in the towel. Maybe it’s gurgling like a haunted toilet, or you’ve noticed your skin feels like sandpaper despite using half a bottl...

So, your water softener has finally thrown in the towel. Maybe it’s gurgling like a haunted toilet, or you’ve noticed your skin feels like sandpaper despite using half a bottle of lotion. Congratulations—you’ve joined the club of people who suddenly realize they care deeply about sodium chloride mechanics.
Replacing a water softener sounds like a job for a wizard with a plumbing degree. But I’m here to tell you: if you can assemble IKEA furniture without crying (much), you can totally do this. Just brace yourself for a few hours of grunting, swearing, and the sudden urge to become a monk who bathes in a river.
Step One: Gather Your Weapons (and Your Wits)
First, you need the right tools. Get a pair of adjustable wrenches, a bucket (you will cry when you see the water), and a Phillips screwdriver. Oh, and grab a friend—preferably one who owes you money, because they can’t say no to hauling a 150-pound brine tank.
Must Read
Surprising fact: the average water softener weighs as much as a baby hippo. A very angry, mineral-caked hippo. So stretch your back, or accept that tomorrow you’ll walk like a penguin who fell down stairs.
Pro Tip: Know Your Water Inlet Valve
Find the main water shutoff valve and turn it off. Really commit to this—turn it until it won’t budge. If you don’t, your basement will become a swimming pool for your regret. Don’t worry, the neighbor’s cat will enjoy the impromptu splash zone.
Now, drain the remaining water from your pipes by opening the lowest faucet in the house. Usually that’s an outside spigot or a laundry tub. Listen for a pathetic dribble—that’s the sound of your self-confidence leaving.
Step Two: Unplug the Old Beast
Your old softener is probably hooked up by a flex hose or copper pipe. Use your wrench to unscrew the connections. Carefully—because if you strip a nut, you’ll invent new curse words that would make a sailor blush. The brine line is just a little plastic tube; yank it off like you’re ripping off a band-aid. It’s fine, I promise.
Once it’s disconnected, slide the unit away from the wall. If it won’t budge, you may need to bribe it with pizza. Or just tip it sideways to drain the last sludge. That sludge? It’s all the minerals your family didn’t drink. You’re welcome, kidneys.
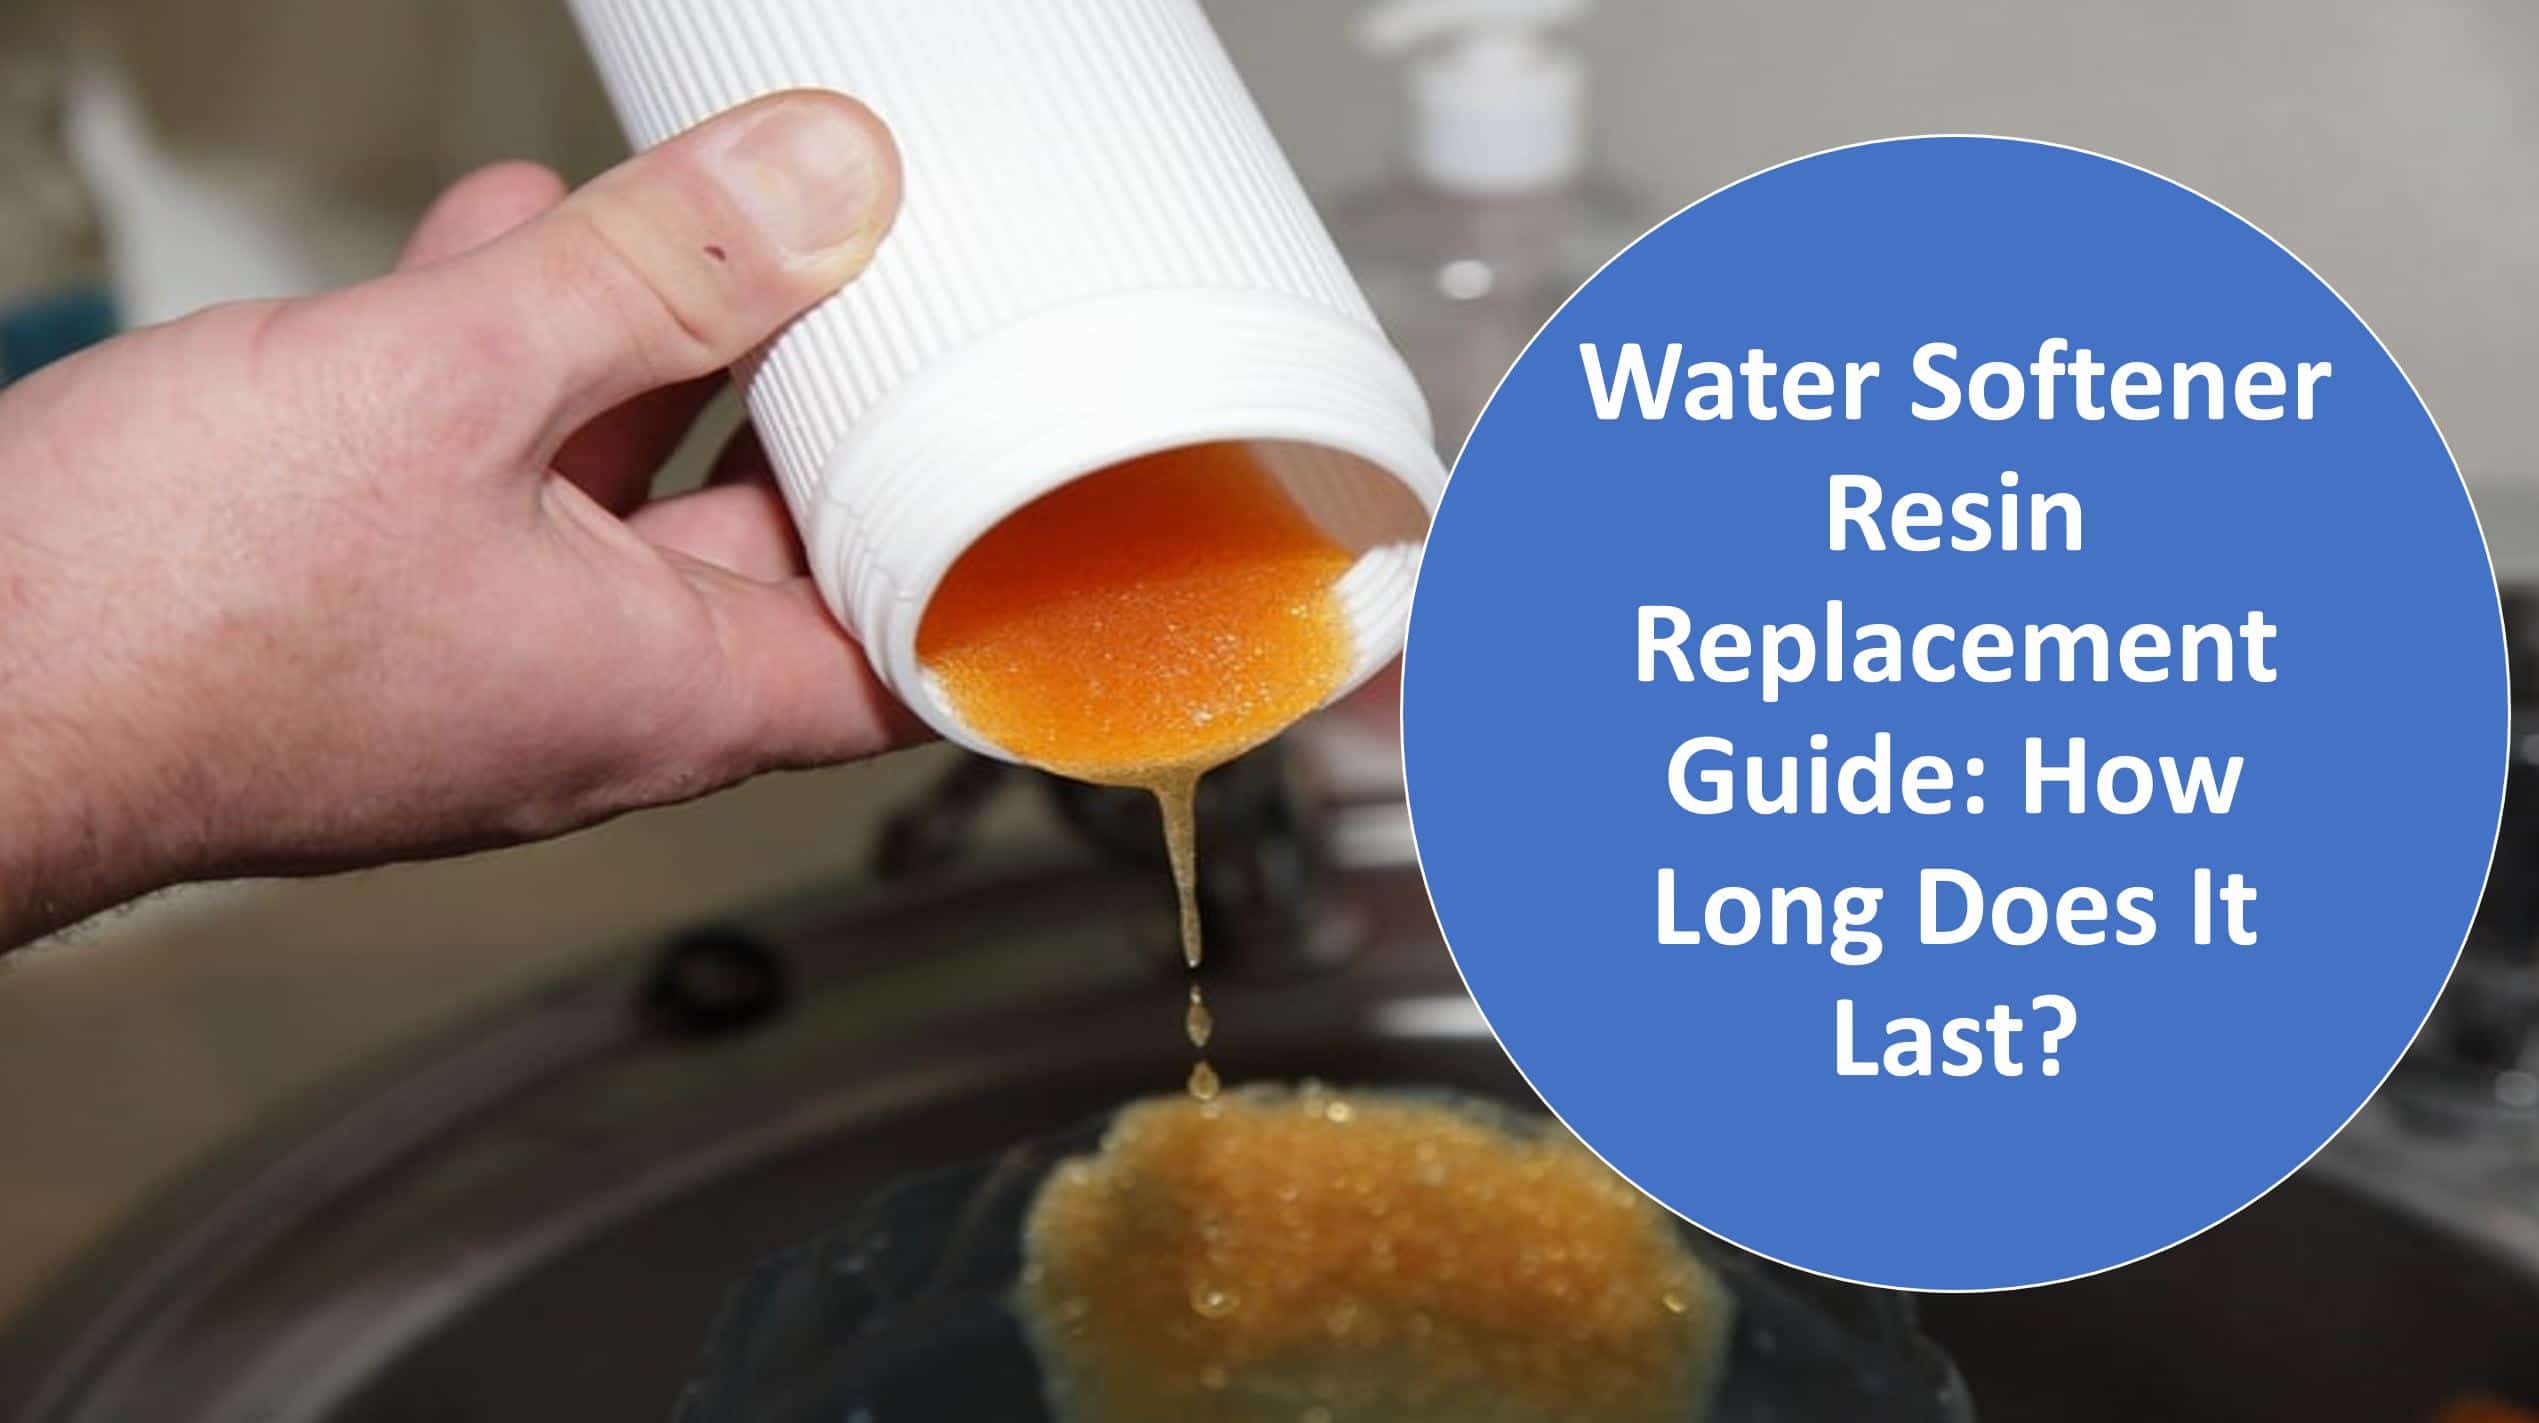 Resin Water Softener Replacement – LEUA
The “Why Did I Do This?” Moment
Here’s where you’ll stare at the empty space and wonder if you’ve made a terrible mistake. Take a deep breath. Then wheel the new softener into position. It should be level and at least six inches from the wall so you can mock it later if it breaks.
Surprising fact: the first water softener was invented in the 1930s by a man who was tired of looking at soap scum. He probably also hated his bathtub ring. You are continuing his noble, slightly pathetic legacy.
Step Three: Plumbing Is Just Grown-Up LEGO
Attach the bypass valve to the new unit. This little doodad lets you cut the water to the softener without shutting off the whole house. Trust me, you’ll thank me when you’re changing the resin in five years and your partner wants to shower. Connect the inlet hose to the IN port, and outlet to OUT. Yes, it’s that obvious—but I’ve seen a grown man hook it backward and flood a kitchen.
Now, thread the brine line from the softener to the salt tank. Use the little compression fitting that came in the box. If it feels loose, tighten it more. If it feels tight, tighten it more. You’re not being paranoid; you’re being a hero.
Drain Line Drama
Attach the drain hose to the softener’s drain port and route it to a floor drain or utility sink. Make sure it’s not kinked—a kinked hose is like a piggy bank that only takes sadness. If you don’t have a floor drain, you can run it outside, but your lawn will look like a salt lick for deer. That’s fine; deer are great judges of water quality.
Pro tip: use zip ties to secure the hose. They’re the duct tape of the plumbing world, except they’re plastic and make you feel like an electrician.
:max_bytes(150000):strip_icc()/installing-a-water-softener-2718669-FINAL-1-ee8de137dcf84b5db1e28f84a7dec11b.png) Step-by-Step Guide to Replacing Your Water Softener: Tips for a Smooth
Step-by-Step Guide to Replacing Your Water Softener: Tips for a Smooth
Step Four: The Moment of Truth
Slowly turn the water back on at the main valve. Then open the bypass valve very gently. Listen for hissing—that’s just air escaping. If you hear a gushing sound, you’ve made a mistake. Quickly shut the valve and check your connections. It’s okay to freak out for exactly 15 seconds.
Once the pressure is stable, plug the softener into an outlet. Most models will go through a regeneration cycle automatically. That means it’ll suck water, flush salt, and make a noise like a robot gargling gravel. That’s normal. Pour yourself a whiskey.
Salt Loading: It’s Not a SPA Day
Open the salt tank and dump in a bag of softener salt. Don’t use table salt—it’ll turn your water into soup. And don’t use rock salt from the driveway, or your water will taste like a winter road in Minnesota. Use evaporated pellet salt; it’s the fancy stuff.
Surprising fact: a water softener uses about 2.5 pounds of salt per regeneration. That’s roughly the weight of a large bag of potatoes. Or your toddler after a sugar binge. Your system will eat salt like a hungry teenager eats Doritos—constantly and without shame.
You Did It. Now Enjoy the Soft Life.
Congratulations, you’ve replaced a water softener. Your shower will feel like a silk caress, your dishes will sparkle, and your laundry will smell like flowers and victory. Plus, you saved about $200 in plumber fees, which you should immediately spend on tacos.
Remember: if anything leaks, call a professional. But if it doesn’t, brag endlessly to your neighbors. You’ve earned it, you magnificent, salt-hauling beast.
