How To Clean Septic Tank

So, picture this: my buddy Tom decides to throw a backyard BBQ. Epic party, right? Music blasting, burgers sizzling, everyone having a grand old time. Then, the grass starts w...
So, picture this: my buddy Tom decides to throw a backyard BBQ. Epic party, right? Music blasting, burgers sizzling, everyone having a grand old time. Then, the grass starts weeping a nasty, brownish puddle right near the flower bed. That’s when we learned the hard way what happens when you ignore the beast in your backyard—the septic tank. Tom’s party ended with a $4,000 repair bill and a stench that haunted us for weeks. Trust me, you don’t want that to be you.
What Even Is a Septic Tank?
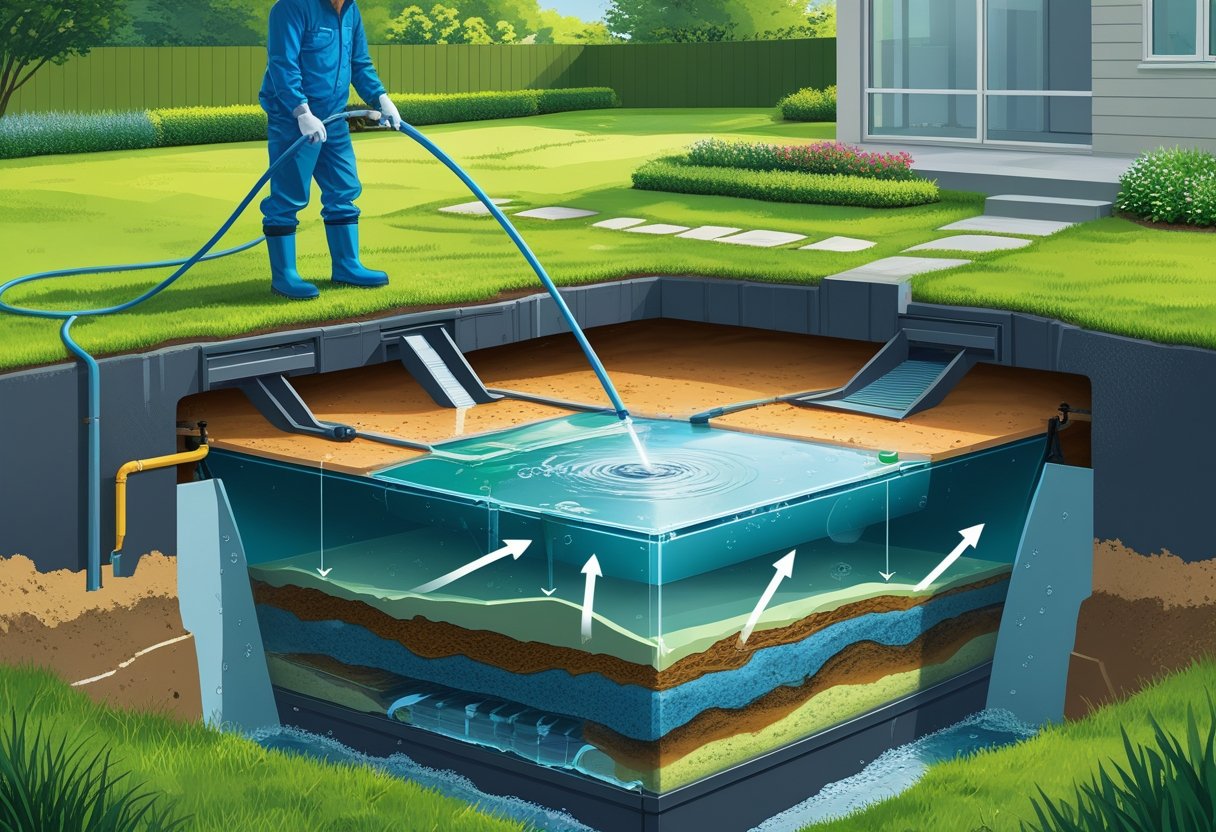
Think of it as a giant, underground stomach for your house. It breaks down all the nasty stuff you flush, from toilet paper to... well, everything else. The tank lets solids sink to the bottom (that’s sludge) and lighter stuff float to the top (scum). The middle layer of liquid—called effluent—then trickles out into the drain field, where the soil finishes the cleaning job.
Sounds simple, right? It is, until that sludge pile grows too high and starts blocking the exit. That’s when your backyard turns into a swamp of doom. Pro tip: don’t treat your tank like a magic garbage can.
Must Read
Step 1: Know When to Call for Backup
First, face the music: you will need a professional pumper. This isn’t a DIY project for the faint of heart (or nose). You should pump your tank every 3 to 5 years, depending on how many people live in your house. A family of four? Aim for every 3 years. Just you and a cat? You can stretch it to 5.
How do you know it’s time? Look for warning signs: gurgling drains, a weirdly lush green patch above the tank, or a smell like rotten eggs when it rains. Ignore those signs, and you’ll get Tom’s surprise party. Please, don’t be Tom.
Step 2: Prepare for the Work Day
Okay, you’ve booked a pro. Now, you need to get your backyard ready. Find those two concrete lids (one big, one small) buried in your grass—usually about 10 feet from the house. Dig around them carefully, so you don’t crack them with a shovel. Yes, you have to get your hands dirty. Sorry.
While you’re digging, look for the baffles (the pipes inside). If they’re broken, you’ll need a repair. Also, make sure the tank’s access is clear of kids, pets, and landscaping art. The last thing you want is a flying gnome getting sucked into the vacuum truck.
 How To Clean Out Your Septic Tank - YouTube
Step 3: The Actual Cleaning (Let the Pro Do It)
When the pumper arrives, he’ll stick a giant hose down into the tank and suck out everything—sludge, scum, and all. You’ll hear a sound like a giant milkshake being slurped. Try not to laugh, it’s oddly satisfying. He’ll also check the level of the scum and sludge layers to see if your tank is healthy.
After the big suck, he’ll inspect the baffles and the outlet pipe. That’s the part that prevents solids from escaping into the drain field. If it’s cracked, you’re looking at a bigger job. But usually, it’s just a routine clean, and you’re golden. Tip: ask him to show you the sludge level—it’s gross but educational.
Step 4: What NOT to Flush (Ever)
This is the part where you change your life. Never flush “flushable” wipes—they are liars. They don’t break down; they turn into a giant, wad-like monster that clogs your pump. Also, no cooking grease, coffee grounds, or “feminine hygiene products.” Think of your tank as a picky eater: it only likes poop, pee, and toilet paper.
Oh, and that garbage disposal? Use it sparingly. Ground-up food scraps create extra sludge that forces you to pump more often. Your tank is not a compost bin. I’m looking at you, the person who puts eggshells down the sink. Stop it.
Step 5: Maintain the Drain Field (The Silent Hero)
The drain field is a network of pipes buried under your lawn. It’s where the cleaned water goes to finish its journey. Don’t park cars or heavy equipment on top of it. The soil needs to stay loose and aerated to filter the water. Parking your RV there compacts the dirt and kills the field.
 Toilet Cleaning For Septic Tanks at Emma Rouse blog
Also, divert rainwater away from the drain field. Downspouts should point elsewhere—excess water overloads the system and causes backups. Think of it as giving your tank a dry place to sleep. Nobody wants a flooded bed, not even your septic tank.
Step 6: Use Bacteria Boosters (But Be Skeptical)
You’ll see products in stores that promise to “clean” your tank with bacteria. Most are expensive snake oil. Your tank already has billions of bacteria doing the job—they don’t need more. The only thing that helps is regular pumping and avoiding harsh chemicals like bleach or drain cleaners.
If you must, use a septic-safe toilet paper and a mild detergent. But don’t waste money on monthly “treatments.” The best maintenance is common sense and a pumper every few years. Save that $20 for pizza instead.
Final Thoughts: You Can Do This
Look, cleaning a septic tank isn’t glamorous. But it’s way cheaper than replacing one. A $300 pump every 3 years beats a $10,000 system replacement, hands down. So, mark your calendar, dig up those lids, and let the pros do the heavy lifting.
And if you ever host a BBQ, make sure the grass stays green for the right reasons. Not because your tank is weeping. Trust me, your guests will thank you—and so will your wallet. Now go call your pumper. I’ll wait.
