How To Set Water Softener

You know that feeling when you step out of the shower and your skin feels like you’ve been rubbed with sandpaper? Or when your favorite coffee mug comes out of the dishwasher...
:max_bytes(150000):strip_icc()/installing-a-water-softener-2718669-FINAL-1-ee8de137dcf84b5db1e28f84a7dec11b.png)
You know that feeling when you step out of the shower and your skin feels like you’ve been rubbed with sandpaper? Or when your favorite coffee mug comes out of the dishwasher looking like a foggy disaster? That’s hard water, my friend—and it’s probably time to set up a water softener. Don’t worry, though: this isn’t a job for a rocket scientist. It’s more like assembling a piece of IKEA furniture, but with less cryptic instructions and more clean laundry at the end.
First, let’s admit why you care
Hard water is basically water that’s packed with calcium and magnesium. Think of it like a clingy friend who leaves scummy white residue everywhere they go. Without a softener, your hair feels brittle, your dishes get spots, and your water heater works twice as hard—which means higher bills. Setting up a softener is like giving your home a spa treatment. It’s a small investment for softer skin, brighter clothes, and a longer life for your appliances.
What you’ll need (no PhD required)
Before you start, grab your water softener unit, a bucket, some PVC pipe or flexible hose, and a tape measure. Oh, and a buddy for lifting—these things are heavy. Most softeners come with a manual, but let’s be honest: you’ll probably skim it. That’s fine. Think of this as a DIY project you can brag about at brunch.
Must Read
Step 1: Find the perfect spot
Your softener needs to live near your main water line, usually where the water enters your house. Look for the shut-off valve—it’s that shiny handle you’ve ignored during every plumbing emergency. Place the softener on a level surface, preferably with a drain nearby. If you put it in a damp basement corner, give it a little concrete block pedestal so it doesn’t sit in a puddle. Nobody likes wet feet, especially not your water softener.
Step 2: Turn off the water (yes, really)
This sounds obvious, but I once watched a neighbor skip this step and create a tiny indoor fountain. Turn off the main water supply by twisting that valve clockwise. Then, open a faucet somewhere in the house to release pressure. It’s like letting the air out of a balloon—except less disappointing, because soon you’ll have drinkable water that doesn’t taste like a rock quarry.
Step 3: Connect the hoses (the “plumbing puzzle”)
Most softeners come with a bypass valve. This lets you switch between soft water and hard water if you need to water plants or fill a fish tank. Connect the inlet hose to the “IN” port and the outlet hose to the “OUT” port. Tighten them by hand—don’t Hulk-smash them, or you’ll crack the plastic. Think of it like attaching a garden hose: snug but not stubborn.
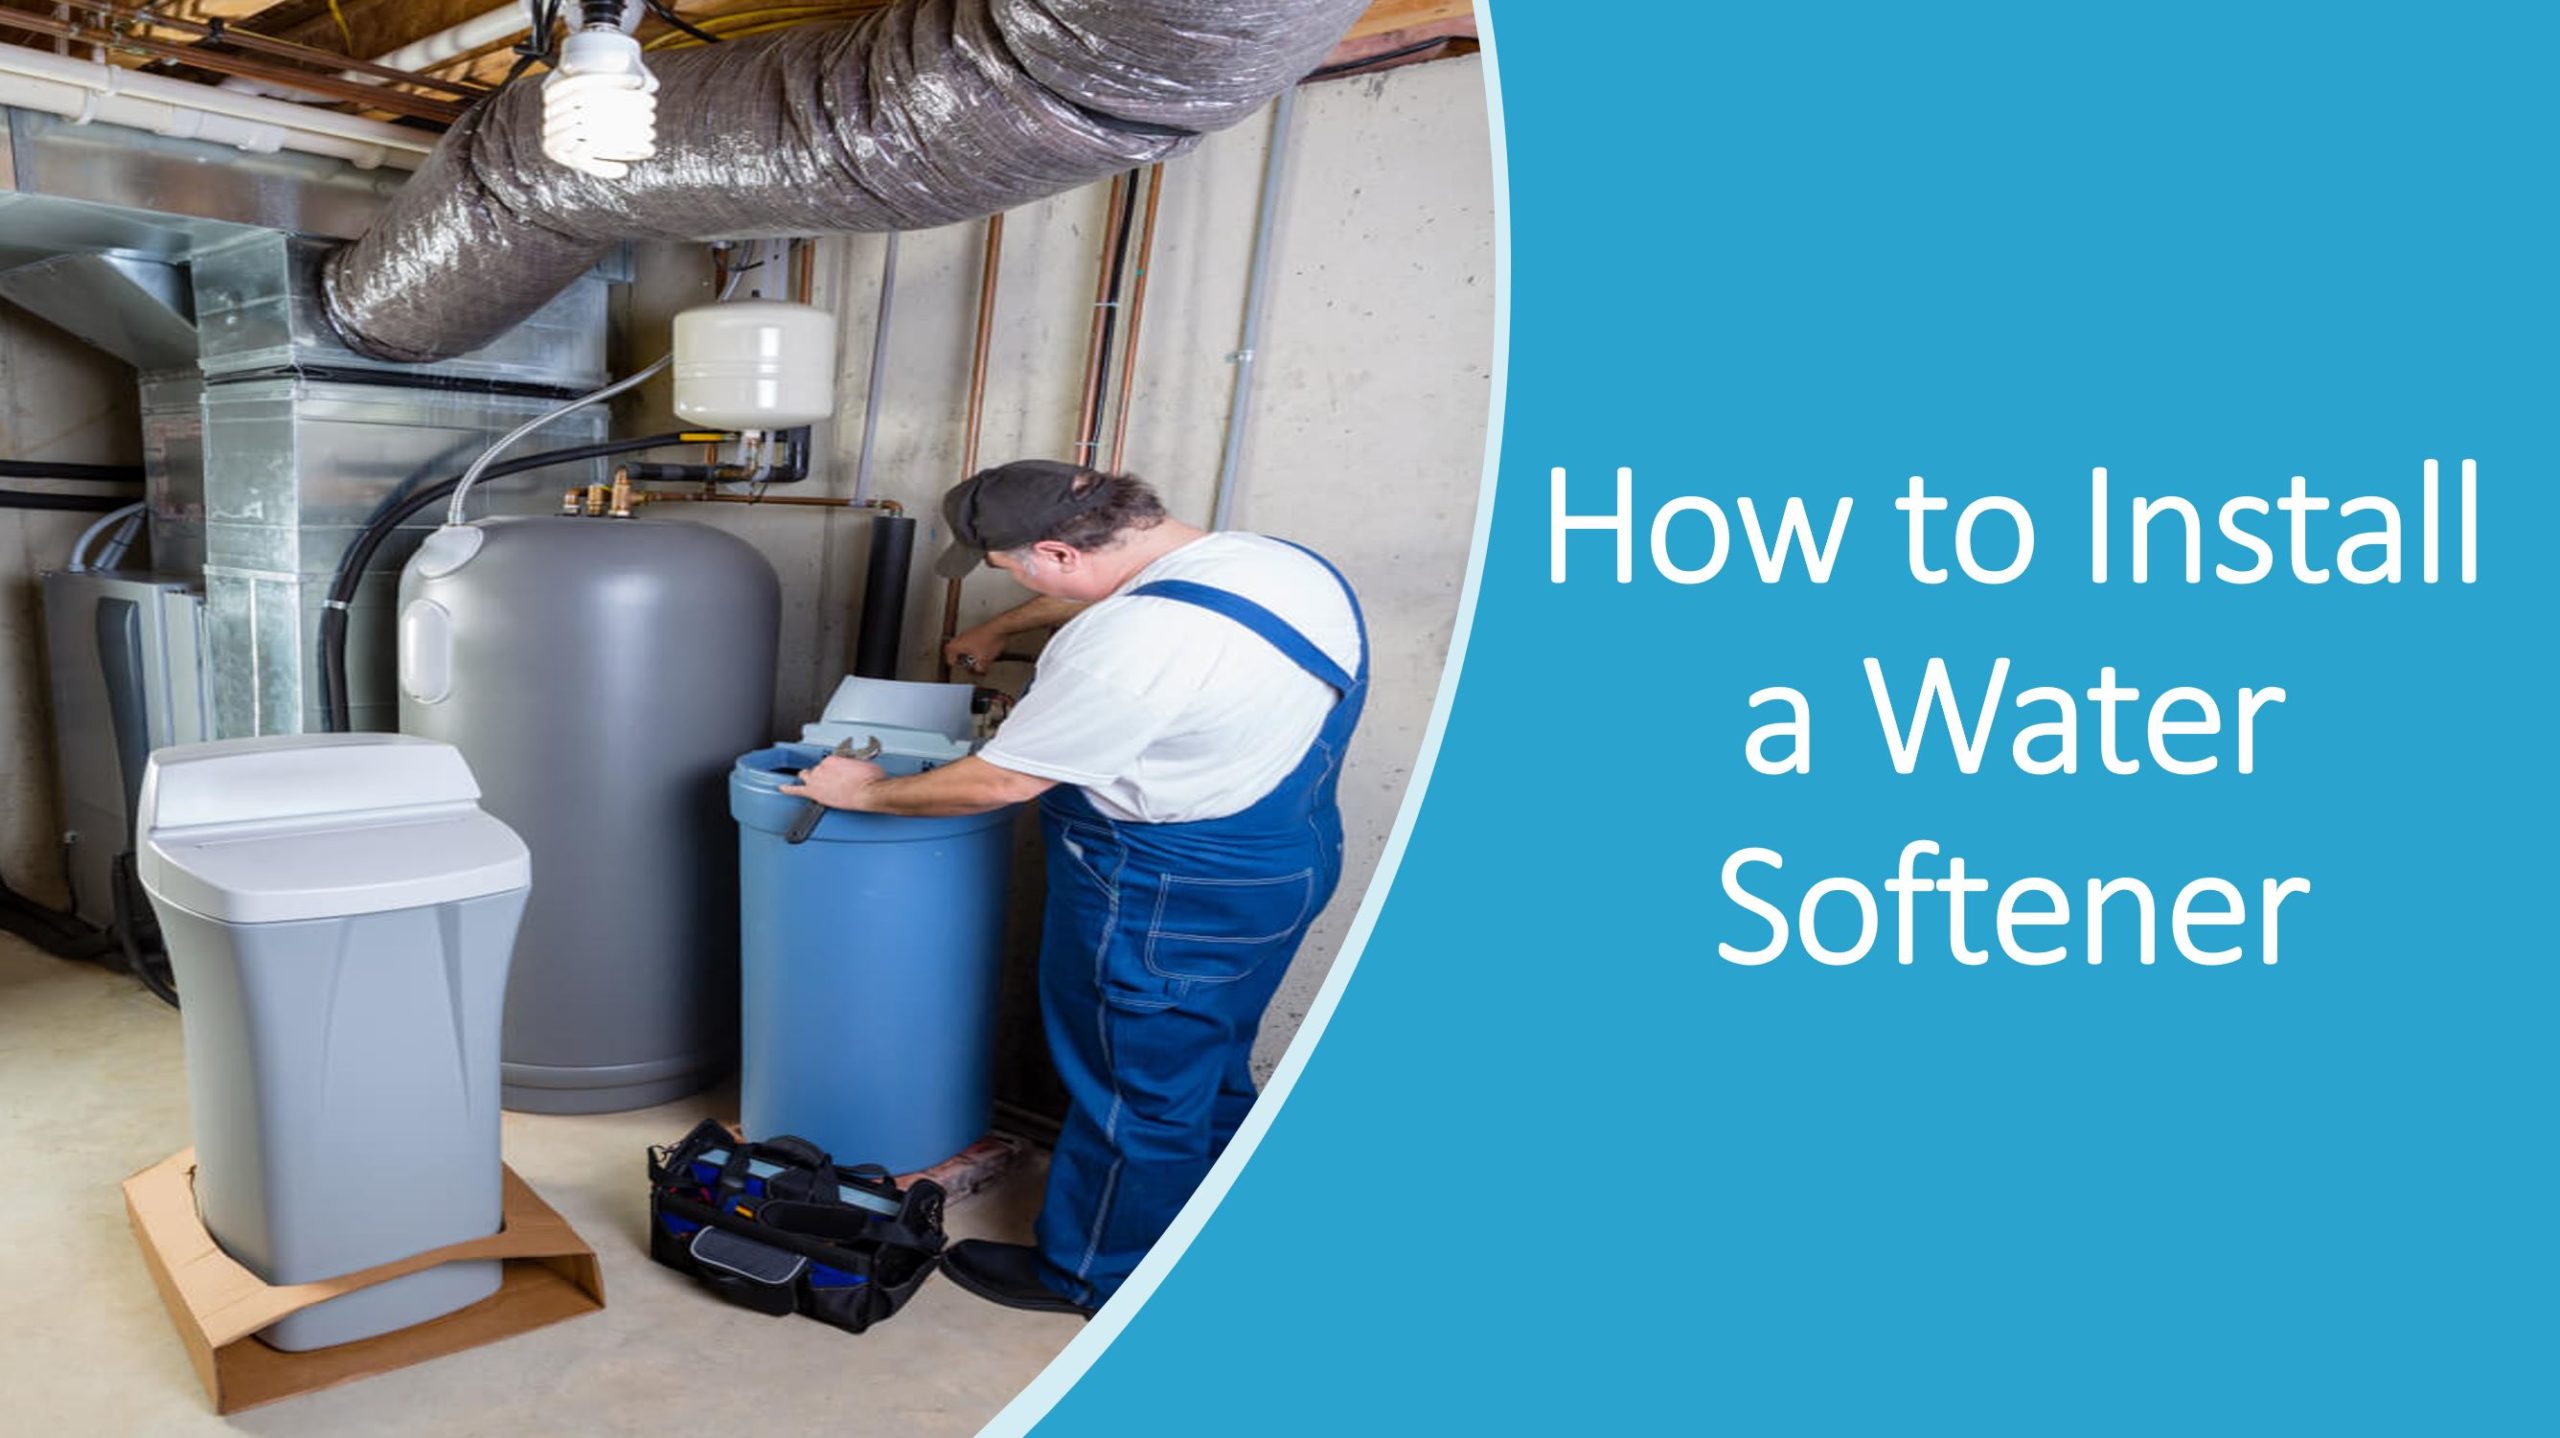 Water Softener How To Set : How to Program Your Water Softener Settings
Step 4: The brine tank (where the magic happens)
Inside the softener is a separate tank where you add salt pellets. This salt is the hero—it kicks out the calcium and magnesium so your water feels silky. Fill the tank about halfway with water first, then pour in a bag of water softener salt. Don’t use table salt; that’s like trying to fix your car with a credit card. Use specific softener salt from the hardware store. Let it dissolve for about an hour while you grab a coffee.
Step 5: Connect the drain line
Most softeners need to flush out the salty brine during regeneration. Run a small plastic hose from the drain port to a floor drain, a sink, or a standpipe. Secure it so it doesn’t flop around like a loose spaghetti noodle. If you don’t have a floor drain, you can route it to a laundry sink. Just make sure it’s air-gapped—leave a tiny gap between the hose and the drain to prevent dirty water from siphoning back into your softener. It’s like leaving a little breathing room in a conversation.
Rolling through the initial setup
Now it’s time to connect the softener to power. Plug it in, but don’t turn on the water yet. Most softeners have a control panel that looks like a tiny microwave clock. Set the time, the hardness level of your water (you can test it with a cheap kit or check online for your city’s average), and the regeneration schedule. For a typical home, you’ll regenerate once a week. It’s like setting your coffee maker to brew—set it and forget it.
 How to install a water softener whirlpool – Artofit
Step 6: The slow water introduction
Turn the main water valve back on very slowly. You want to let water trickle into the softener to avoid an air lock. Open a faucet nearby and watch for sputtering—that’s air escaping. Once water runs steady, close the faucet. Let the softener sit for about 15 minutes while the resin beads inside get cozy with the water. You’re essentially waking it up gently, like a sleepy cat.
Step 7: The moment of truth
Run your kitchen faucet for a few minutes. Fill a glass with water and look at it. If it’s clear and your hand feels slippery (like you just used conditioner), you did it. For the next 24 hours, the water might look a little cloudy from trapped air bubbles. That’s normal—it’s just the softener breaking in. After that, you’ll notice your soap lathers like a dream, your hair stops squeaking, and your dishes sparkle like they’re trying to impress you.
A quick reality check
Don’t panic if the water tastes slightly salty at first. That’s just the initial flush. Run the faucet for 10 minutes, and it’ll settle. Also, don’t forget to check the salt level every month. Your softener is a bit like a pet—it needs food (salt) and occasional attention. But the payoff is huge: no more crusty showerheads, no more scaly tea kettles, and your skin will thank you with every wash.
So go ahead, grab that unit, push up your sleeves, and give your home the gift of soft water. Future you—the one with silky hair and a sparkling coffee mug—will be grateful.
:max_bytes(150000):strip_icc()/installing-a-water-softener-2718669-FINAL-1-ee8de137dcf84b5db1e28f84a7dec11b.png&description=How+To+Set+Water+Softener)